
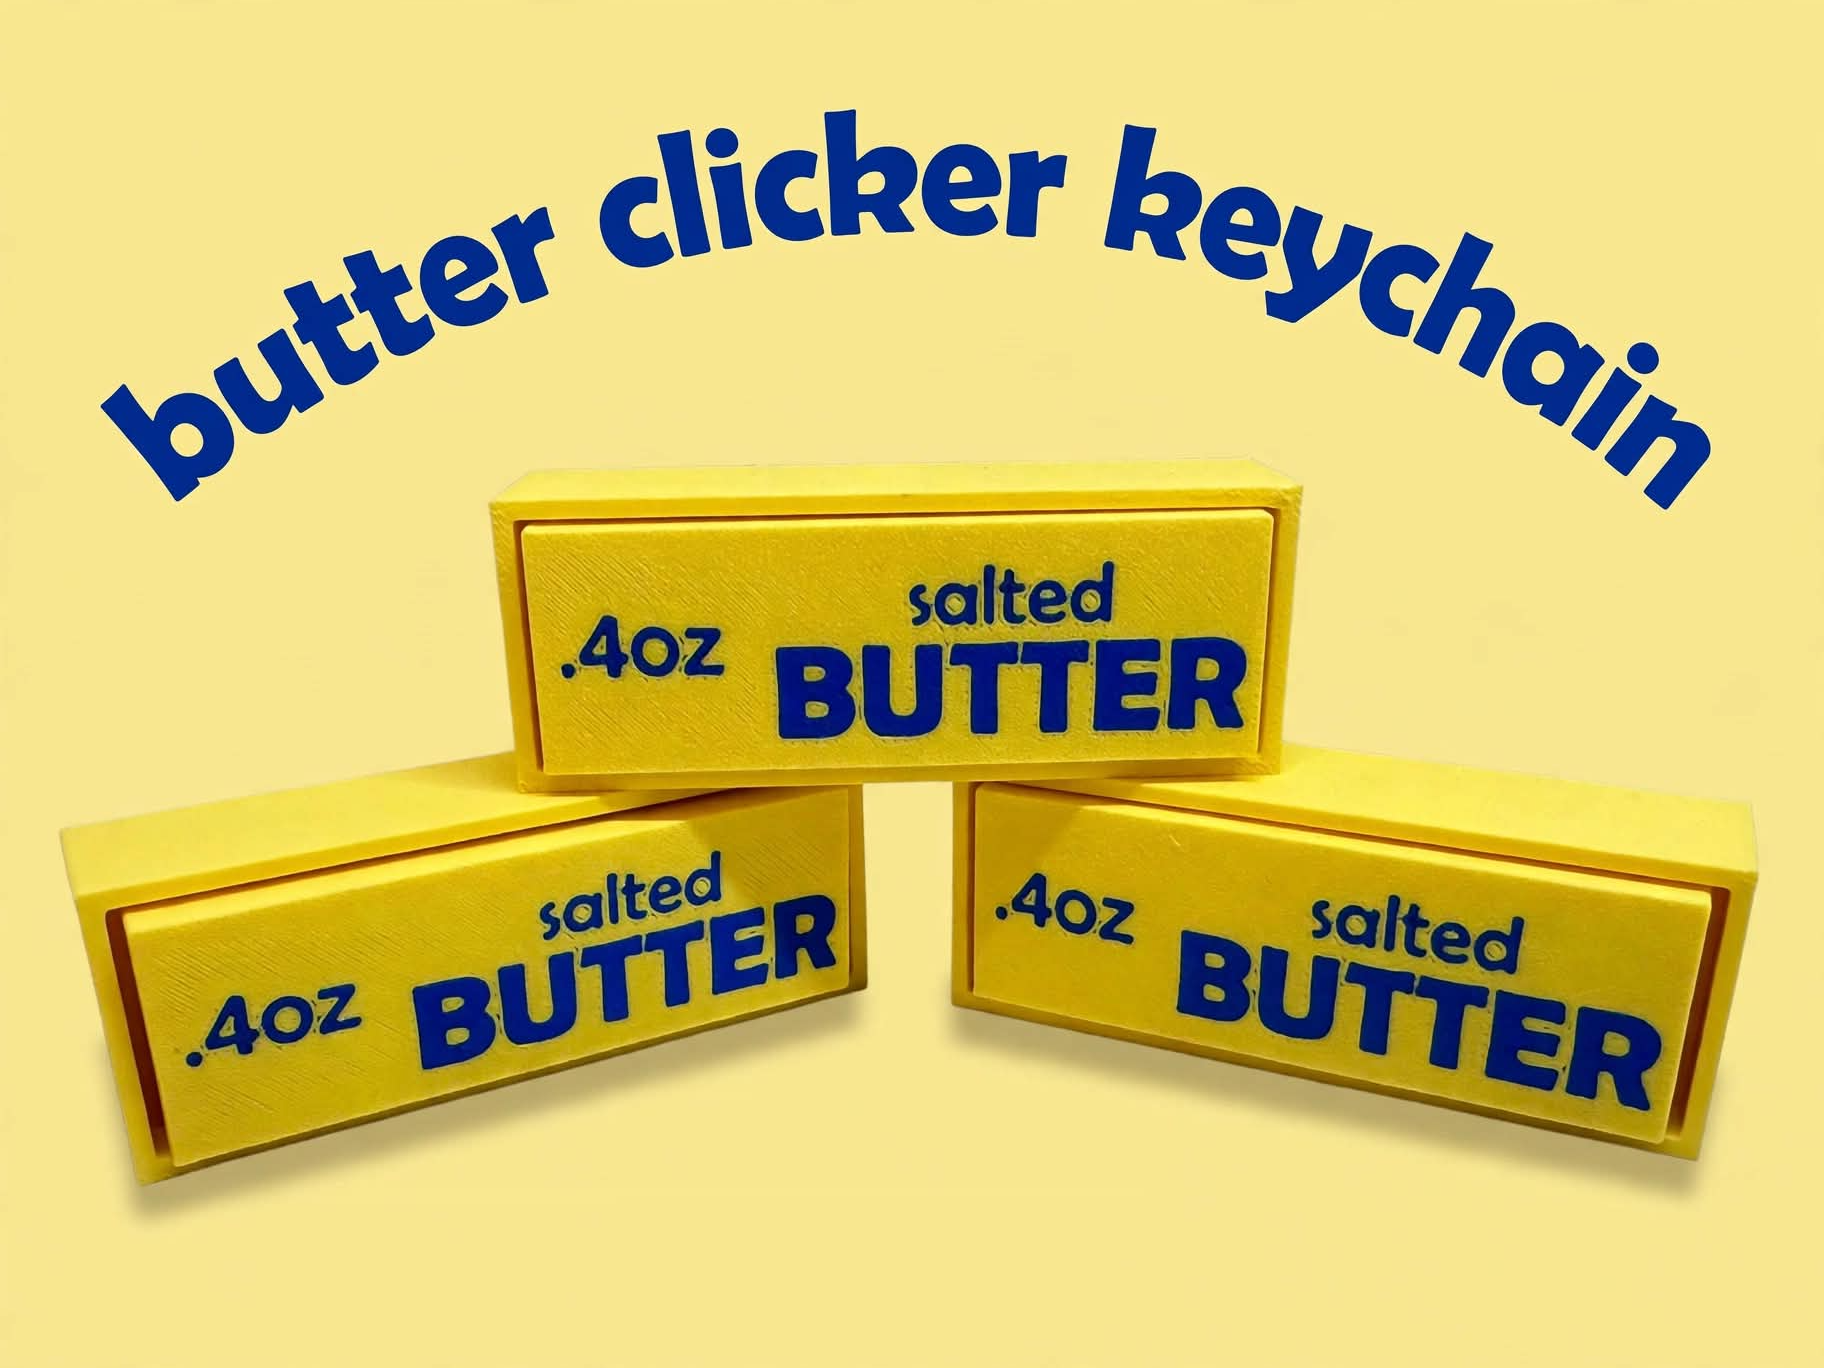
Butter Clicker Keychains
Peso
35g
Tiempo
58m
Precio
Pregunta por WhatsApp por este modelo o uno similar
Te ayudamos a conseguir este diseño o uno parecido, con precio según color y acabado
Las dimensiones dependen del diseño. Confirmamos las medidas exactas por WhatsApp.
Este diseño es de su creador en MakerWorld y se muestra solo como referencia. Tecnoprints no es dueño del modelo ni de su licencia.
Descripción
This will require two keyboard switches. 3D Printed Clicker Toy Assembly Guide Materials: • 1 Mechanical Keyboard Switch • 3D-Printed cross half and box hole Half • (Optional) Small amount of super glue Assembly Steps: Find the cross half, box Half (holds the switch), and the switch itself. Push the cross top of the switch into the cross half of the 3d print. It should click into place snugly. You can use glue if needed. A little glue goes a long ways. You don't want the glue to get into the switch. Line up the box 3d print half over the switch. Press the two halves together firmly. Test Your Clicker Press down to test the click action! If the halves feel loose, use a tiny bit of glue to secure them.
Tags
Diseñador
Ada & K 3DA