
iPhone Duo Tesla Charger Spacers | Model 3 / Y
Peso
14g
Tiempo
29m
Precio
Pregunta por WhatsApp por este modelo o uno similar
Te ayudamos a conseguir este diseño o uno parecido, con precio según color y acabado
Las dimensiones dependen del diseño. Confirmamos las medidas exactas por WhatsApp.
Este diseño es de su creador en MakerWorld y se muestra solo como referencia. Tecnoprints no es dueño del modelo ni de su licencia.
Descripción
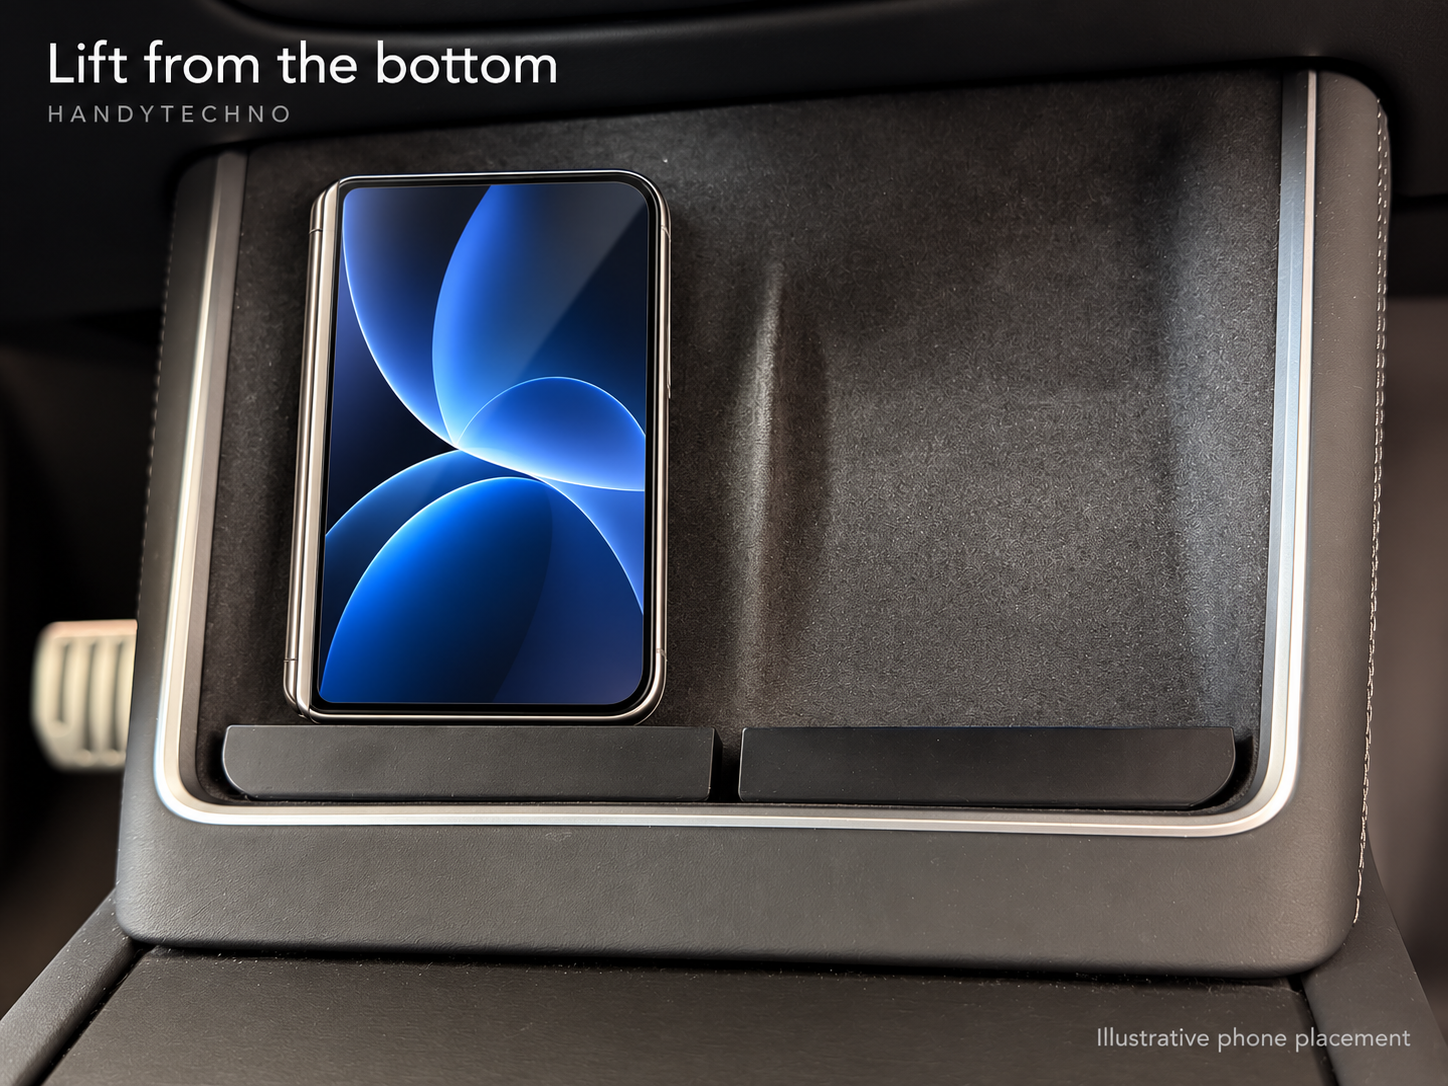
Bottom spacers intended to raise a folded iPhone Duo on the Tesla wireless charging pad so the phone sits higher on the pad. Designed for Tesla Model 3 and Model Y (2025+) charging trays like those in the photos. How it works: two separate mirrored spacers (left and right bay). The phone rests on the flat top; there are no side arms or clamps. Curved lower corners and a relieved underside are meant to fit the bottom of the charging tray. Nominal size per spacer: 90 mm wide, 16 mm lift along the pad, 11 mm deep. What’s included - Left and right spacers (STL) - Bambu Lab H2C PETG print profile (both spacers) - Bambu Lab P1S PETG print profile (both spacers) Compatibility and limits Compatible with the kind of Model 3 / Model Y wireless tray shown in the real installation photos. The creator printed the design and confirmed fit in their Tesla; those photos are included. This is not verified across every 2025+ Model 3 / Model Y variant, case, or charging condition. Compare your tray to the photos before printing. Not affiliated with Tesla or Apple. Not MagSafe-certified. No magnets inside. Does not guarantee charging, faster charging, or cooler operation. Intended purpose is to help adjust vertical position for wireless charging alignment; results vary by phone, case, and vehicle. Printing The model includes print profiles for Bambu Lab H2C and P1S. It can be printed in PETG, but ABS or ASA is recommended because of heat in a parked car. Nozzle 0.4 mm. Profiles use 0.20 mm layers; open the profile for your printer and verify filament settings for your material. No supports. Print orientation differs from installed orientation: the flat phone seat prints against the build plate—do not rotate to match the upright CAD view. PETG can deform under excessive heat; parked-car heat durability has not been qualified. Stop using the part if it warps. Installation 1. Place the mirrored spacers at the bottom of their corresponding bays. 2. Rounded outer ends face the outer tray corners. 3. Flat seating faces point upward. 4. Rest the folded phone on the spacer with its back against the charging pad. 5. Confirm stable seating and charging on the vehicle display or phone. 6. Stop using if the phone is unstable, charging is intermittent, or the part deforms. Images: two real installation photos, one exact CAD render, and labeled illustrations. The illustrated phone is not a photograph of a completed charging test. Phone and vehicle not included.
Tags
Diseñador
nirhend