
Spiral Candy Machine - Turn It & Watch It Roll
Peso
820g
Tiempo
27h 35m
Precio
Pregunta por WhatsApp por este modelo o uno similar
Te ayudamos a conseguir este diseño o uno parecido, con precio según color y acabado
Las dimensiones dependen del diseño. Confirmamos las medidas exactas por WhatsApp.
Este diseño es de su creador en MakerWorld y se muestra solo como referencia. Tecnoprints no es dueño del modelo ni de su licencia.
Descripción
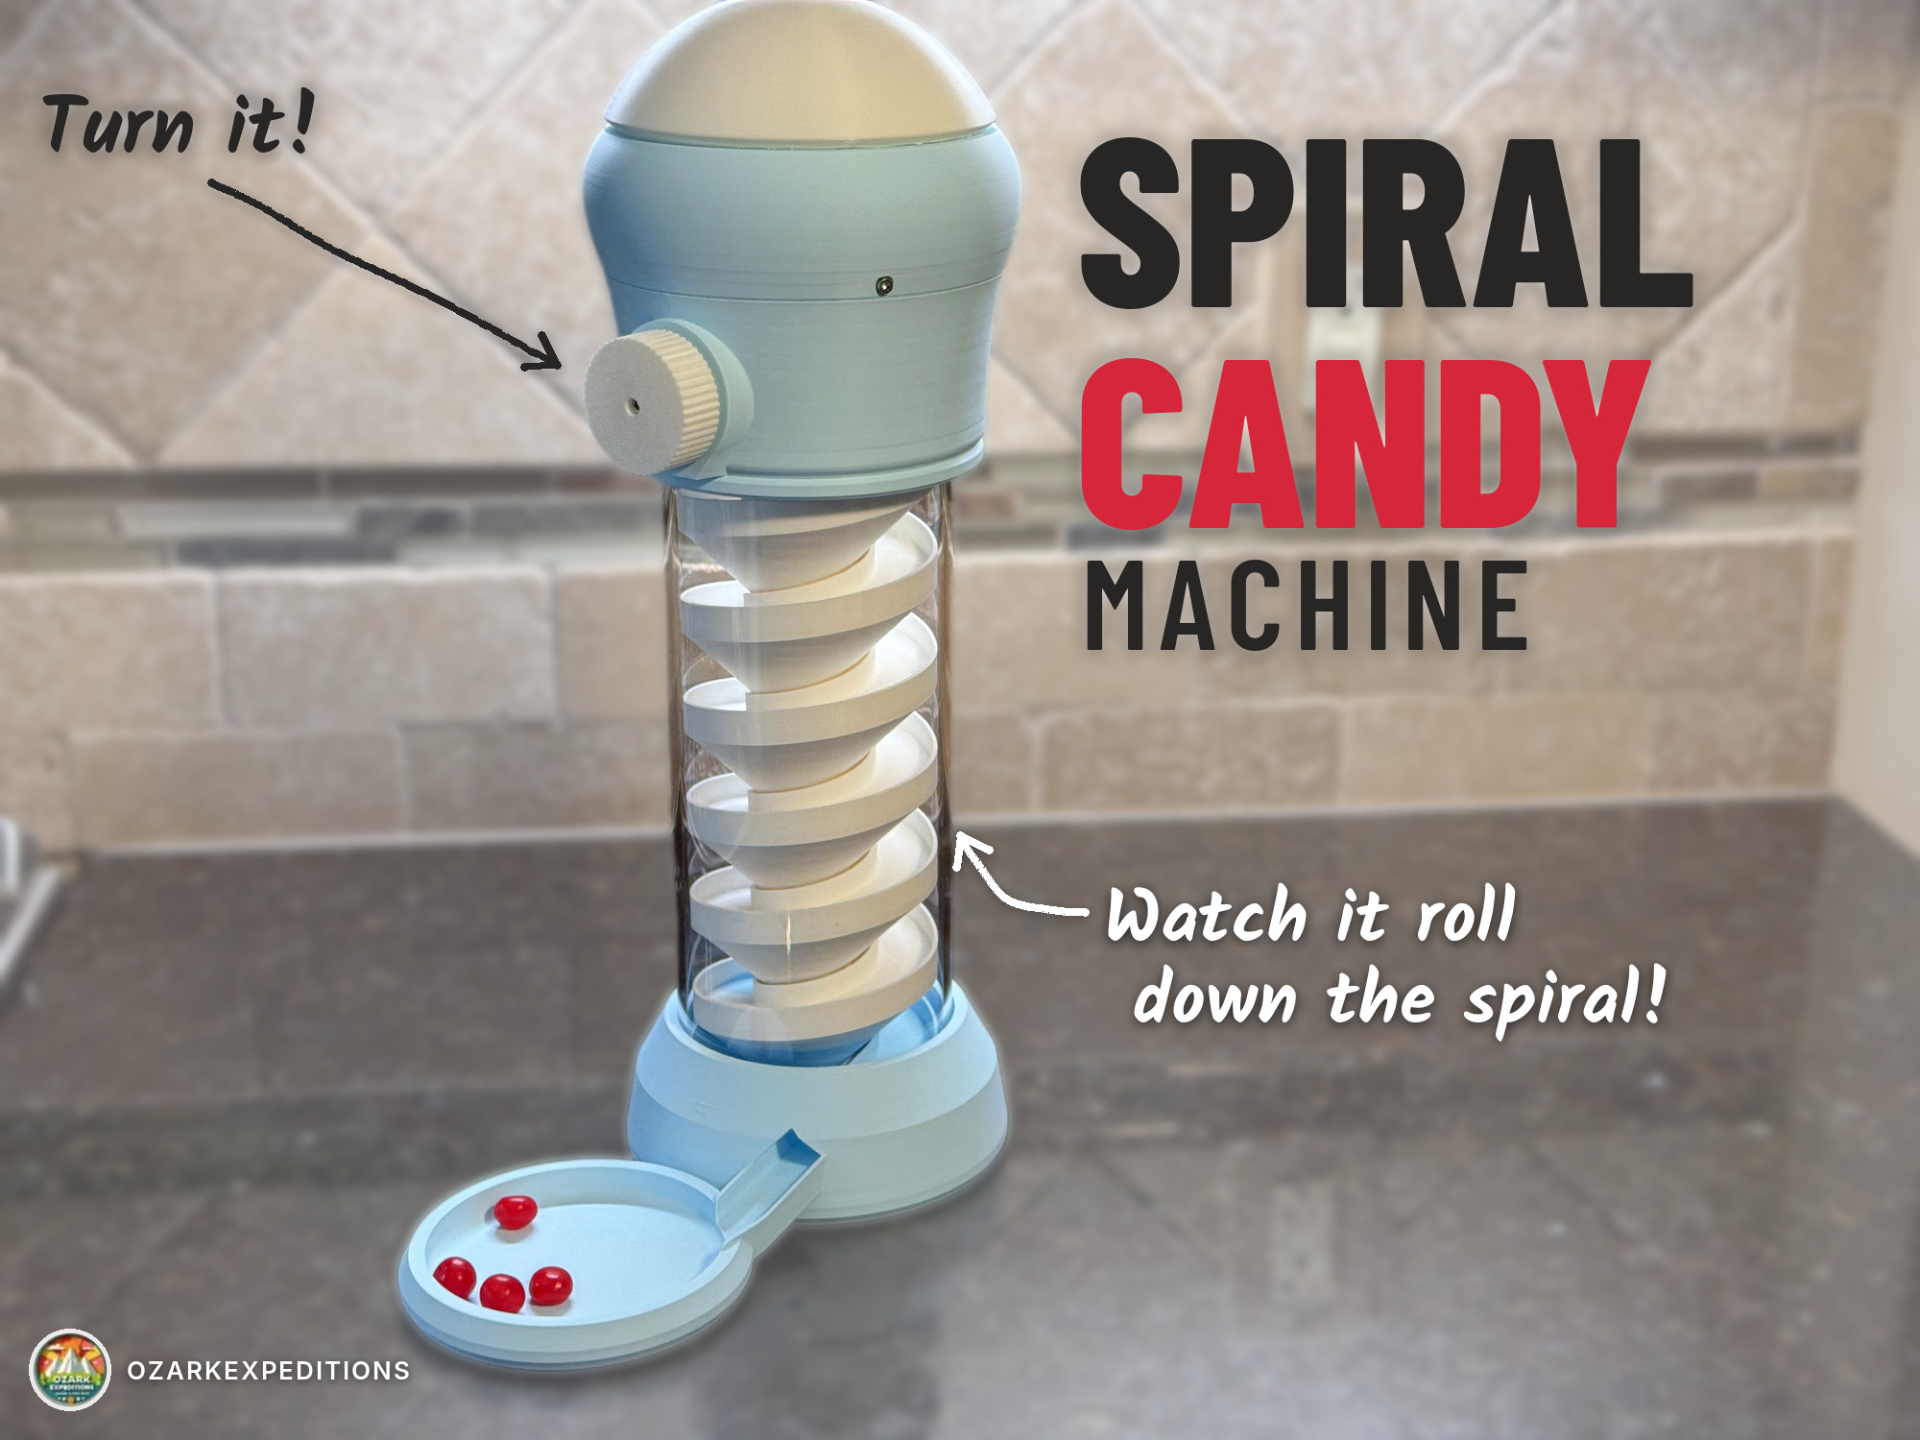
With Halloween coming up, I wanted a way to meter my intake of candy with all of the tax I'll be collecting from my kid's candies. :D There's something about a classic candy machine on the counter that makes everyone want to give the knob a turn. With this one, we wanted to keep that classic shape and add a little show. Turn the knob and a single pocket scoops a gobstopper or other similar size candy from the hidden hopper. It drops onto a spiral track and rolls round and round down the clear acrylic tube, then lands in the catch bowl. We wanted the trip to be just as fun as the treat. Most machines hide the candy until it pops out a chute; this one puts the whole ride on display. It reminds me of some of those candy machines at the mall that we used to play with as kids. SLOW MO ACTION SHOT!How It Works Lift the domed lid and fill the hopper Turn the knob, and the metering drum's single pocket loads a candy while it faces up About a half-turn later, the pocket faces down and drops the candy onto the outside lane of the spiral The candy rolls down the continuous spiral inside the clear tube and settles into the front catch bowl What You'll Need 7 printed parts: Base & Spiral, Lower Head, Metering Drum, Shaft, Knob, Hopper, Domed Lid 1 clear acrylic tube: 100 mm OD x 94 mm ID x 220 mm long from the Maker's Supply store link below. 8 M3x8 screws, with heads no larger than 5.5 mm in diameter and 3 mm tall so they fit the pockets Candy: designed around half-inch (about 12.7 mm) round candy like Everlasting Gobstoppers. Sizes vary between batches, so measure yours. Printing Notes Designed with the H2D and H2C in mind and using the Support PLA material. Assembly Please see the attached assembly guide PDF for step-by-step illustrated instructions. Here's the quick version: Clean up supports and check the shaft bore, drum cavity, candy pocket and throat Slide the acrylic tube over the base and spiral Seat the lower head with the knob boss facing the catch bowl, and fasten with three screws from inside Drop the drum into the cradle, pocket up, then slide the shaft in from the front and fasten the rear drum screw through the tool-access notch Fit the knob to the outer shaft end with one screw and check for a full, free turn Lower the hopper on, fasten its three rim screws and check rotation again Pop on the dome and you're ready to fill Tighten gently throughout, since the screws thread directly into printed pilots. Stick with M3x8 at the base. Design Intent With the Spiral Candy Machine, we wanted a nostalgic piece that sits nicely on a shelf or counter and pulls people over to give it a turn. The clear center turns a quick candy grab into something worth watching, and the larger top and bottom housings frame the spiral like a display case. We already have some ideas for the next version of this, but please let us know what changes we should make next. Make It Yours The red, ivory and brass look in the photos is just one idea. Try your team colors, a holiday theme, metallic filaments for a vintage arcade feel, or a wood-tone base for a soda-fountain vibe. We'd love to see where you take it. Feedback As always, we'd love to hear what you think. If you print the Spiral Candy Machine, share your build photos and let us know which candies roll best in yours. Tell us what tweaks or variations you'd like to see next too. Your feedback helps shape future versions. If you love these types of projects, feel free to give us a boost to keep us motivated. :D
Tags
Diseñador
ozarkexpeditions