
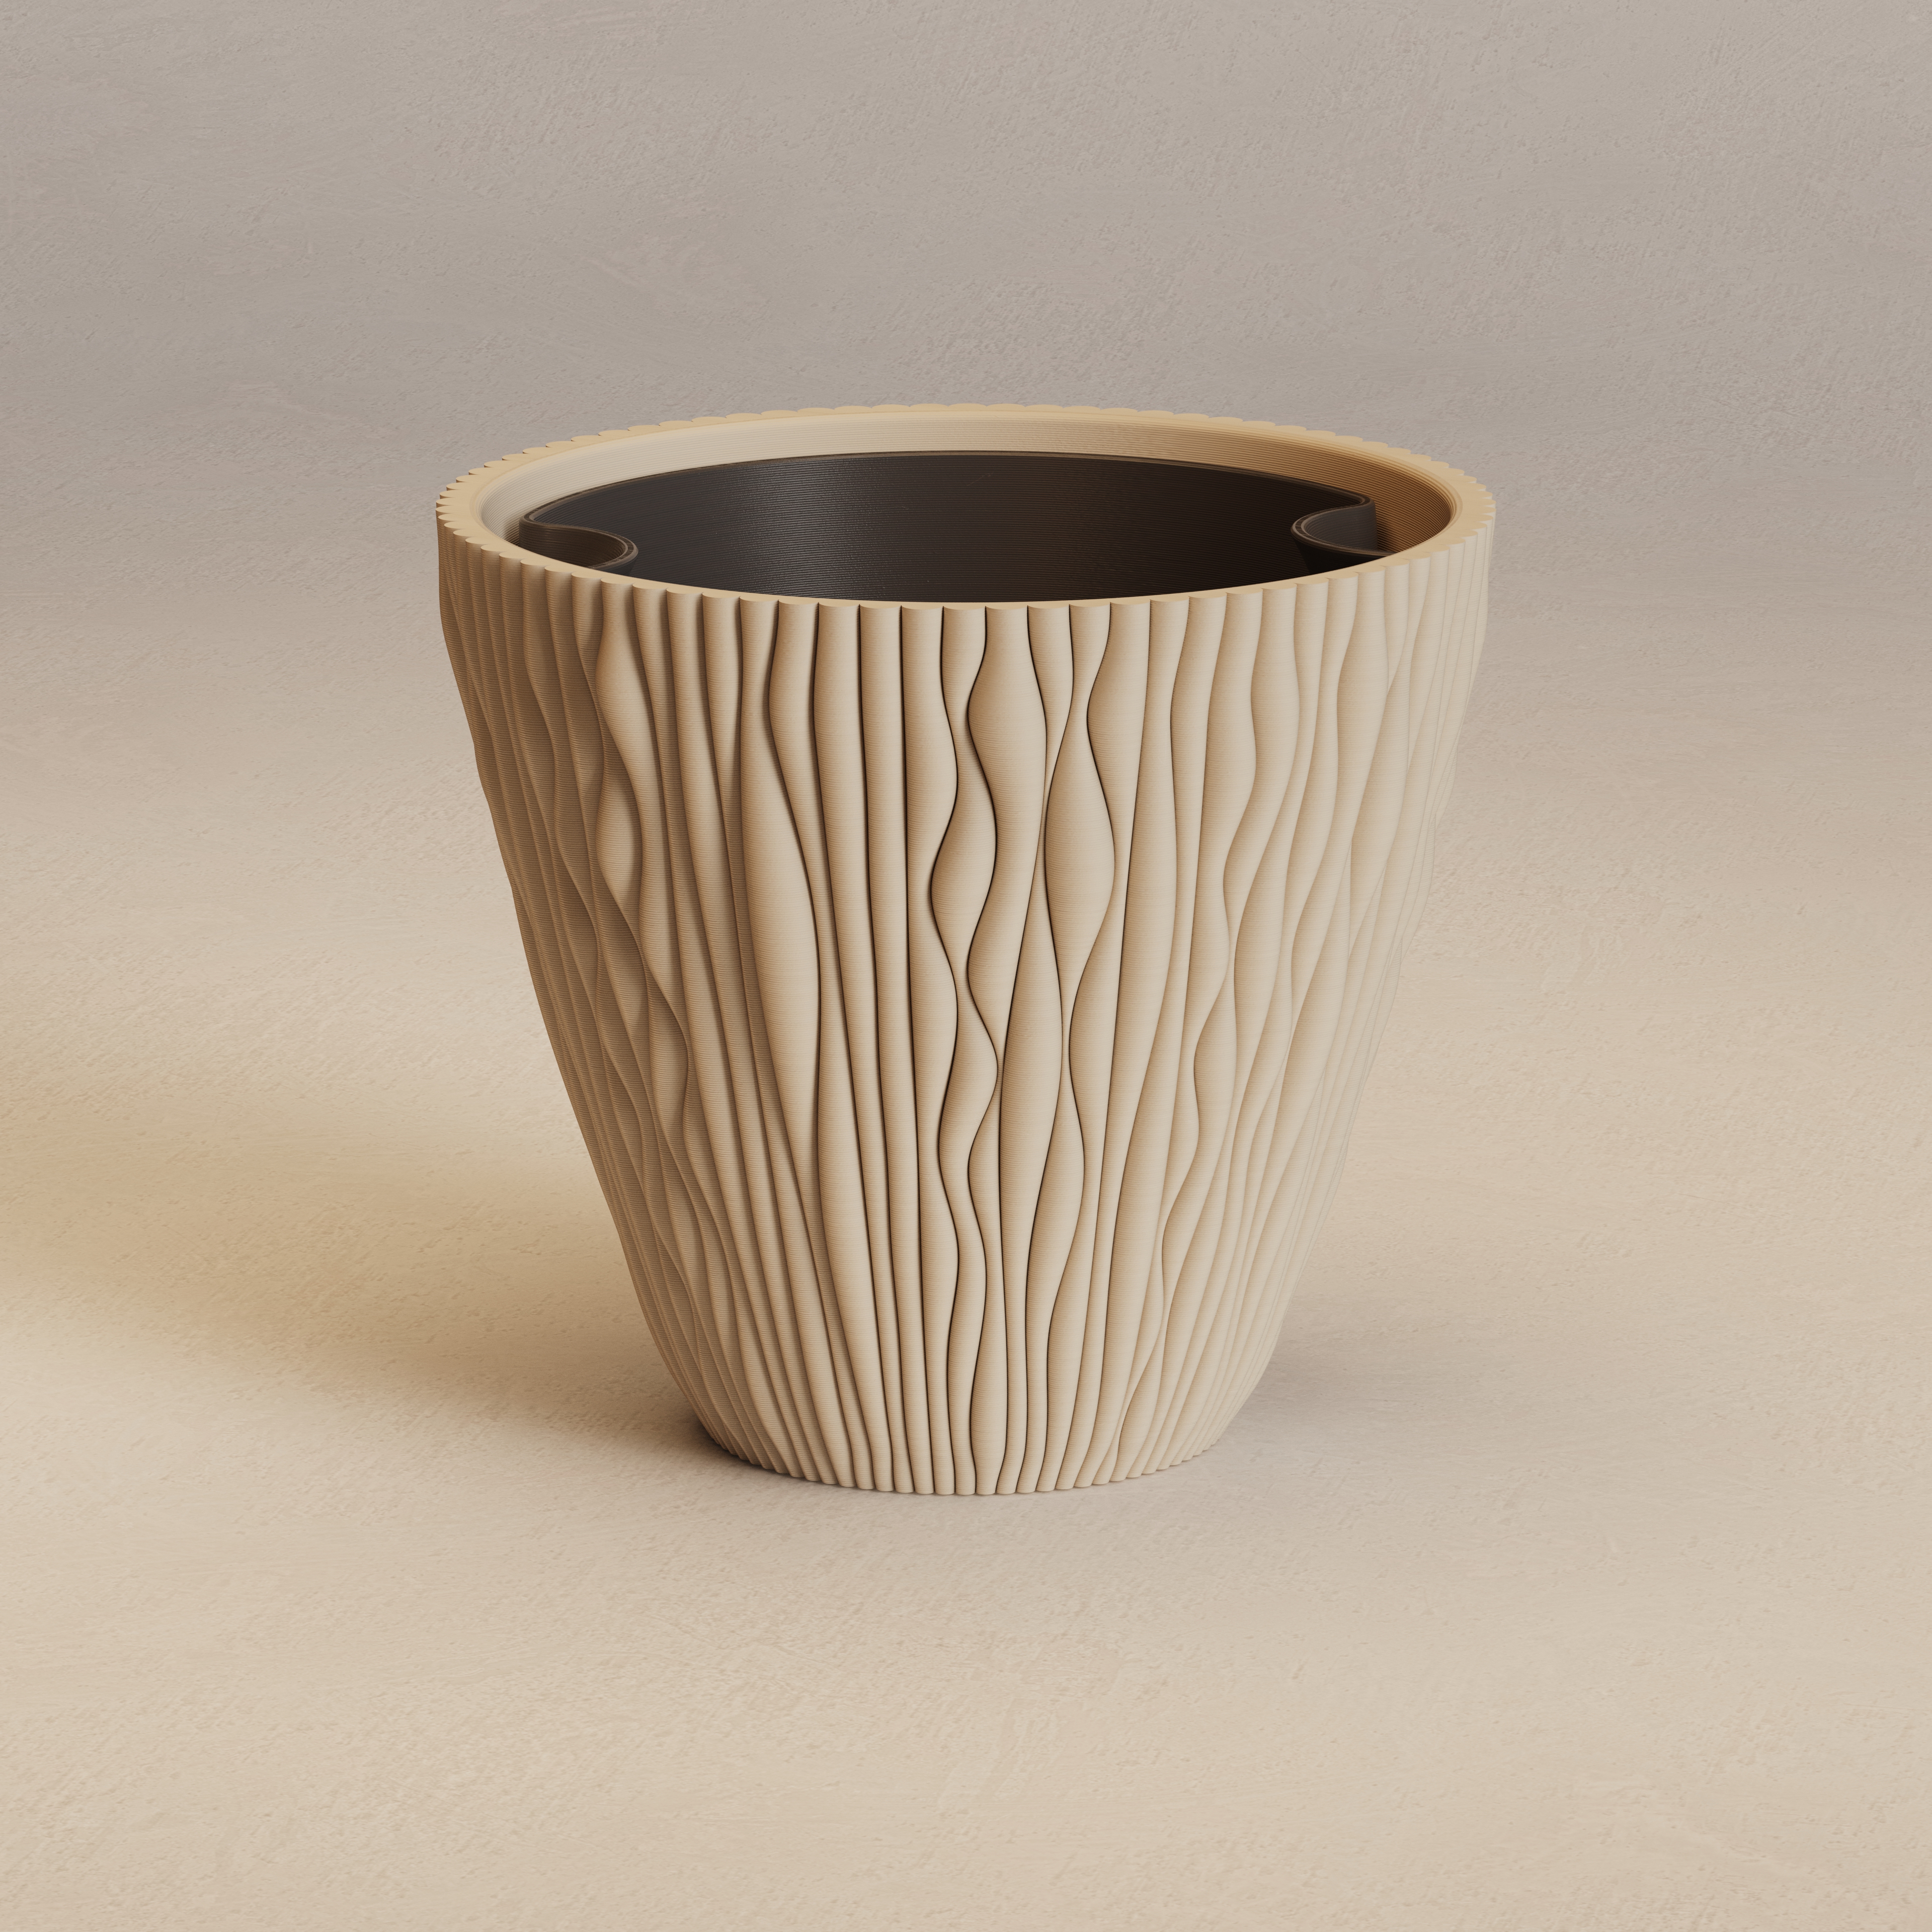
Dusk Shadow Wave Self-Watering Planter | Wabi-Sabi
Peso
480g
Tiempo
10h 51m
Precio
Pregunta por WhatsApp por este modelo o uno similar
Te ayudamos a conseguir este diseño o uno parecido, con precio según color y acabado
Las dimensiones dependen del diseño. Confirmamos las medidas exactas por WhatsApp.
Este diseño es de su creador en MakerWorld y se muestra solo como referencia. Tecnoprints no es dueño del modelo ni de su licencia.
Descripción
Dusk Shadow Wave Planter | Wabi-Sabi Pot A self-watering planter with vertical waves, made for low side light. ☀️ Why It’s Called Dusk Shadow The waves on this pot run vertically, so the light has to come from the side to show them. When the sun is low, in the evening or from a window beside the pot, it hits one side of every ridge and leaves the other side in shadow. You get long, dark lines running down the pot. Light it from straight above and the light just runs along the ridges, so the surface looks almost plain. Noon Shadow Wave Planter Its companion, the Noon Shadow Wave Planter, has horizontal waves and works the opposite way: it needs light from above. Same system, opposite light. Put one under a ceiling light and one next to a window. The waves are slightly uneven on purpose. That’s the wabi-sabi part. No two spots on the pot look the same, and the pot changes with the room and the time of day. 📦 What’s Included Dusk Shadow outer pot in Small and Large Self-watering reservoir tray for each size, with 5 open legs and a centre wick bar Inner grow insert for each size, with a perforated floor, two fill channels and centring ribs Everything prints without supports. 📐 Sizes Small: Ø 162 × 150 mm. Soil ≈ 1.1 L, reservoir ≈ 140 ml. Herbs, small foliage, cuttings. Large: Ø 253 × 250 mm. Soil ≈ 5.5 L, reservoir ≈ 450 ml. Mid-size foliage and statement plants. A full reservoir lasts about 2 to 9 days on the Large and 2 to 7 days on the Small, depending on the plant, light, season and number of wicks. 💧 How It Waters Water sits in the reservoir under the tray. The soil never touches it directly. A synthetic wick cord does the work: one end hangs in the water, the other end sits in the soil, and the cord pulls water up as the plant uses it. The legs only hold everything above the water and let air and water move underneath. You fill the reservoir by pouring into either fill channel, so the soil stays dry on top. 🧵 Wick Use a synthetic cord about 3 mm thick (nylon, polyester or acrylic). Cotton rots in damp soil within a few months and stops working. You can thread wick through two kinds of opening: Centre slot: loop the cord around the wick bar in the middle of the tray and bring it up through the slot in the insert floor. This is your main wick. Drainage hole rows: both parts have rows of 3 holes. You can run extra wicks through them when the holes line up. More wicks means faster watering. 🔗 Tie the Tray and Insert Together First The tray and insert have to sit exactly on top of each other with the holes lined up. If you put the insert into the pot on its own, it can end up crooked, and the solid parts of the tray will block most of the holes. So assemble them outside the pot: Set the insert on the tray and turn it until the hole rows line up and both fill channels sit over the large notches in the tray rim. Tie them together with a few pieces of string through matching holes. Lower them into the pot as one unit. 🌱 Setup Cut the wicks long enough to reach the bottom of the reservoir and run 5 to 10 cm into the soil. Thread the main wick around the wick bar and up through the centre slot. Add extra wicks through the hole rows if you want. Tie the tray and insert together and place them in the pot. Spread the top ends of the wicks into the bottom layer of soil as you fill. Plant, then water once from the top to settle the soil and wet the wicks. After that, pour water into a fill channel. 🪴 Good to Know Use a fine peat or coir-based mix with no more than about 30% perlite. Chunky bark mixes don’t pull water well. Don’t overfill. About 400 ml for the Large and 120 ml for the Small is the limit. If water rises above the tray, the soil stays wet. Check the level by sliding a wooden skewer down a fill channel. Let the reservoir run dry for a day or two now and then so the roots get some air. The outer pot holds the water, so print it watertight. ✨ Perfect For Window sills and shelves next to a window Rooms with low evening light or a lamp at the side Japandi and wabi-sabi interiors People who forget to water 🎨 Filament Recommended: 👉 Bambu PLA Matte Bone White works best. The pale surface makes the shadows look much darker, and the matte finish hides layer lines. Desert Tan also looks good. 💼 Commercial Subscribers Need a custom size or a different reservoir depth for a commercial project? If you are an active commercial subscriber, reach out and I can adapt the model. Thank you for respecting creator rights and supporting original design work 🤍
Tags
Diseñador
Ikigaiform