
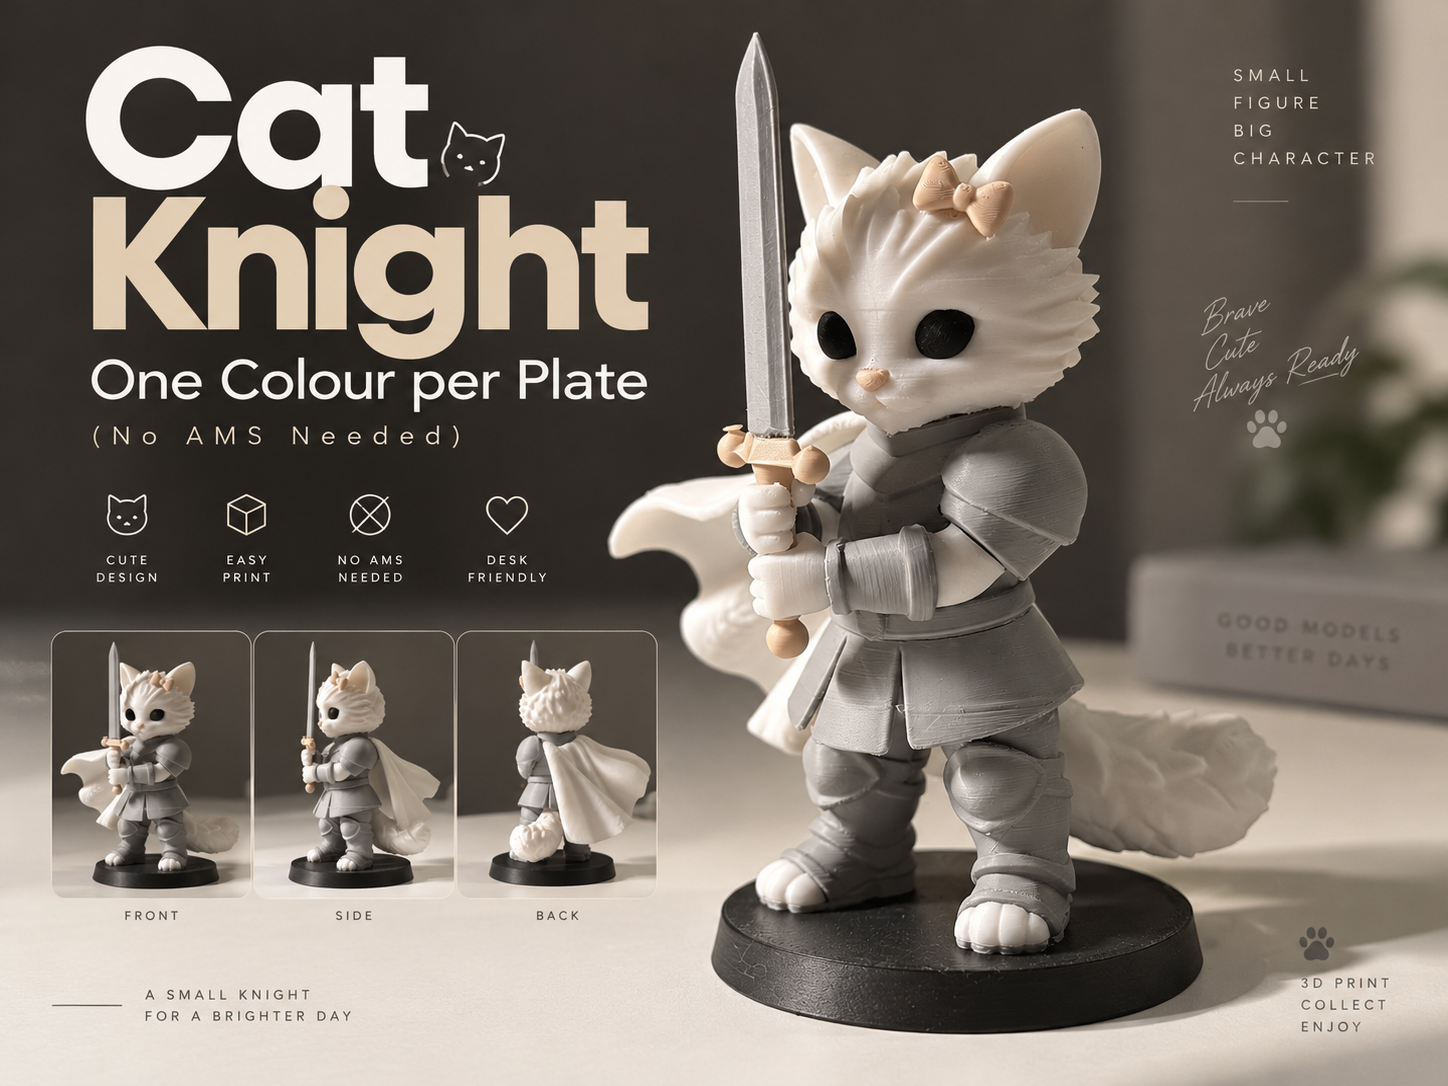
Cat Knight, One Colour per Plate (No AMS Needed)
Peso
97g
Tiempo
11h 32m
Precio
Pregunta por WhatsApp por este modelo o uno similar
Te ayudamos a conseguir este diseño o uno parecido, con precio según color y acabado
Las dimensiones dependen del diseño. Confirmamos las medidas exactas por WhatsApp.
Este diseño es de su creador en MakerWorld y se muestra solo como referencia. Tecnoprints no es dueño del modelo ni de su licencia.
Descripción
Meet the Cat Knight: a fluffy white kitten in grey armour, holding a sword with a pink guard, wearing a cape and a pink bow. The figure is split along the natural colour borders into 23 parts, so each part is a single colour. You print 4 plates (black, white, pink, grey) and change the spool between them. No AMS, no purge towers, no colour-change waste. HOW IT GOES TOGETHER - Printed pins and D-shaped keys line every part up. You need no screws, magnets or extra hardware. - Waist, neck, cape, tail, sword and pedestal hold without glue, so the figure comes apart again. - The fists and the head inlays (eyes, nose, ears, bow) are glued. Glue is also recommended for the arms, bracers and toes. - The pink pommel stays on its peg with friction or a drop of glue. The blade's tang is glued into the guard. SIZE - Height 131 mm with the sword, pedestal Ø69 mm. - Clearances are tuned for this scale. Please print at 100 %. WHAT'S IN THE KIT (23 parts) - Grey (armour): torso with pauldrons, legs, bracer L/R, sword blade - White: head, upper arm L/R, fist upper/lower, toes L/R, cape, tail - Black: eye L/R, pedestal (with an engraved "Niko" underneath) - Pink: nose, ear inlay L/R, bow, sword guard + grip, pommel ASSEMBLY (tested order) 1. Head: press the eyes, nose and ear inlays into their pockets with a little glue. Seat the ear inlays' lower tabs first, then press the whole inlay in. Push the bow's peg into the slot on top. 2. Toes: push each toe cap's pin into the hole in the boot from the front, with glue. 3. Tail: insert the root into the socket under the skirt, from below and behind, along the tail. 4. Torso onto the waist D-pin, flat side to the front. 5. Right upper arm onto its torso pin, then the right bracer onto the arm. 6. Left upper arm + left bracer: join them first, then put them on the torso pin as one unit. 7. Sword and fists: - Glue the blade's tang into the guard slot and let it dry. - Put a drop of glue on each wrist face, but not into the sword channel. - Fit the lower fist onto the left bracer pin and the upper fist onto the right bracer pin. - Right away, push the sword grip down through both fists so they line up, and let the glue set. - Push the pommel onto the peg below the lower fist. 8. Cape: two pins into the holes in the back. 9. Head onto the neck D-pin, face forward. 10. Set the figure on the pedestal pins. TIPS - Dry-fit everything before gluing. - Put glue deep in the pocket, not on the visible seam. Superglue can leave a white haze on dark plastic. - If a fist is tight on its pin, run a 3 mm drill bit into the fist hole by hand, no deeper than 3 mm. - Dry the pink PLA (50–55 °C, 6–8 h). The small pink parts string easily.
Tags
Diseñador
eleron96