
Sliding Photo Book - Parametric & Customizable
Peso
99g
Tiempo
3h 29m
Precio
Pregunta por WhatsApp por este modelo o uno similar
Te ayudamos a conseguir este diseño o uno parecido, con precio según color y acabado
Las dimensiones dependen del diseño. Confirmamos las medidas exactas por WhatsApp.
Este diseño es de su creador en MakerWorld y se muestra solo como referencia. Tecnoprints no es dueño del modelo ni de su licencia.
Descripción
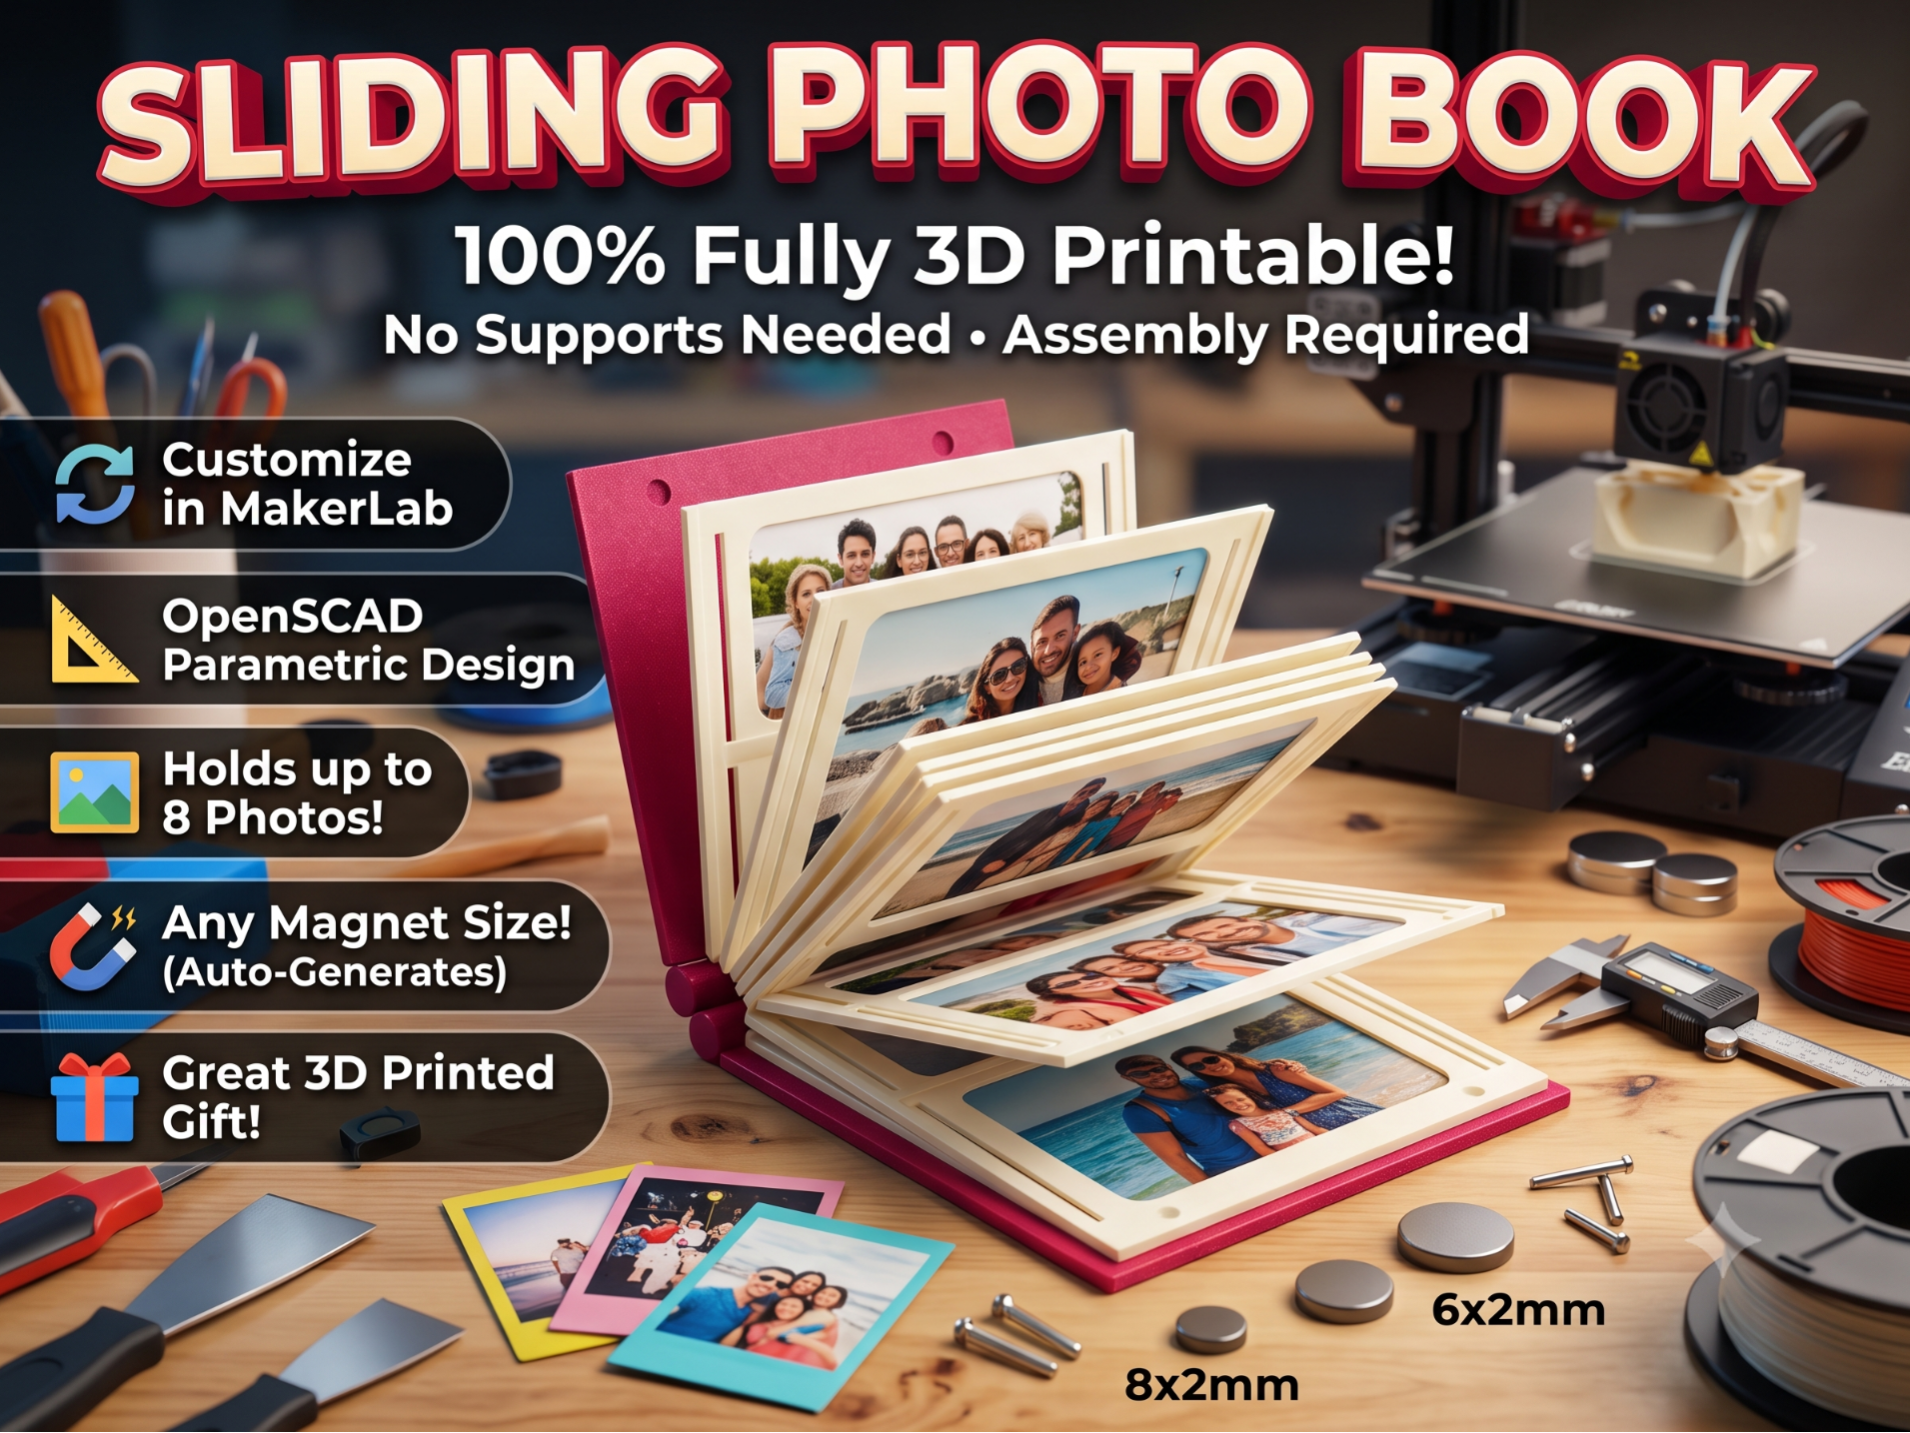
The Sliding Photo Book is a unique, interactive keepsake. As you open the magnetic cover, the internal frames smoothly slide out to reveal a fanned display of your favorite memories. It is engineered to be 100% 3D printable with no supports and features a print-in-place hinged cover. Most Updated is Version 3 !!!! use THAT Key Features Fully Parametric (OpenSCAD): Customize directly in MakerLab. You can adjust the number of pages (from 4 up to 8 photos) and input exactly what size magnets you have on hand. The model automatically recalculates the pockets and cover thickness to fit your hardware perfectly. Support-Free Printing: Every part is designed to print flat on the build plate without any support structures. Print-in-Place Hinge: The main cover and spine print as a single, fully functioning articulated piece. Ready-to-Print 3MF: The included pre-configured print profile is set up for a 4-page book using 5x2mm magnets, split neatly across organized plates. Printing Guidelines Material: PLA or PETG Layer Height: 0.2mm (optimizes the sliding tolerances and hinge gaps) Wall Loops: 3 walls for durability Infill: 15% Grid or Gyroid Supports: None required Brim Depends on Print Bed How to Assemble Prepare the Parts: After printing, you should have one Main Cover assembly, one Bottom Page, the required number of Middle Pages, and one Top Page. Flex the hinges on the Main Cover a few times to loosen the print-in-place joints. Install the Magnets: Apply a small drop of superglue to the magnet pockets on the Front Cover and the Top Page. Press your magnets in, ensuring the polarities attract each other when the book closes. Ensure they sit completely flush so the book closes neatly. Build the Stack:Place the Bottom Page onto the locating pads inside the back cover's well. Slide the first Middle Page onto the Bottom Page. Ensure the travel nub on the underside of the Middle Page slots smoothly into the guide tracks of the Bottom Page. Repeat this process for the remaining Middle Pages. Finally, place the Top Page (the one with the magnets) onto the highest Middle Page, ensuring the nubs are slotted in. Insert the Photos: Trim your photos to fit the frame dimensions and simply slide them under the built-in dovetail lips on the side walls of each page. There are many similar Designs avaiable in Google but this one is total printable and customizable , people will claim that its their design but as we know First Airplane was Made by The Wright Brothers , so many such simlar model will be availble but my one is fully customizable . If you think this design is similar to anyone else please comment will give Credit !!! peace out !!!! Boost MeBOOST ME SO that i can upload more Parametric Models
Tags
Diseñador
Customnery