
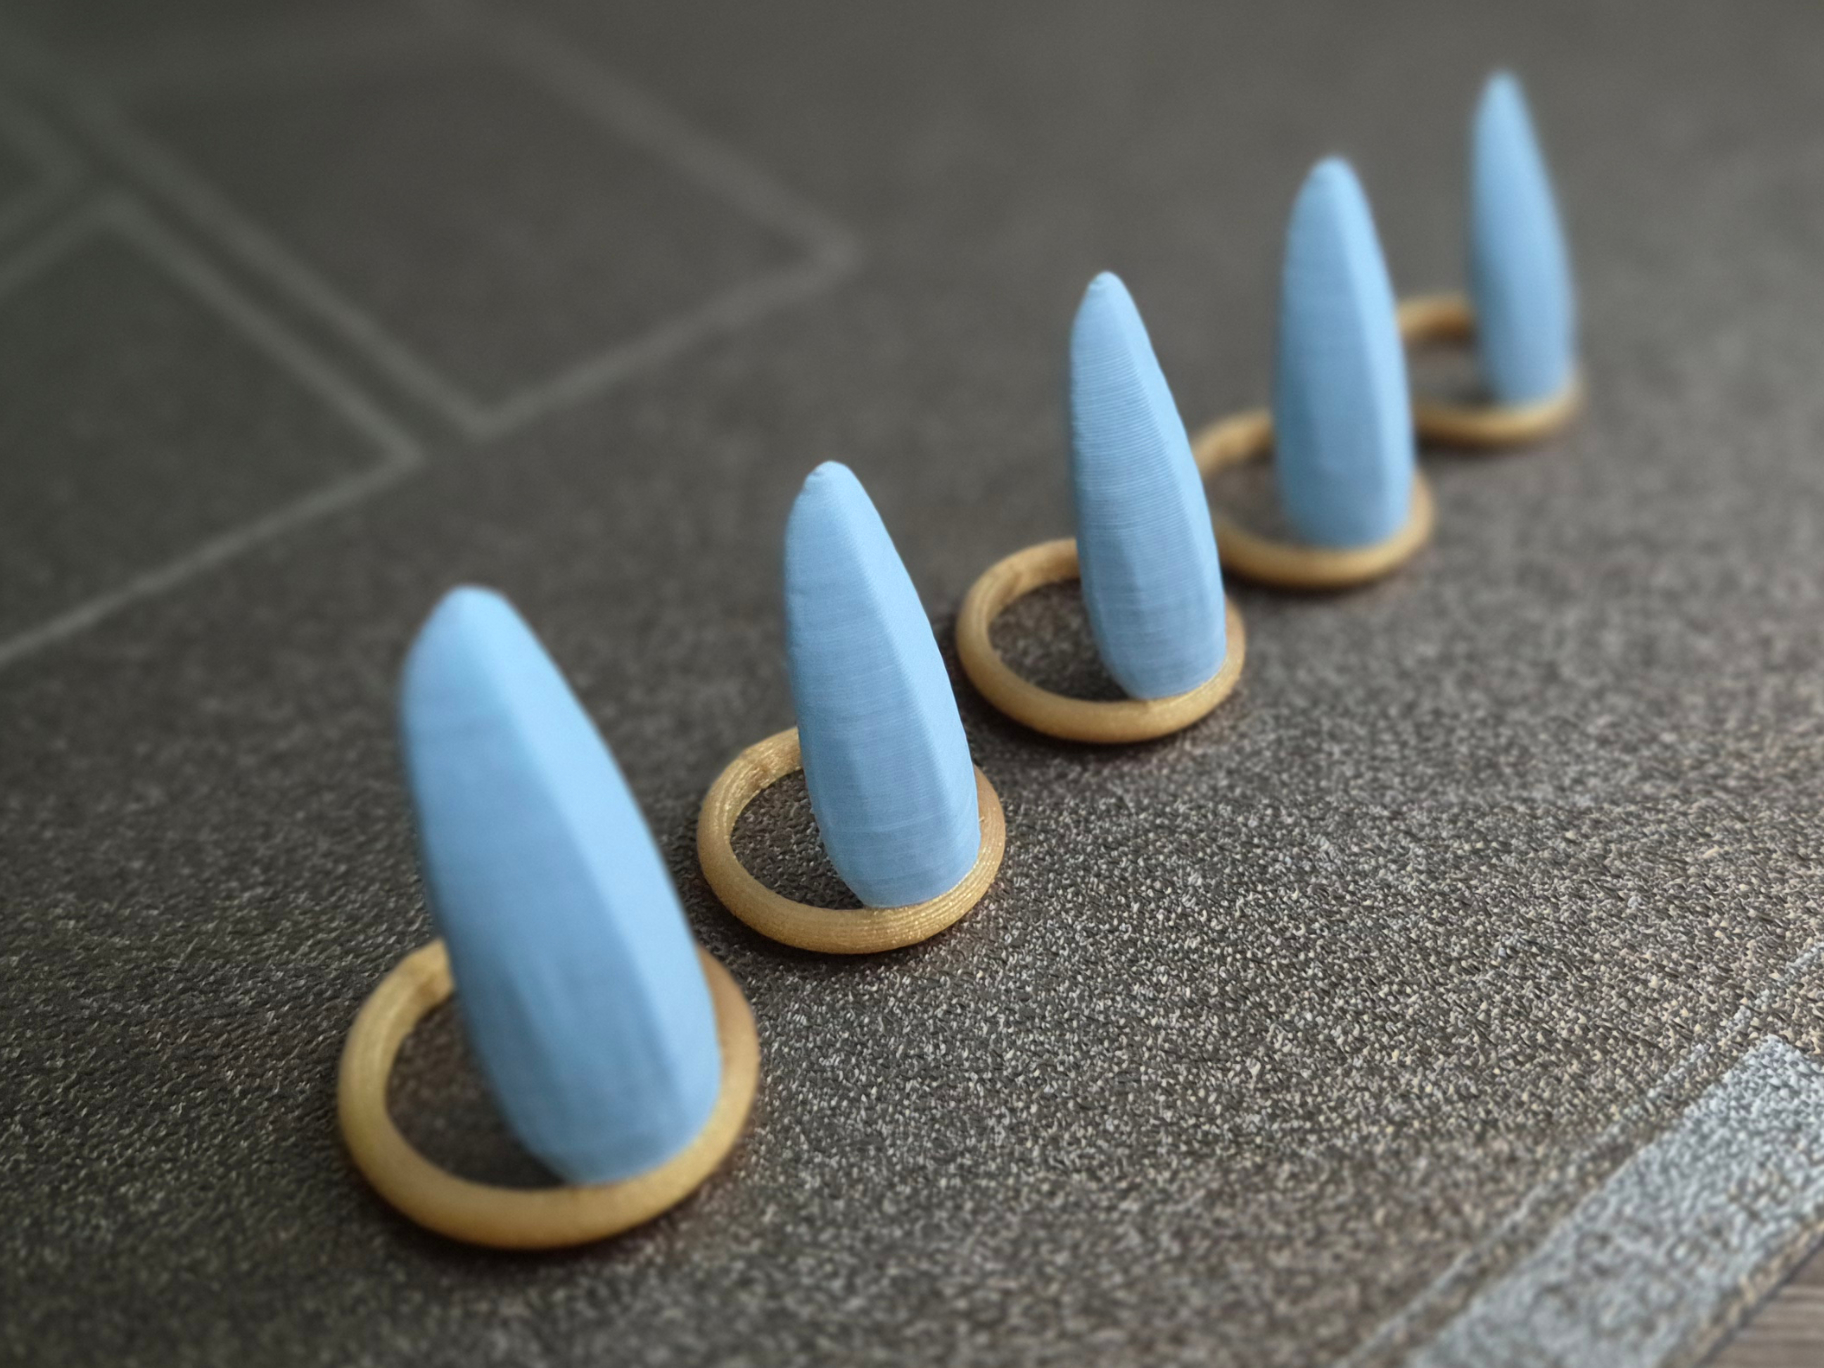
Princess Almond Nails on Rings for Cosplay
Peso
7g
Tiempo
32m
Precio
Pregunta por WhatsApp por este modelo o uno similar
Te ayudamos a conseguir este diseño o uno parecido, con precio según color y acabado
Las dimensiones dependen del diseño. Confirmamos las medidas exactas por WhatsApp.
Este diseño es de su creador en MakerWorld y se muestra solo como referencia. Tecnoprints no es dueño del modelo ni de su licencia.
Descripción
If you don’t want to have artificial nails or cannot have them because of allergies or so – but still want to have beautiful and long nails for your costume or cosplay – I think you’ll like what I have this time :) I haven’t done gel nails for some time now and for occasions like this – I sometimes miss them. So I’ve tried to sculpt these almond-shaped nails for using from time to time as a part of the costumes. Last year for the Halloween contest I created these Demonic Stiletto Nails (I did wear them, they worked beautifully as a part of my costume) – and this time I was looking for something, let’s say, less dark, so I went with the princess theme :) I guess you can use these nails also for a lot different types of costume motifs. Boost MeIf you enjoy the project, consider boosting (it's free!). It gives me the possibility to create another models way faster - thank you!! (ノ◕ヮ◕)ノ*:・゚✧ Sizing – the simple version I’ve prepared the print profile with the default set which I’m using in the photos. I’m a woman and you told me lots of times that I have rather small hands ;) so feel free to resize the set. You can of course print it as is, try it on, then resize if needed. Ring sizes in the default set are 16,25 mm (thumb), 13,5 mm, 13,25 mm, 13 mm and 12 mm (pinky). Exact ring sizes As an enhancement from last time I also wanted to create a model that would be simpler for taking measurements and to fit to your fingers, so you don’t need to reprint it a few times. I decided to go with a table similar to the one used by jewellers – but simplified (table below). How does it work? The default model of the nail-ring has the inner diameter of 10 mm. It’s very small and to be honest I wouldn’t recommend printing smaller then that – it may be too fragile. Now look for the included table (below) – you will need to get some of the regular rings you have – and measure their inner diameter. Alternatively, you can measure the circumference of your finger (for example use a piece of thread, wrap it around your finger and cut to the length – then take it off and measure the length with the ruler). Now find the closest inner diameter or circumference in the table and find the percentage value corresponding to it. Let’s say your favourite ring has an inner diameter of 17,5 mm – you will need to resize my nail-ring model to 175% of its original value. So, just open the Scale menu in Bambu Studio, and resize the model of nail-ring to 175%. Now you have the ring with an inner diameter of 17,5 mm and you’re good to go. If you don’t know your finger sizes and don't want to take measurements I’ve also prepared the model without the nail part (only the ring) – so if you want, you can first print a few sizes of it, check your finger sizes, and then print the full ring+nail models in them. It’ll save you some filament. In the file you will find the ring models in all the sizes from the table – check objects names (they are called for example “RING – 12mm”) to find the exact one you want to print. Colors With AMS If you have AMS, printing is straightforward – the first filament is your ring color, the second one that goes after it – is your nails color. I’m using gold as the first color, but please feel free to experiment – I’d love to see your results :) If you want your prints in one color – just use the same filament for these parts. Printing with different colors without AMS If you don’t have an AMS but still want to have the ring and nail parts in different colors, you can do this by using layer-based filament swaps. They are triggered by short pauses in the g-code, which let you change the filament mid-print without any special hardware. When the print stops by itself, unload the filament and load the new one - just like you do normally. Then resume the print. The tricky part is – I couldn’t prepare the plate with, for example, 5 different sizes. It’s because if you increase the size of the ring, [for every few sizes] you’re also increasing the layer on which the filament should be changed (the model is bigger, so the ring part also gets a little bit taller). In the print profiles you’ll find the test version for this: ring size with inner diameter 10 mm, that has a g-code pause on the 10th layer. If you want to print different sizes, you need to resize it, then adjust the pause layer and then print one nail at a time. It’s not the most enjoyable job, but it can be done.
Tags
Diseñador
squishy.dango