
Tessera: Home Assistant Display v2, Guition 4"
Peso
55g
Tiempo
1h 25m
Precio
Cotiza este producto por WhatsApp
Contáctanos y te damos el precio según color y acabado
Las dimensiones dependen del diseño. Confirmamos las medidas exactas por WhatsApp.
Descripción
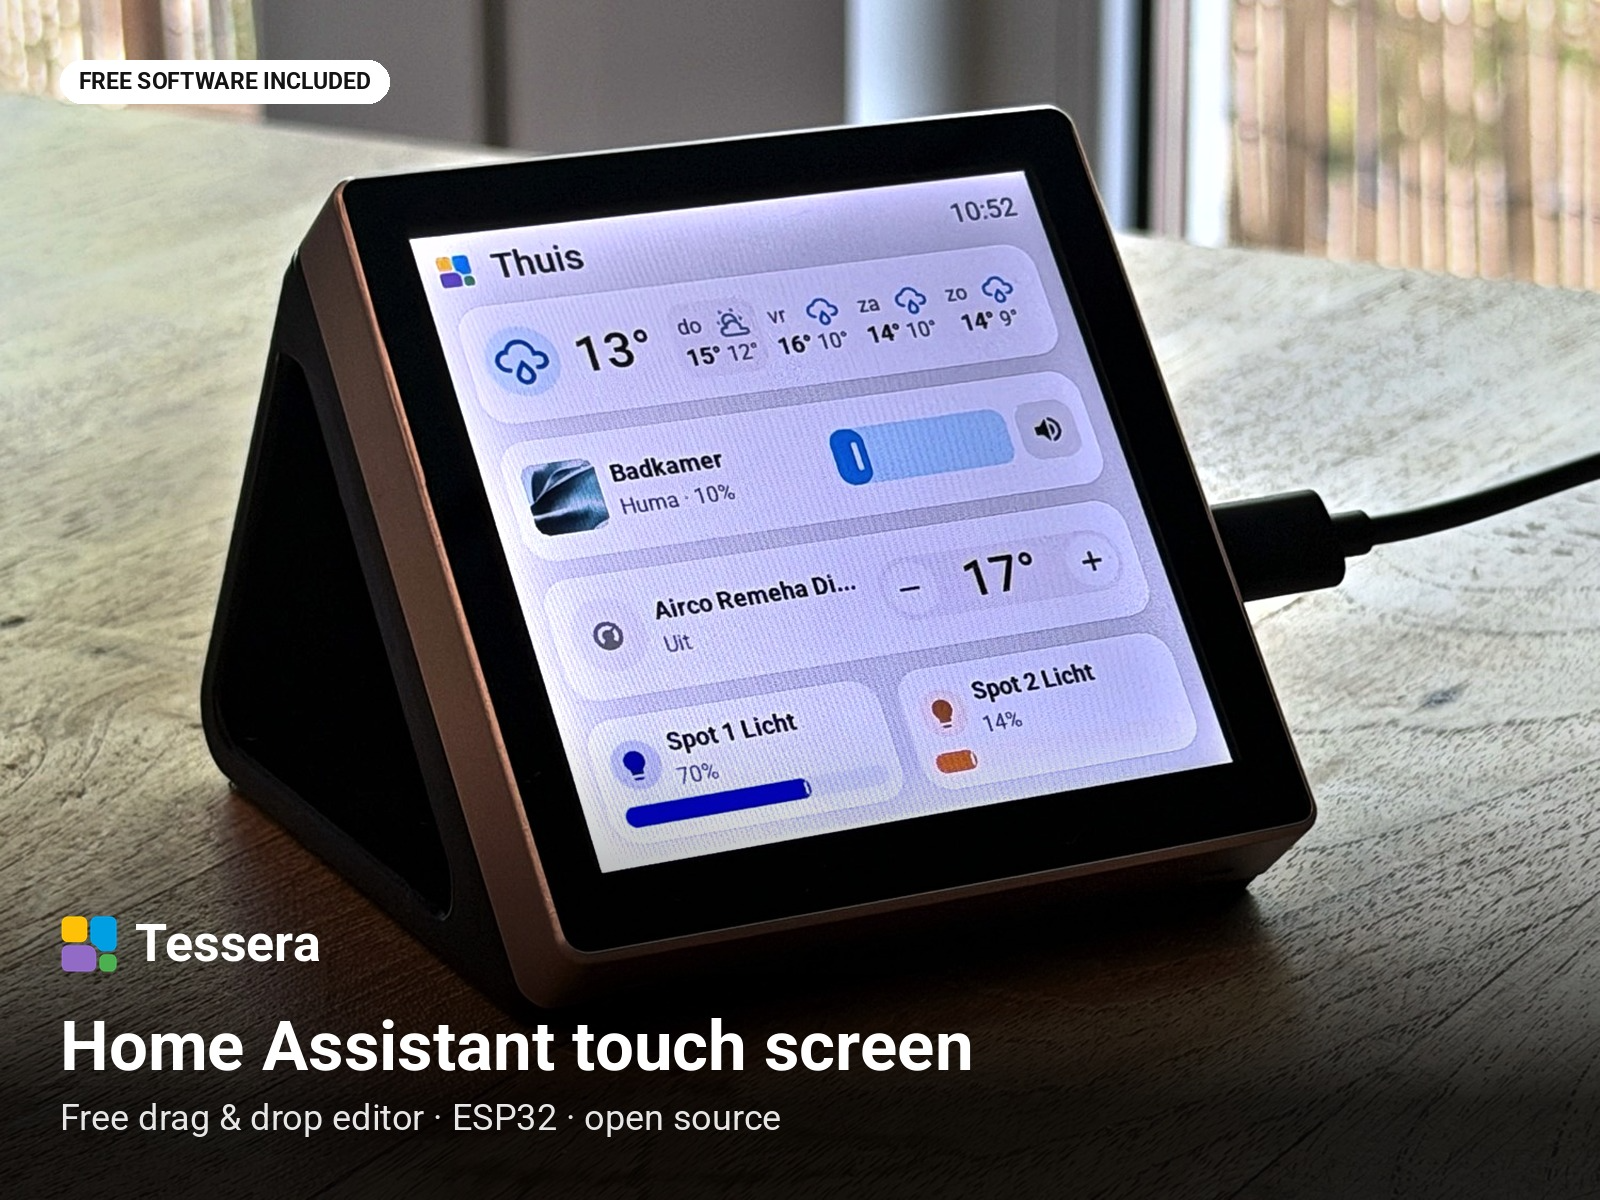
Turn a cheap ESP32 touch screen into a Home Assistant control panel. No code. This stand is the printable part of Tessera, a free and open source project that turns affordable ESP32 touch screens into beautiful Home Assistant dashboards. You build every page with a drag & drop editor inside Home Assistant, and the screen updates over Wi-Fi. This is the second, cleaner version of my Tessera stand for the Guition 4": a calm wedge that holds the screen at a comfortable angle on a desk, a nightstand or the kitchen counter. 👉 Get the free software: tessera-maxgramser.on-forge.com 👉 Step by step install guide: tessera-maxgramser.on-forge.com/install 👉 Source code on GitHub: github.com/MaxGramser/homeassistant_espscreen You can even try the editor in your browser on the website first. No account and no hardware needed. What you get Drag & drop editor in Home Assistant: pick a screen, drag your lights and devices onto a page, resize, recolour, save. Done. Controls that feel familiar: lights with brightness sliders, heating, blinds, scenes, music with album art, the vacuum. Tap to switch, hold for more. Information at a glance: weather, clock, sensor values and history graphs. At night: dark mode, night brightness and standby. All local: runs on your own Home Assistant. No cloud, no account, no subscription. 9 languages, and a phone friendly editor. Set up in three steps Plug it in. A USB data cable from the screen into your Home Assistant machine, or into the computer you are using. Run the wizard. Install the Tessera Screen Manager app in Home Assistant, pick your board, name the screen and click Install. It builds the software and puts it on the screen for you. Pair it. Home Assistant finds the new screen. Add it like any other device, then drag your tiles onto it. Your next screen goes the same way. From then on everything travels over Wi-Fi. The screen This stand is made for the Guition 4" ESP32-S3-4848S040 (480 x 480, capacitive touch), a square 4 inch panel you can find on AliExpress and Amazon. Have a different screen? The same editor runs on ESP32 panels from 2.8" (the "Cheap Yellow Display") up to 10.1". See all supported screens: tessera-maxgramser.on-forge.com/screens Looking for the first version of this stand? It is here: Tessera: Home Assistant Display, Guition 4" ESP32 Printing Print it as set up in the print profile, with tree supports on the build plate only. PLA, 0.2 mm layers, 2 walls, 15% infill. No assembly, no screws: just push the screen into the stand.Free and open source The Tessera firmware and Screen Manager are free under the GNU AGPL v3. No subscription and no fee per screen. Questions, ideas or a problem? Open an issue on GitHub or visit the community page on the website. If Tessera made your home a bit nicer, a Boost on this model helps me keep building it for free. Thank you! And please post a make with your own screen and layout, I love seeing them.
Tags
Diseñador
Max