
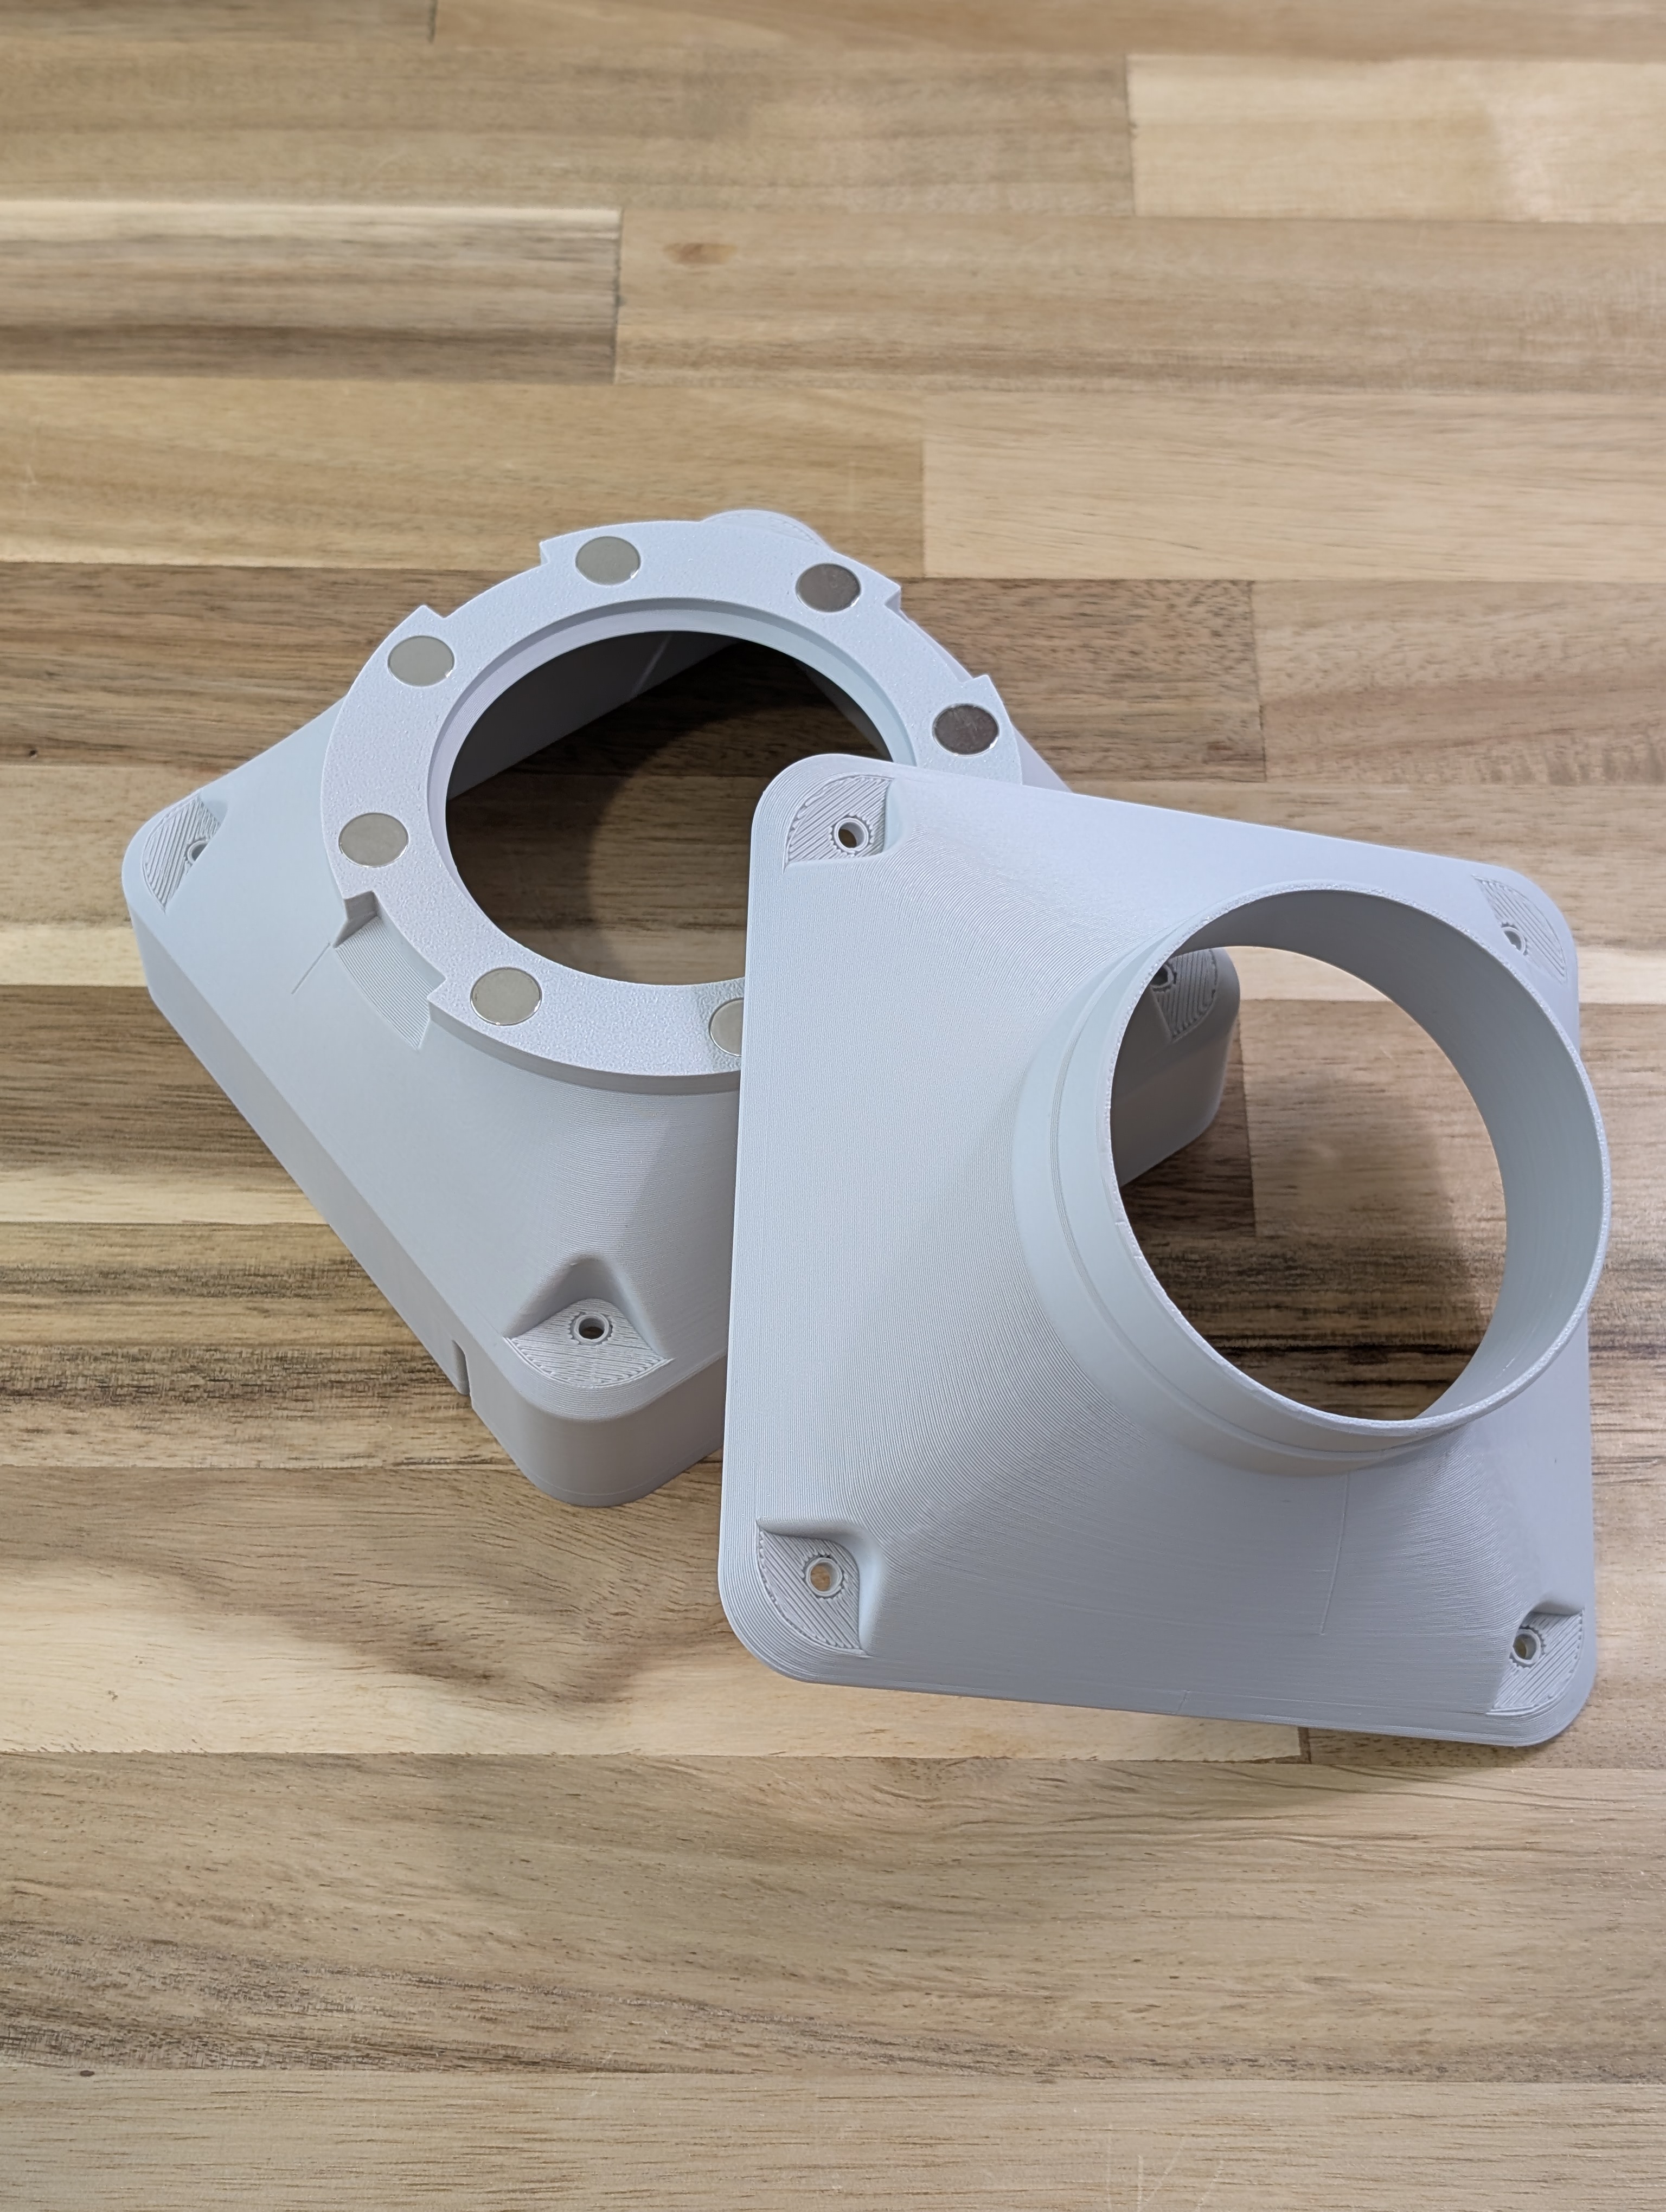
Exhaust Fan 120mm | Complete Exhaust System Part 3
Peso
228g
Tiempo
5h 55m
Precio
Pregunta por WhatsApp por este modelo o uno similar
Te ayudamos a conseguir este diseño o uno parecido, con precio según color y acabado
Las dimensiones dependen del diseño. Confirmamos las medidas exactas por WhatsApp.
Este diseño es de su creador en MakerWorld y se muestra solo como referencia. Tecnoprints no es dueño del modelo ni de su licencia.
Descripción
CES: Complete Exhaust System - Part 3: Exhaust Fan Includes 3" and 4" options. Components Part 1 - Window Insert Part 2 - Magnetic Mount Part 3 - Fan and Duct - You are Here This is an integral part of the Complete Exhaust System. It takes your existing window insert that we printed in Part 1 and Part 2, and adds active ventilation to it. Description This is an enclosure for a 120mm 12V fan that is used to exhaust air out your window. I have designed this to be compatible with my Complete Exhaust System, this solution can also be used elsewhere. I am exhausting VOCs and fumes from my 3D printers, but many people are using this to vent their laser cutters, resin printers, SLA printers, portable AC units, greenhouses, and more. If you come up with a neat use case, I would love to see it! This fan is designed to attach at the end of the exhaust system directly onto the window insert from Part 1, so that it puts the printer and entire exhaust pipe under negative pressure, helping to keep the fumes from escaping out into the room. The overall design ethos was to make a system that was easy to print with minimal supports, easy to assemble, easy to setup and tear down from your window. That's why it uses a magnetic interface throughout, so that it snaps together when you need it. The 3" and 4" versions are completely interchangeable, so you can use a 3" hose side and then a 4" window side if desired. This is actually what I am using as it keeps my ventilation pipe slim, but doesn't restrict the airflow from the 120mm fan as it leaves through the window. Recommended Parts (8 or 12) 10 x 2mm magnets. I buy mine directly from Bambu as I've had mixed results when buying elsewhere. (1) Cyanoacrylate (CA) glue. I feel better when I'm able to glue in the magnets. They are a tight friction fit, but the glue is nice piece of mind. Any CA glue will work, personally I use LePage Ultra Liquid ← affiliate link, because the bottle is convenient. (1) 120mm x 25mm 12V fan. Not all fans are created equal, you will want one that is rated for a high static pressure. This means it's specifically designed to push or pull air through restricted spaces. Personally I use a Noctua NF-F12 iPPC-3000 PWM ← affiliate link, because it's quiet, powerful and has PWM control. (1) 12V external fan controller. You need to be able to turn the fan on and off easily, and ideally it will support variable speed control. This is important so that you don't move too much air, and end up cooling your print chamber too much. There are 2 options hereThe cheapest option is to use a basic 3-12V power supply like this 3-12V 36W controller ←affiliate link. I have used this and it works well. If you want the most control over the fan speed then you want a PWM fan controller. I recommend a 12V PWM controller like this one that's USB-C powered. (1) Exhaust ventilation pipe. I recommend a 3" diameter pipe since this is plenty for venting 1 device, especially when paired with an inline exhaust fan. Keeping the pipe small makes it easier to route through tight spaces. This is easily picked up at your local building supply store, or this one online ← affiliate link. CES: Complete Exhaust System | Inline Exhaust Fan Complete! Your inline fan is ready to use! *** Change Log *** 2026-10-08: Initial Release of 3" and 4"
Tags
Diseñador
Design By AF