
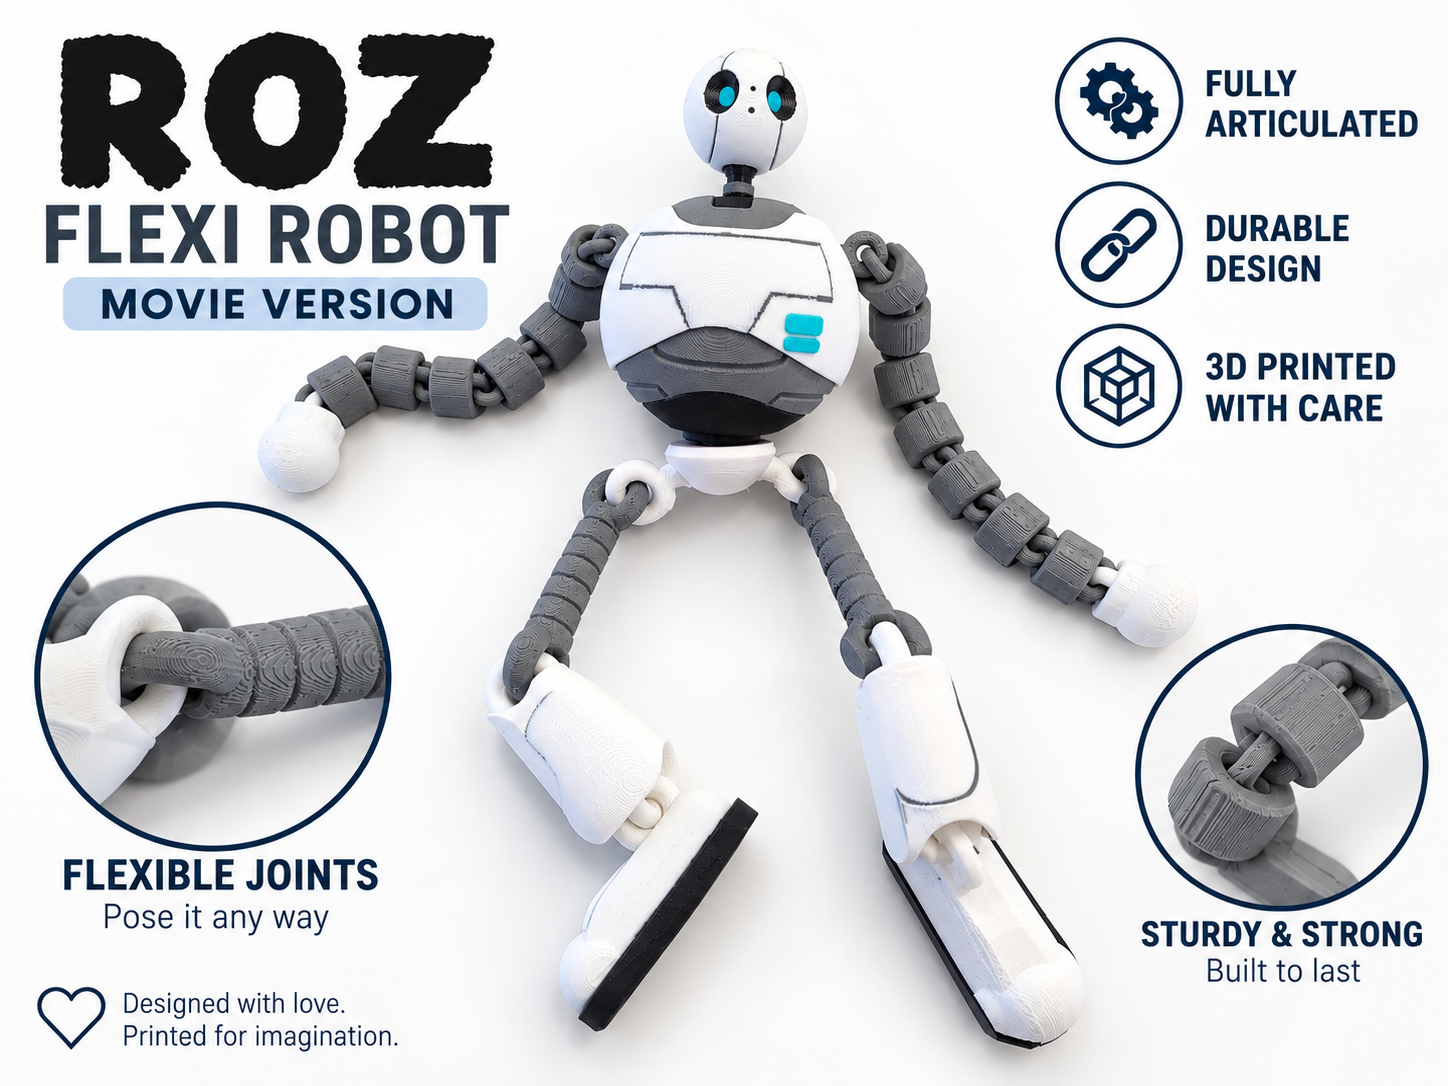
The Wild Robot – Flexi ROZ : MOVIE Version
Peso
760g
Tiempo
40h 42m
Precio
Cotiza este producto por WhatsApp
Contáctanos y te damos el precio según color y acabado
Las dimensiones dependen del diseño. Confirmamos las medidas exactas por WhatsApp.
Descripción
The Wild Robot – Flexi ROZ : MOVIE Version Built for PLAY Description Flexi ROZ (Movie Version) This model started with my 7-year-old son, Zayan. After watching The Wild Robot movie together, we read the original book, and he fell in love with ROZ all over again. Like any kid who loves flexi toys, he wanted a ROZ he could take on adventures, not one that would sit on a shelf. That inspiration led me to create my first Flexi ROZ (Book Version). Now, I'm excited to introduce the Movie Version, bringing ROZ's recognizable movie appearance to life with the same focus on flexibility, strength, and, most importantly, PLAY! Months in the Making — Built to Last! This model has been months in the making, with countless adjustments, calibrations, redesigns, and test prints in both PETG and PLA to get everything just right. Every component has been carefully refined, not just for appearance, but for strength, smooth printing, reliable assembly, and long-term durability. Special attention has gone into the articulated joints. Clearances have been repeatedly adjusted and tested to ensure they move freely while remaining securely connected, even during enthusiastic play. I've printed, tested, adjusted, and reprinted this model at least eight times across PLA and PETG, refining everything from print quality to joint tolerances. A couple components feature snap-fit connections, designed to lock securely into place. The hip connection is particularly strong and intentionally tight — so tight, in fact, that it requires a firm tap with a mallet or hammer to seat it properly! So if you are not up to the task beware. A little heat helps, but it is not recommended, we want the model to SNAP in and NEVER EVER come apart. That was the idea. When printed in PETG and assembled correctly, this thing is practically bulletproof! (Figuratively speaking, of course!) And yes, the joints have survived my toughest quality inspector: a very enthusiastic 7-year-old. Tried and true! ❤️ Features 🤖 Inspired by The Wild Robot movie 🦾 Fully articulated arms and legs 🧒 Designed and tested for active children's play 💪 Reinforced joints designed to resist separation 🔗 Flexible chain-link articulation 🔒 Secure snap-fit connections 🖨️ Extensively calibrated for smooth, reliable printing 🧩 Strong mechanical connections with minimal adhesive required ❤️ Months of development and real-world testing Recommended Print Settings Please refer to the included images showing my UBER-CALIBRATED print settings for both PLA and PETG! These settings are the result of repeated printing, testing, recalibration, and fine-tuning to achieve the smoothest possible prints and reliable joint fit. General Settings Print Profile: 0.2 Strength @BBL A1 Quality Tab Seam Position: Random Wall Generator: Arachne Strength Tab Wall Loops: 6 Sparse Infill Density: 25% Sparse Infill Pattern: Gyroid Support Tab Enable Support: YES Type: Tree(auto) Style: Tree Hybrid Remove Small Overhangs: OFF Support Wall Loops: 2 Top Z Distance for PLA: 0.23 mm Bottom Z Distance for PLA: 0.23 mm Top Z Distance for PETG: 0.44 mm Bottom Z Distance for PETG: 0.44 mm Top Interface Layers: 3 Interface Pattern: Grid Support/Object XY Distance: 0.5 mm Others Tab Brim Type: Outter Brim Only Brim-Object Gap: 0.11 mm Brim Width: 5 mm Assembly Instructions — IMPORTANT! Please follow this assembly order! The connections have been intentionally designed with tight tolerances to prevent joints from coming apart. Following the correct order will make assembly significantly easier. Step 1 — Assemble the Head Connect the head pieces together with the head-connector hexagon [use Crazy Glue] and then insert the neck piece [easy press-fit]. Step 2 — Install the Hip Connector Connect the Hip-Connector to the Bottom Section [very difficult press-fit]. Small 1-2mm Gap left to insert joints before closing 100%.Important: This is the strongest and tightest snap-fit connection in the model. It WILL require a firm, controlled tap with a mallet or hammer to insert it completely. Step 3 — Partially Connect the Main-Body Ball Insert the Hexagonal Ball-Connector into the 1st half of the main body [use Crazy Glue], now insert the 2nd half of the main body but DO NOT snap it fully closed yet! Leave a 1-2mm Gap. Leave a small gap between the body sections. This extra space is essential for installing the remaining joints more easily. Step 4 — Install the Limbs and Neck With the main body still partially open, insert: The Hip Connector / Lower Body Both Arms The Neck Connector / Head Make sure everything is properly positioned before closing the body. (Including both halves of the Body-Ball). Step 5 — Secure the Main Body Once all limbs and connectors are correctly seated, add some Super Glue in the gaps (avoid joints) and press the main body sections together until the Ball is a Solid Single Unit. Use a rubber mallet, or a hammer with a protective barrier, to give the connection a controlled tap if necessary. Once assembled correctly, these connections are designed to stay together! Important Assembly Warning I DO NOT recommend attempting to press-fit the Arms, Hips, or Neck into the fully assembled body Ball. It's darn near impossible to get the HIP in. The Arms are a challenge but do-able and the Neck is the easiest. A Note About Durability This model has undergone months of development, repeated calibration, and at multiple complete test prints using PLA and PETG. The joint clearances, snap-fit connections, and print settings have all been carefully adjusted to balance strength, movement, and print reliability. For the best results, follow the included calibrated print-settings above rather than relying solely on generic slicer defaults. Every printer and filament can behave a little differently, but these settings have been extensively tested on my machines. And yes, when printed in PETG and assembled properly, the joints have proven incredibly resistant to coming apart during our real-world play testing! Child-tested, parent-approved, and Zayan-certified! 🤖❤️ As with any 3D-printed toy, adult supervision and regular inspection are recommended. No printed toy is completely indestructible. Flexi Movie Roz and Flexi Book Roz by LOTZAFlexi Book ROZ or Movie ROZ? Why Not Both!? The Book Version was where our adventure began, and the Movie Version is the next chapter! Both models share the same philosophy: creating something that isn't just nice to look at, but something children can actually enjoy playing with. Whether your little one fell in love with ROZ through the pages of the book or the magic of the movie, there's now a Flexi ROZ for both! I hope your ROZ goes on as many adventures as ours has. If you print one, I'd love to see your photos and hear how it performs! And if you like this ROZ Version, I would appreciate a review. Thank you kindly! Happy printing! 🤖❤️
Tags
Diseñador
LOTZA