
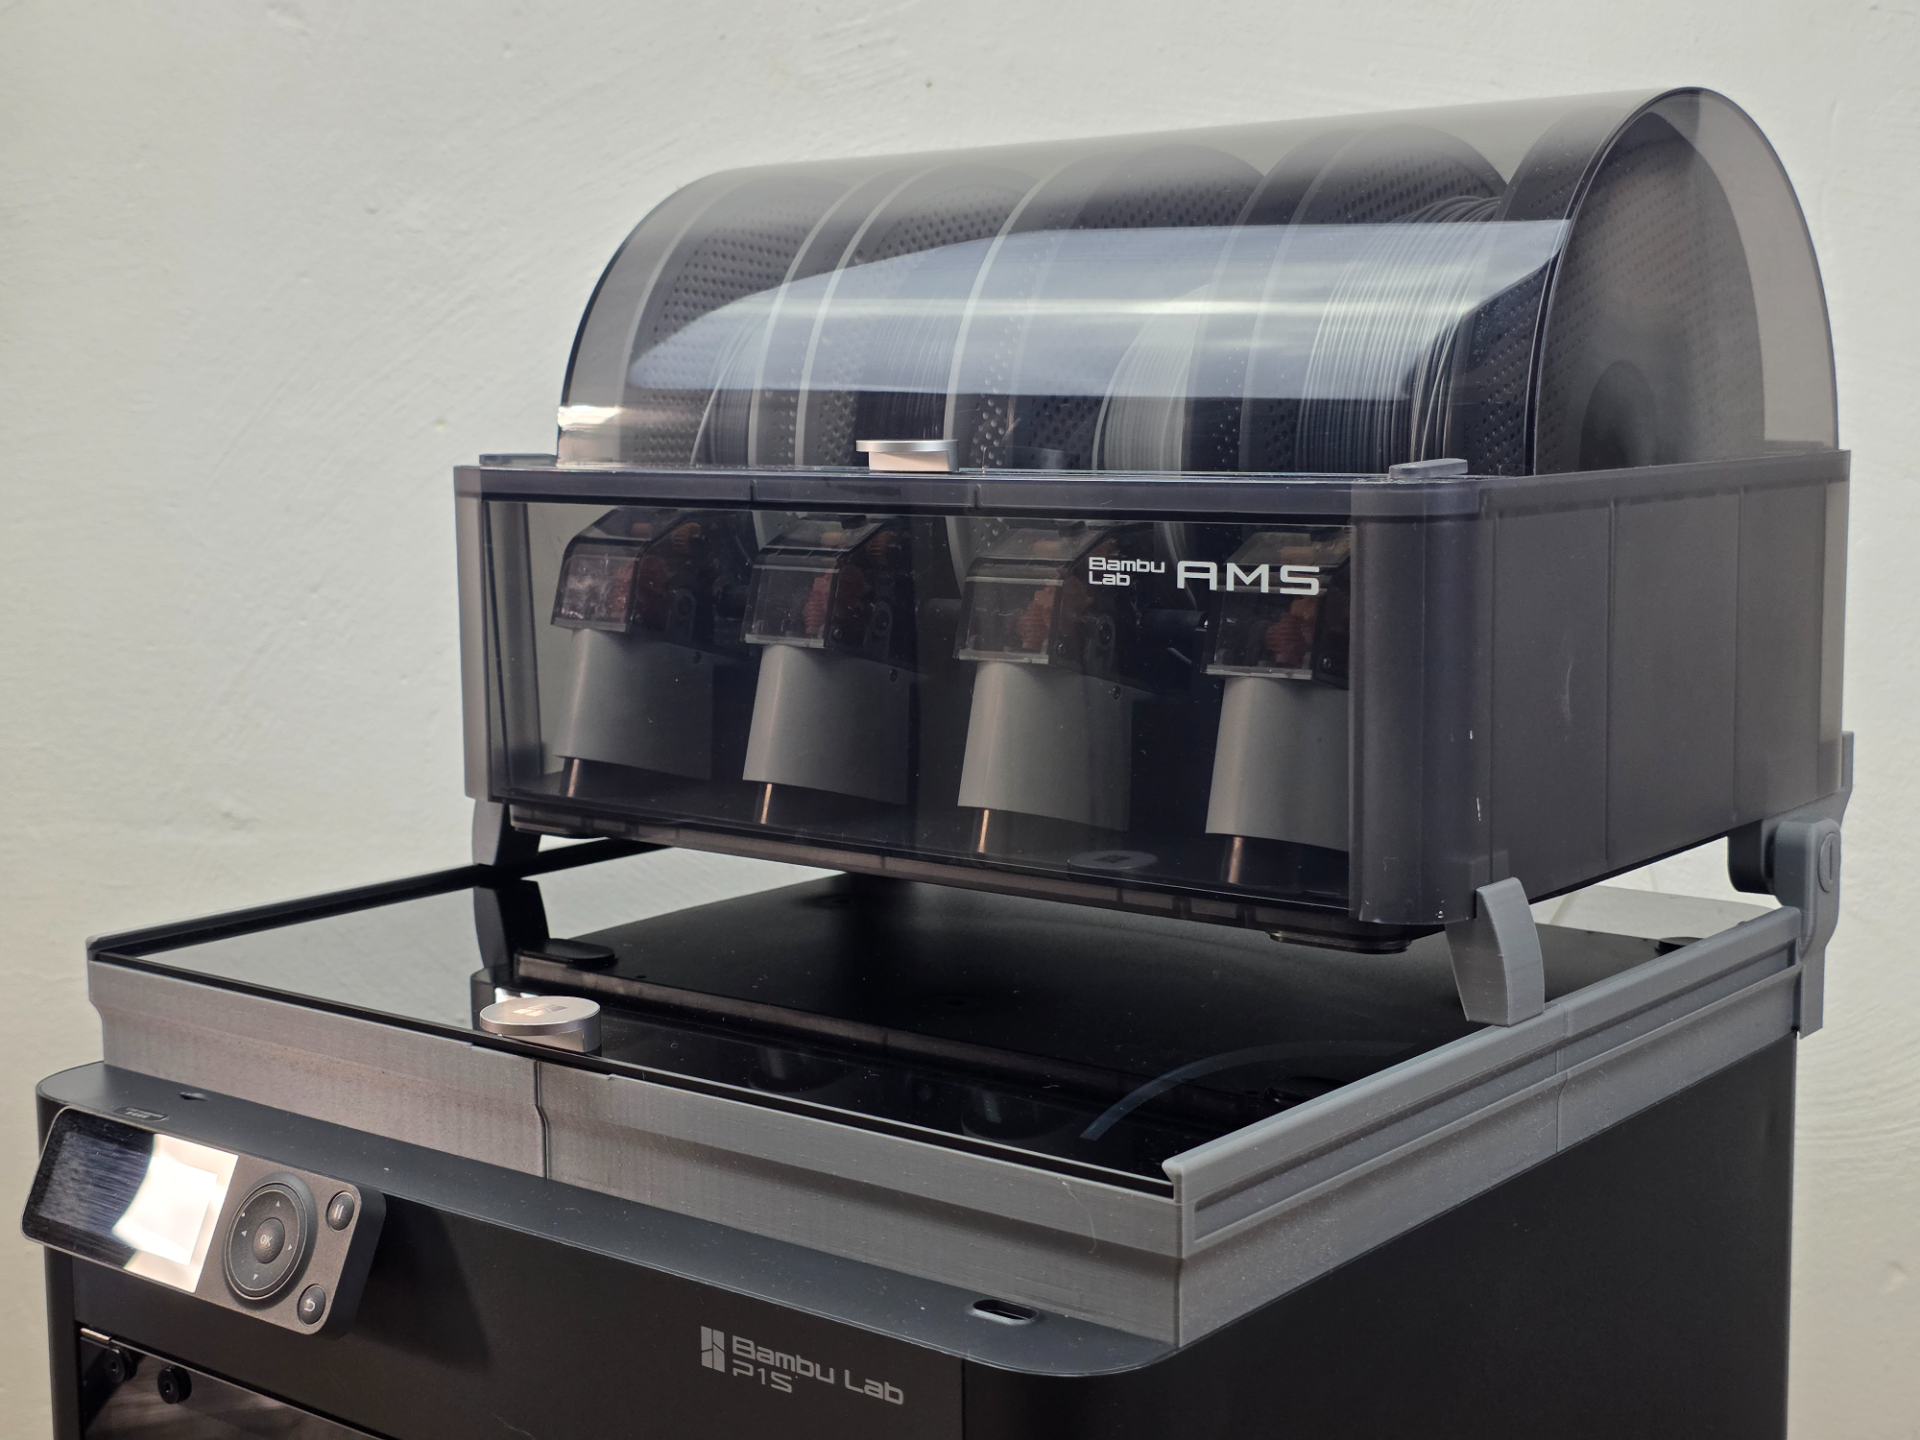
P1S / X1C Riser V7 – AMS Flipper & Glass Slider
Peso
332g
Tiempo
8h 9m
Precio
Cotiza este producto por WhatsApp
Contáctanos y te damos el precio según color y acabado
Las dimensiones dependen del diseño. Confirmamos las medidas exactas por WhatsApp.
Descripción
Welcome to Version 7 of the popular AMS Flipper Glass Slider Riser for the Bambu Lab P1S and X1C! 🚀 Taking everything that made V6 a community favorite, V7 brings a major round of refinements and quality-of-life improvements directly requested by users. This is the ultimate standard edition riser (non-SKÅDIS) designed to deliver a cleaner look, smoother operation, and unmatched functionality. 🖨️ Available Print Profiles Standard Riser V7 – AMS 1 Version: Tailored specifically for the original Bambu Lab AMS unit. Standard Riser V7 – AMS 2 Pro Version: Custom-fitted for the newer AMS 2 Pro unit layout. Fixed Riser V7 (Without Tilt): A clean, solid option without the hinge mechanism — ideal for users who place their AMS elsewhere or prefer a stationary glass top. 🛠️ Core Features Retained & Improved • Stable Tilt-Back (Flipper) System: Tilt your AMS backward securely for effortless internal maintenance, nozzle swaps, and bed cleaning. • Dual-Direction Glass Slider: Slide your top glass cover forward or backward with ease for proper chamber temperature management when printing PLA/PETG. • Rock-Solid Frame Mount: Custom clip design locks the riser securely to your P1S / X1C enclosure. • Integrated LED Channel: Clean, hidden routing for COB LED strips to illuminate your build chamber without glare. 🖨️ Print Recommendations: Material: PETG, ABS, or ASA recommended (please account for material shrinkage if printing with ABS/ASA). Infill: 15% Supports: Not required Precision: Designed with tight tolerances, ensure your printer and filament are properly calibrated. 📎 Installation: Follow the included instructions for proper mounting. Frame clips are mandatory to securely attach the riser to the printer enclosure. Note on Assembly Guide: The current PDF guide was recorded using the X2D printer model. However, the assembly steps, component layout, and mounting logic are virtually identical for the P1S and X1C — you will easily follow along! Compatible Add-ons & Accessories Check out my profile for original add-ons, tool holders, and companion prints: https://makerworld.com/en/@Sanja3D
Tags
Diseñador
Sanja 3D