
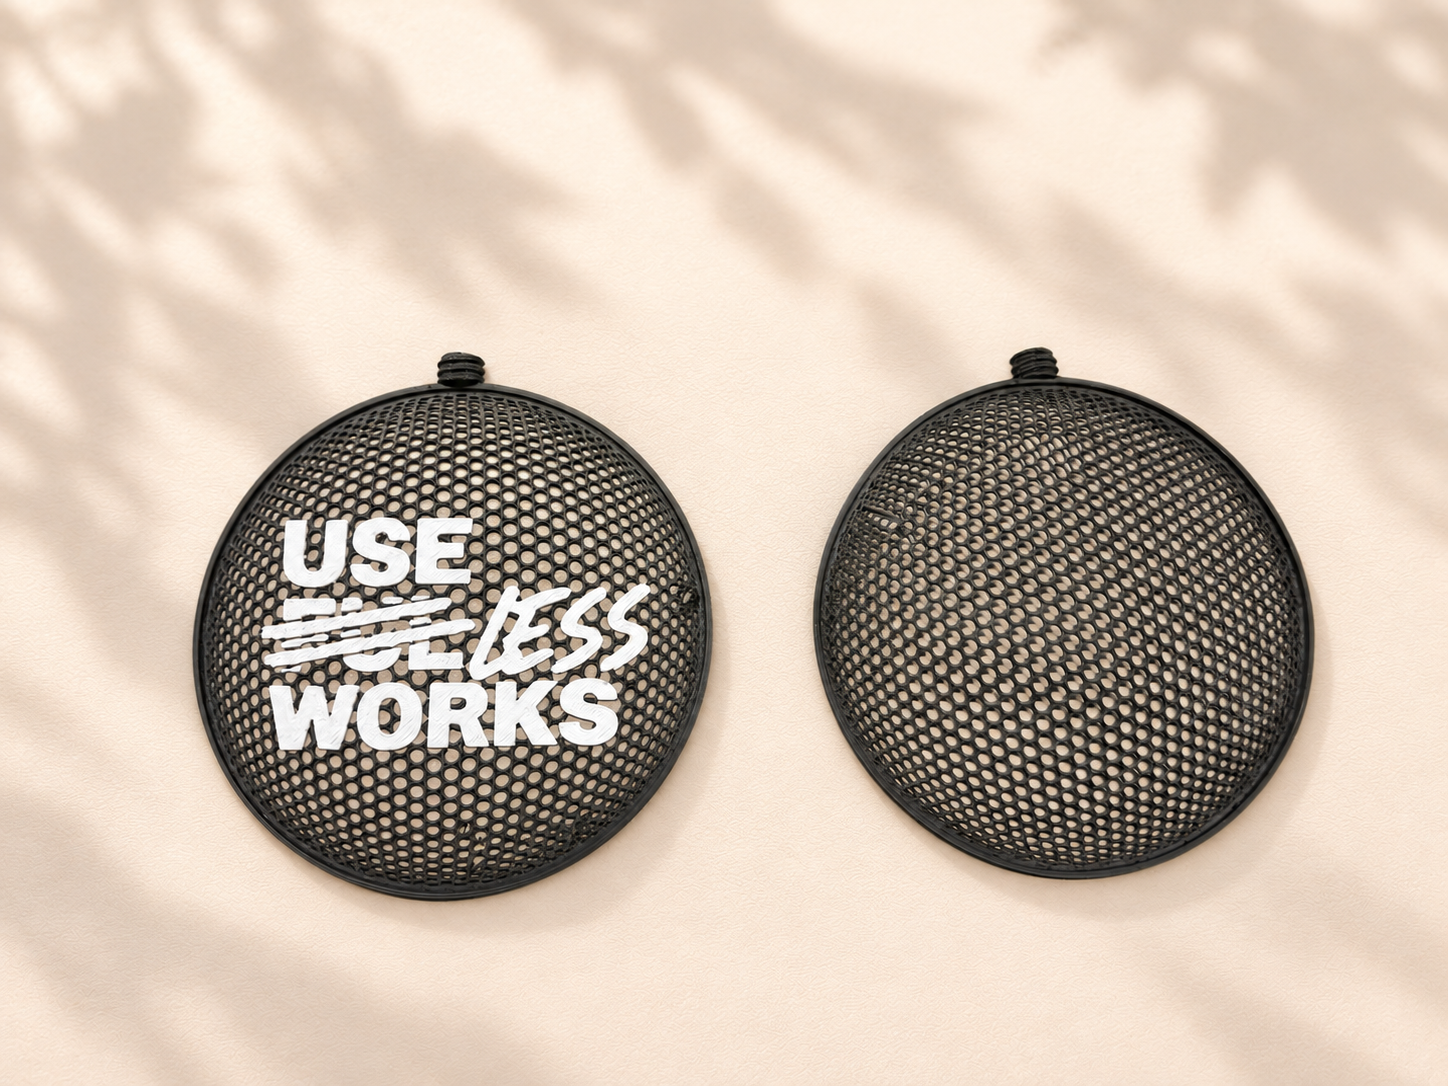
Customizable Thermoform — Text, SVG, Icon
Peso
32g
Tiempo
1h 15m
Precio
Cotiza este producto por WhatsApp
Contáctanos y te damos el precio según color y acabado
Las dimensiones dependen del diseño. Confirmamos las medidas exactas por WhatsApp.
Descripción
Create your own Thermoform model here: https://useless.works/thermoform Your design. Your shape. Your creation. Turn text, SVG artwork, or a favorite icon into a custom 3D form. Make a small container, a decorative piece, a hanging ornament, or something entirely your own. TEXT · SVG · ICON Start with your own text, upload artwork, or choose an icon. Adjust the size, colors, frame, surface pattern, and forming depth to suit your project. Choose a lattice for an open, patterned surface, or a solid panel for a closed surface. For storage, consider the size of the contents and any openings in your design. The assembled parts are not designed to provide a watertight seal. What You Can Customize Text, SVG artwork, images, and icons Size, forming depth, and frame dimensions Multiple lattice patterns or a solid surface Colors and single- or double-sided designs Optional threaded connection Keep Enable Thread ON to use the threaded connection and locking nut. Turn it OFF to remove the threaded connection and use upper and lower clips instead. Two Ways to Print Print flat panels and shape them with molds, or print the curved panels directly with supports. Before printing, open the downloaded 3MF in your slicer, check the printer and filament assignments, and inspect each plate in the sliced preview. Method 1 — Print Flat & Form with Molds You’ll need a hair dryer for this method. Turn Enable Mold ON and download your 3MF. Print the panels and assembly parts in PLA. PETG is recommended for the molds. Let the prints cool, remove any loose material, and check the panel’s alignment with its matching mold. Warm the panel gradually with a hair dryer. Keep the airflow moving to heat it evenly. Once the panel becomes pliable, gently shape it using the matching molds. Do not force it while it is still stiff. Keep the panel supported in the mold until it cools and holds its shape. Repeat for the other panel, then assemble using your selected connection parts. Heating time depends on your hair dryer, filament, panel thickness, and design. Practice with a simple test piece first. Method 2 — Print the Curved Panels with Supports No molds or heat forming are needed for this method. Turn Enable Mold OFF and download your 3MF. Confirm that supports are enabled and inspect their placement in the sliced preview. Check that supports can be removed from the lattice and inner curved surfaces. Print the parts and let them cool completely. Remove supports in small sections while supporting the surrounding frame. Clean the mating surfaces, then assemble. Support contact marks may remain. Pulling supports away too forcefully can damage thin lattice sections. Printing Tips & Precautions This is a more demanding print. Thin lattice lines, curved surfaces, and small connectors require a well-tuned printer and careful handling. Start with a simple shape and moderate forming depth. Use dry filament. Moisture can cause stringing, bubbles, and inconsistent extrusion. Follow your filament manufacturer’s drying recommendations and store filament sealed with desiccant. Check the first layer. Use a clean build plate and a suitable filament profile. Stop and troubleshoot if lines are missing, lifting, or poorly joined. Inspect fine details. Small text and narrow lattice lines may not form reliable toolpaths with your nozzle. Adjust the design if details disappear in the sliced preview. Heat gradually. Excessive or concentrated heat can distort the panels, frames, and connectors. PETG molds can also deform if overheated. Handle hot parts carefully. Use heat-resistant gloves, a heat-resistant work surface, and a ventilated workspace. Keep your hands out of the hot airflow. Resize in the customizer. Regenerate the kit after changing its size to keep the panels, molds, and connectors matched. Do not force assembly. Remove strings and support residue first. If parts still do not fit, check the print and forming result before applying more pressure. Design it. Print it. Shape it.
Tags
Diseñador
Kuru