
Quick 3D Printer First-Layer Test
Peso
1g
Tiempo
9m
Precio
Cotiza este producto por WhatsApp
Contáctanos y te damos el precio según color y acabado
Las dimensiones dependen del diseño. Confirmamos las medidas exactas por WhatsApp.
Descripción
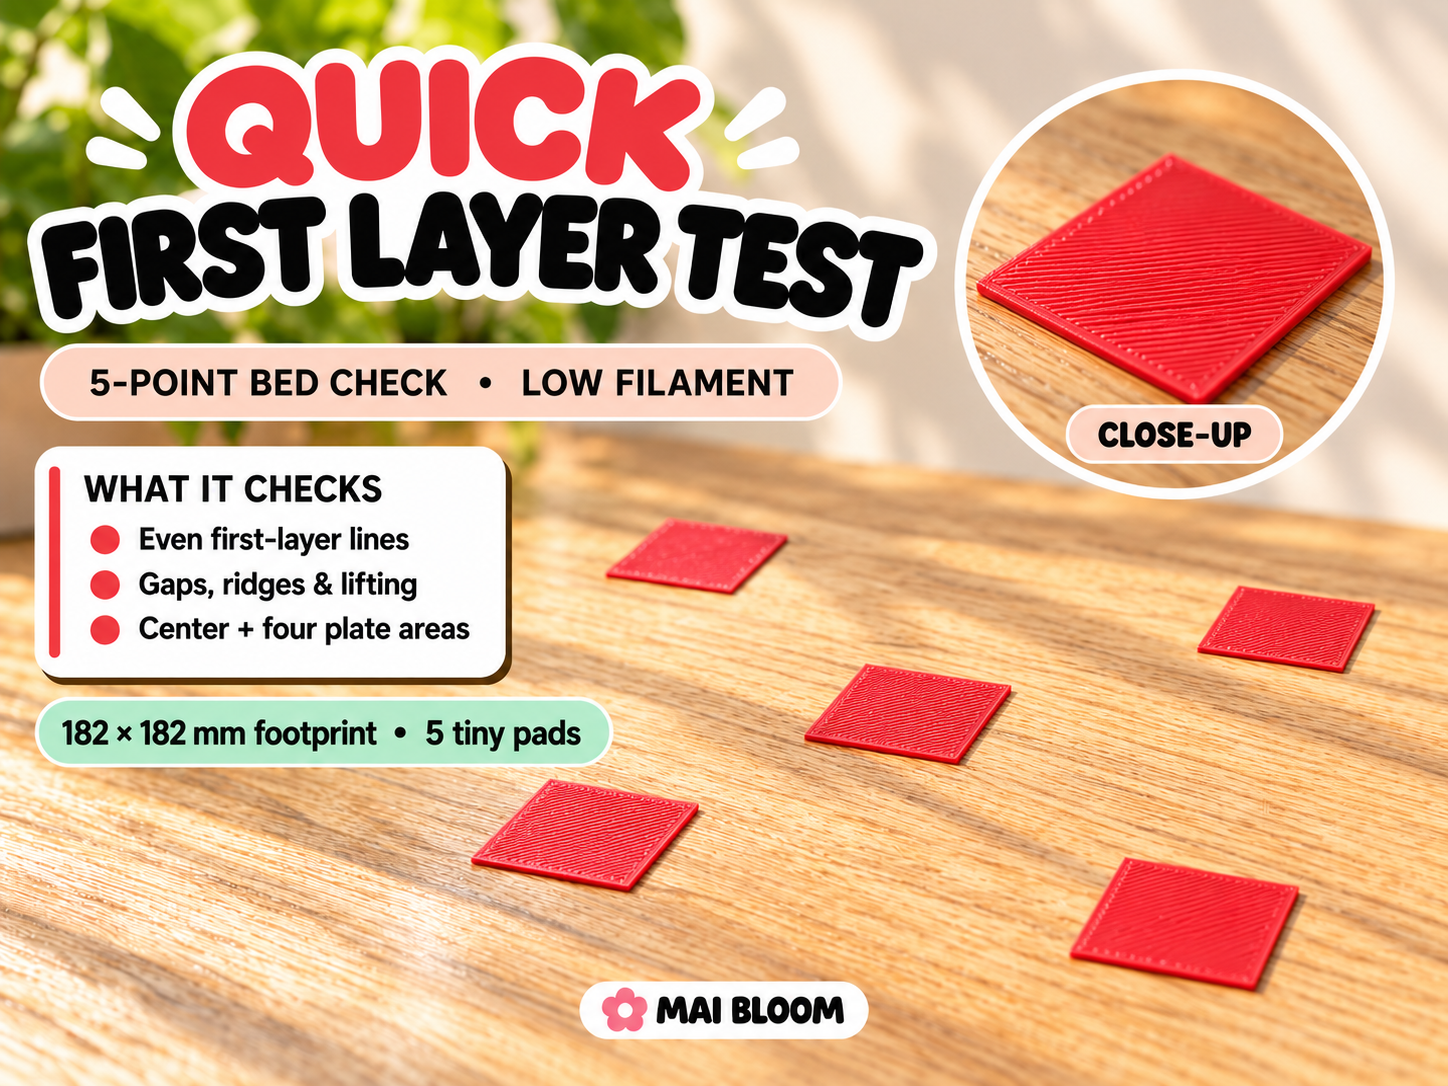
New to 3D printer calibration? This simple test gives you an easy way to look at your first layer in five places: the center and four positions around it. The five matching 24 mm coupons print as a single 0.20 mm layer, so the model uses very little filament and finishes quickly. Print the file flat on the build plate with supports and brim turned off. Keep the model at its original scale and use a 0.20 mm first-layer height. The coupons sit in a 182 × 182 mm footprint. When the print is done, compare their top surfaces and edges. Smooth, even lines with no gaps, raised ridges, or lifting are the goal. If one coupon looks different from the others, check that area of the plate for dirt or damage. If all five look similar but rough or gappy, review first-layer flow, temperature, and Z-offset. Change one setting at a time and print again. This is a quick visual check; it does not replace your printer’s bed-mesh calibration, and results vary with filament, plate, and slicer settings. The cover uses red filament for this test in the Mai Bloom color series. Any single-color filament can be used. Print notes - Five identical 24 × 24 mm coupons - One 0.20 mm layer each - Overall footprint: 182 × 182 mm - Supports: none - Brim: off - Suggested nozzle/layer: 0.4 mm nozzle, 0.20 mm first layer - Approximate model plastic: under 1 g, excluding purge and skirt; slicer estimates vary.
Tags
Diseñador
Mai Bloom