
Riparr: Blu-ray & DVD Ripper Box for Plex/Jellyfin
Peso
434g
Tiempo
14h 26m
Precio
Cotiza este producto por WhatsApp
Contáctanos y te damos el precio según color y acabado
Las dimensiones dependen del diseño. Confirmamos las medidas exactas por WhatsApp.
Descripción
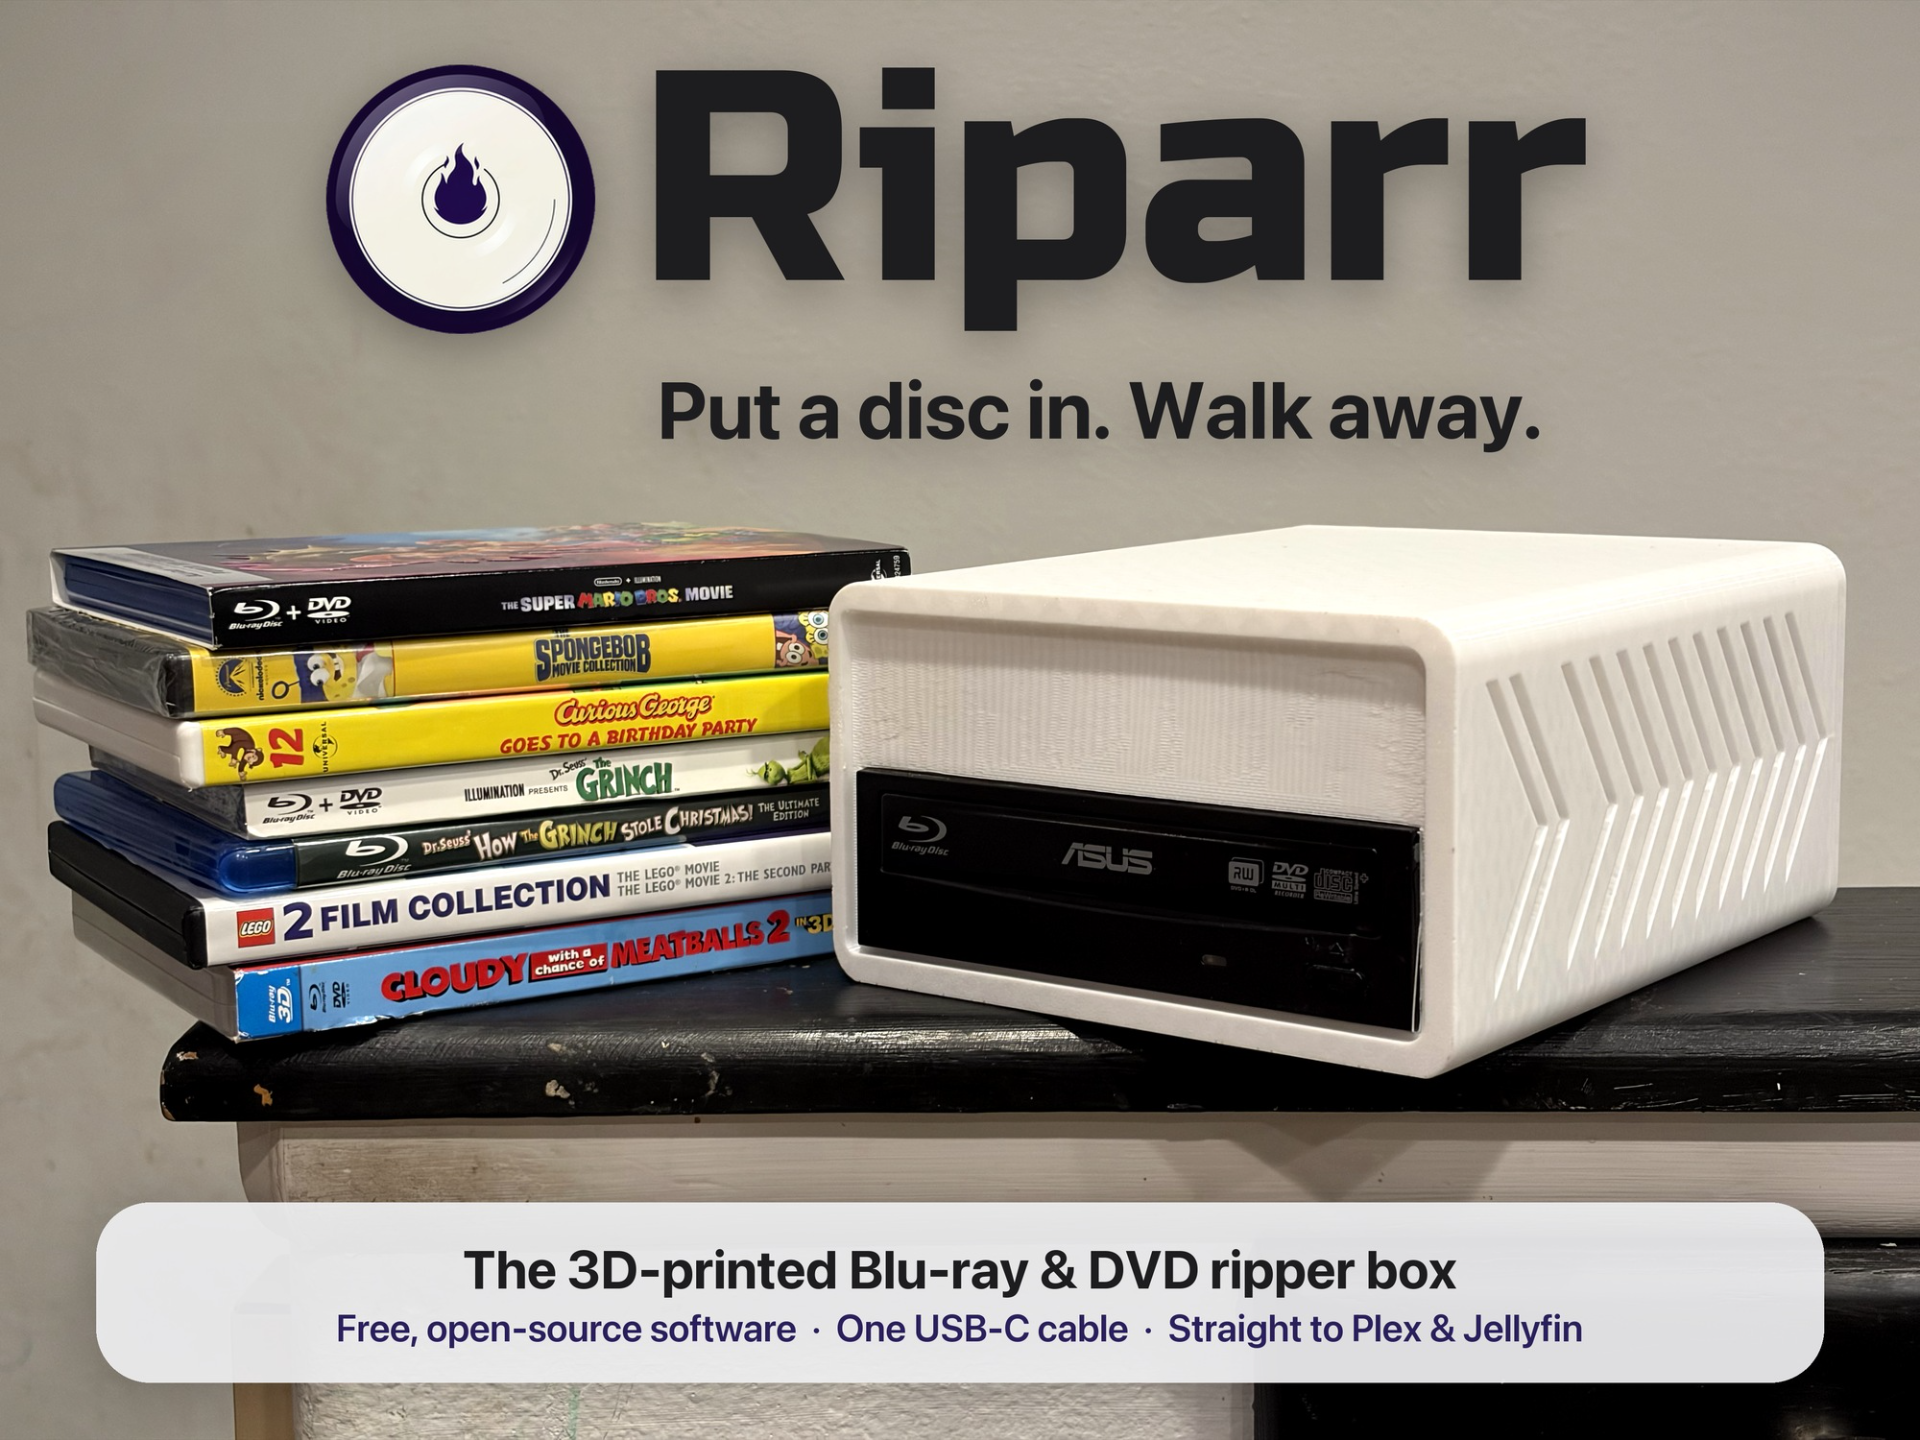
Your disc shelf, straight into Plex. One box, one cable, zero babysitting. As usual, with enough success, I'll throw this one into the public domain once MakerWorld's 91 days of exclusivity are up. Open files, free for everyone to remix, tweak and monkey with. I love sharing, especially big labors of love like this one. 💜 Boost MeRiparr took a whole lot of Blender, a whole lot of PETG, and a whole lot of software. If it rips its way into your heart, a Boost goes a long way toward funding the filament for the next crazy project.Riparr is a little 3D-printed appliance that turns the optical drive you already have into a hands-off disc ripper. Pop in a Blu-ray or DVD, close the tray, and go make a sandwich. Riparr copies the movie straight to your NAS or shared folder, names it the way Plex and Jellyfin like it, and pops the tray back out when it's finished. That's the whole user manual. There's no screen, no keyboard and no power button. Just one USB-C cable. The software is free and open source, and a friendly setup app does all the techy bits for you. If you can flash a microSD card and plug in a cable, you can build this. 🎬 What's in the box (the printed parts) Chassis: the main shell, with those chevron vents for airflow Rear Plate: closes up the back and has the single USB-C port Power Topper: a tray that sits on top of the drive and holds all the electronics TPU Feet (optional): four grippy, quiet little feet 🛒 What you'll buy (the shopping list) Everything here is cheap, off-the-shelf stuff. The exact parts I used, with links, are in the GitHub guide ("What You Need"), so you don't have to guess. An optical drive. A standard full-size 5.25" desktop drive. DVD-only or Blu-ray drives both work. (Dreaming of 4K UHD? Check the guide's drive list before you buy. Only certain drives can do it.) An Orange Pi Zero 2W (the 1 GB one is plenty). This is the tiny brain. A microSD card. 8 GB is honestly all you need. A USB-C laptop charger, 45 W or more. You probably have one in a drawer already. The power bits (about $20 total): a USB-C PD trigger board (solderless, set with a little switch), a 12 V and a 5 V buck converter, and a USB-C pigtail cable for the board. Lever-style wire connectors make the hookups solder-free. If your drive is SATA (most desktop drives are): a USB-to-SATA adapter that says it supports optical drives, plus a right-angle 22-pin SATA extension cable. The guide names the one that works. A few small screws to mount the board and power parts to the Topper. 🔧 How it goes together Print the four plates (see print settings below). Screw the Orange Pi and the power boards onto the Power Topper. The holes are already there and line up. Set the PD trigger to 15 V or 20 V (not 12 V, more on that in the guide), and wire it up using the wiring guide just below. Set the Topper on the drive. Little nubs on its legs rest in the drive's own side holes, so no screws are needed there. Slide the whole thing into the Chassis, plug the USB-C into the Rear Plate, and press the feet into their pockets underneath. 💻 Setting up the software (it's easier than it sounds!) Download the free Riparr Preparer app for Mac, Windows or Linux from GitHub. It walks you through everything step by step, with no terminal and no config files. Step 1: Write the card. Pick your SD card and your Wi-Fi. The app downloads everything and writes the card for you (about 5 minutes). Step 2: Plug it in. Card into the box, USB-C into the wall. The app finds your box on the network and installs the rest by itself (about 10 hands-off minutes). Step 3: Use it, forever. Open riparr.local in your browser, point it at your NAS or shared folder, and turn on Auto Rip. Now just feed it discs. Your movies land in your library, named and checked, ready to watch. 👉 Get the software, the step-by-step guide and the parts list here: https://github.com/jackharvest/riparr 🖨️ Print settings Material: PETG (or ASA) for the Chassis, Rear Plate and Topper. Please don't use PLA: a spinning drive plus a little computer in a closed box gets warm enough to soften it. TPU for the optional feet. 0.4 mm nozzle, 0.2 mm layers, 2 walls, 15% infill, no supports The Chassis prints standing up and is 195 mm tall, so this profile needs a bigger-bed printer (it's set up for the H2S, and fits anything with room for that height). An A1 Mini edition is on the way! Roughly: Chassis 9.5 h / 298 g, Rear Plate 1.5 h / 55 g, Power Topper 2.3 h / 70 g, Feet 40 min / 8 g 💡 Good to know One USB-C cable does everything. The box peaks at about 18 W, but use a 45 W+ charger. The voltage options matter more than the watts. No transcoding. You get a perfect full-quality copy (MKV). Shrink it later with your favorite tool if you like. Riparr uses the free MakeMKV beta (your box downloads it during setup). Riparr makes keeping its key up to date a one-click thing. Rip discs you own, for your own library. 🙂 🎨 Make it yours White with oxblood feet is the "official" look, but this thing looks great in any color. Match your shelf, your NAS, or your mood. 🙌 Thanks! This one has been a real labor of love, hardware and software both. If you build one, I'd love to see a make! Bugs and ideas for the software are always welcome over on GitHub. Happy ripping! 📀
Tags
Diseñador
im.jackharvest