
Candy Cauldron
Peso
827g
Tiempo
40h 25m
Precio
Cotiza este producto por WhatsApp
Contáctanos y te damos el precio según color y acabado
Las dimensiones dependen del diseño. Confirmamos las medidas exactas por WhatsApp.
Descripción
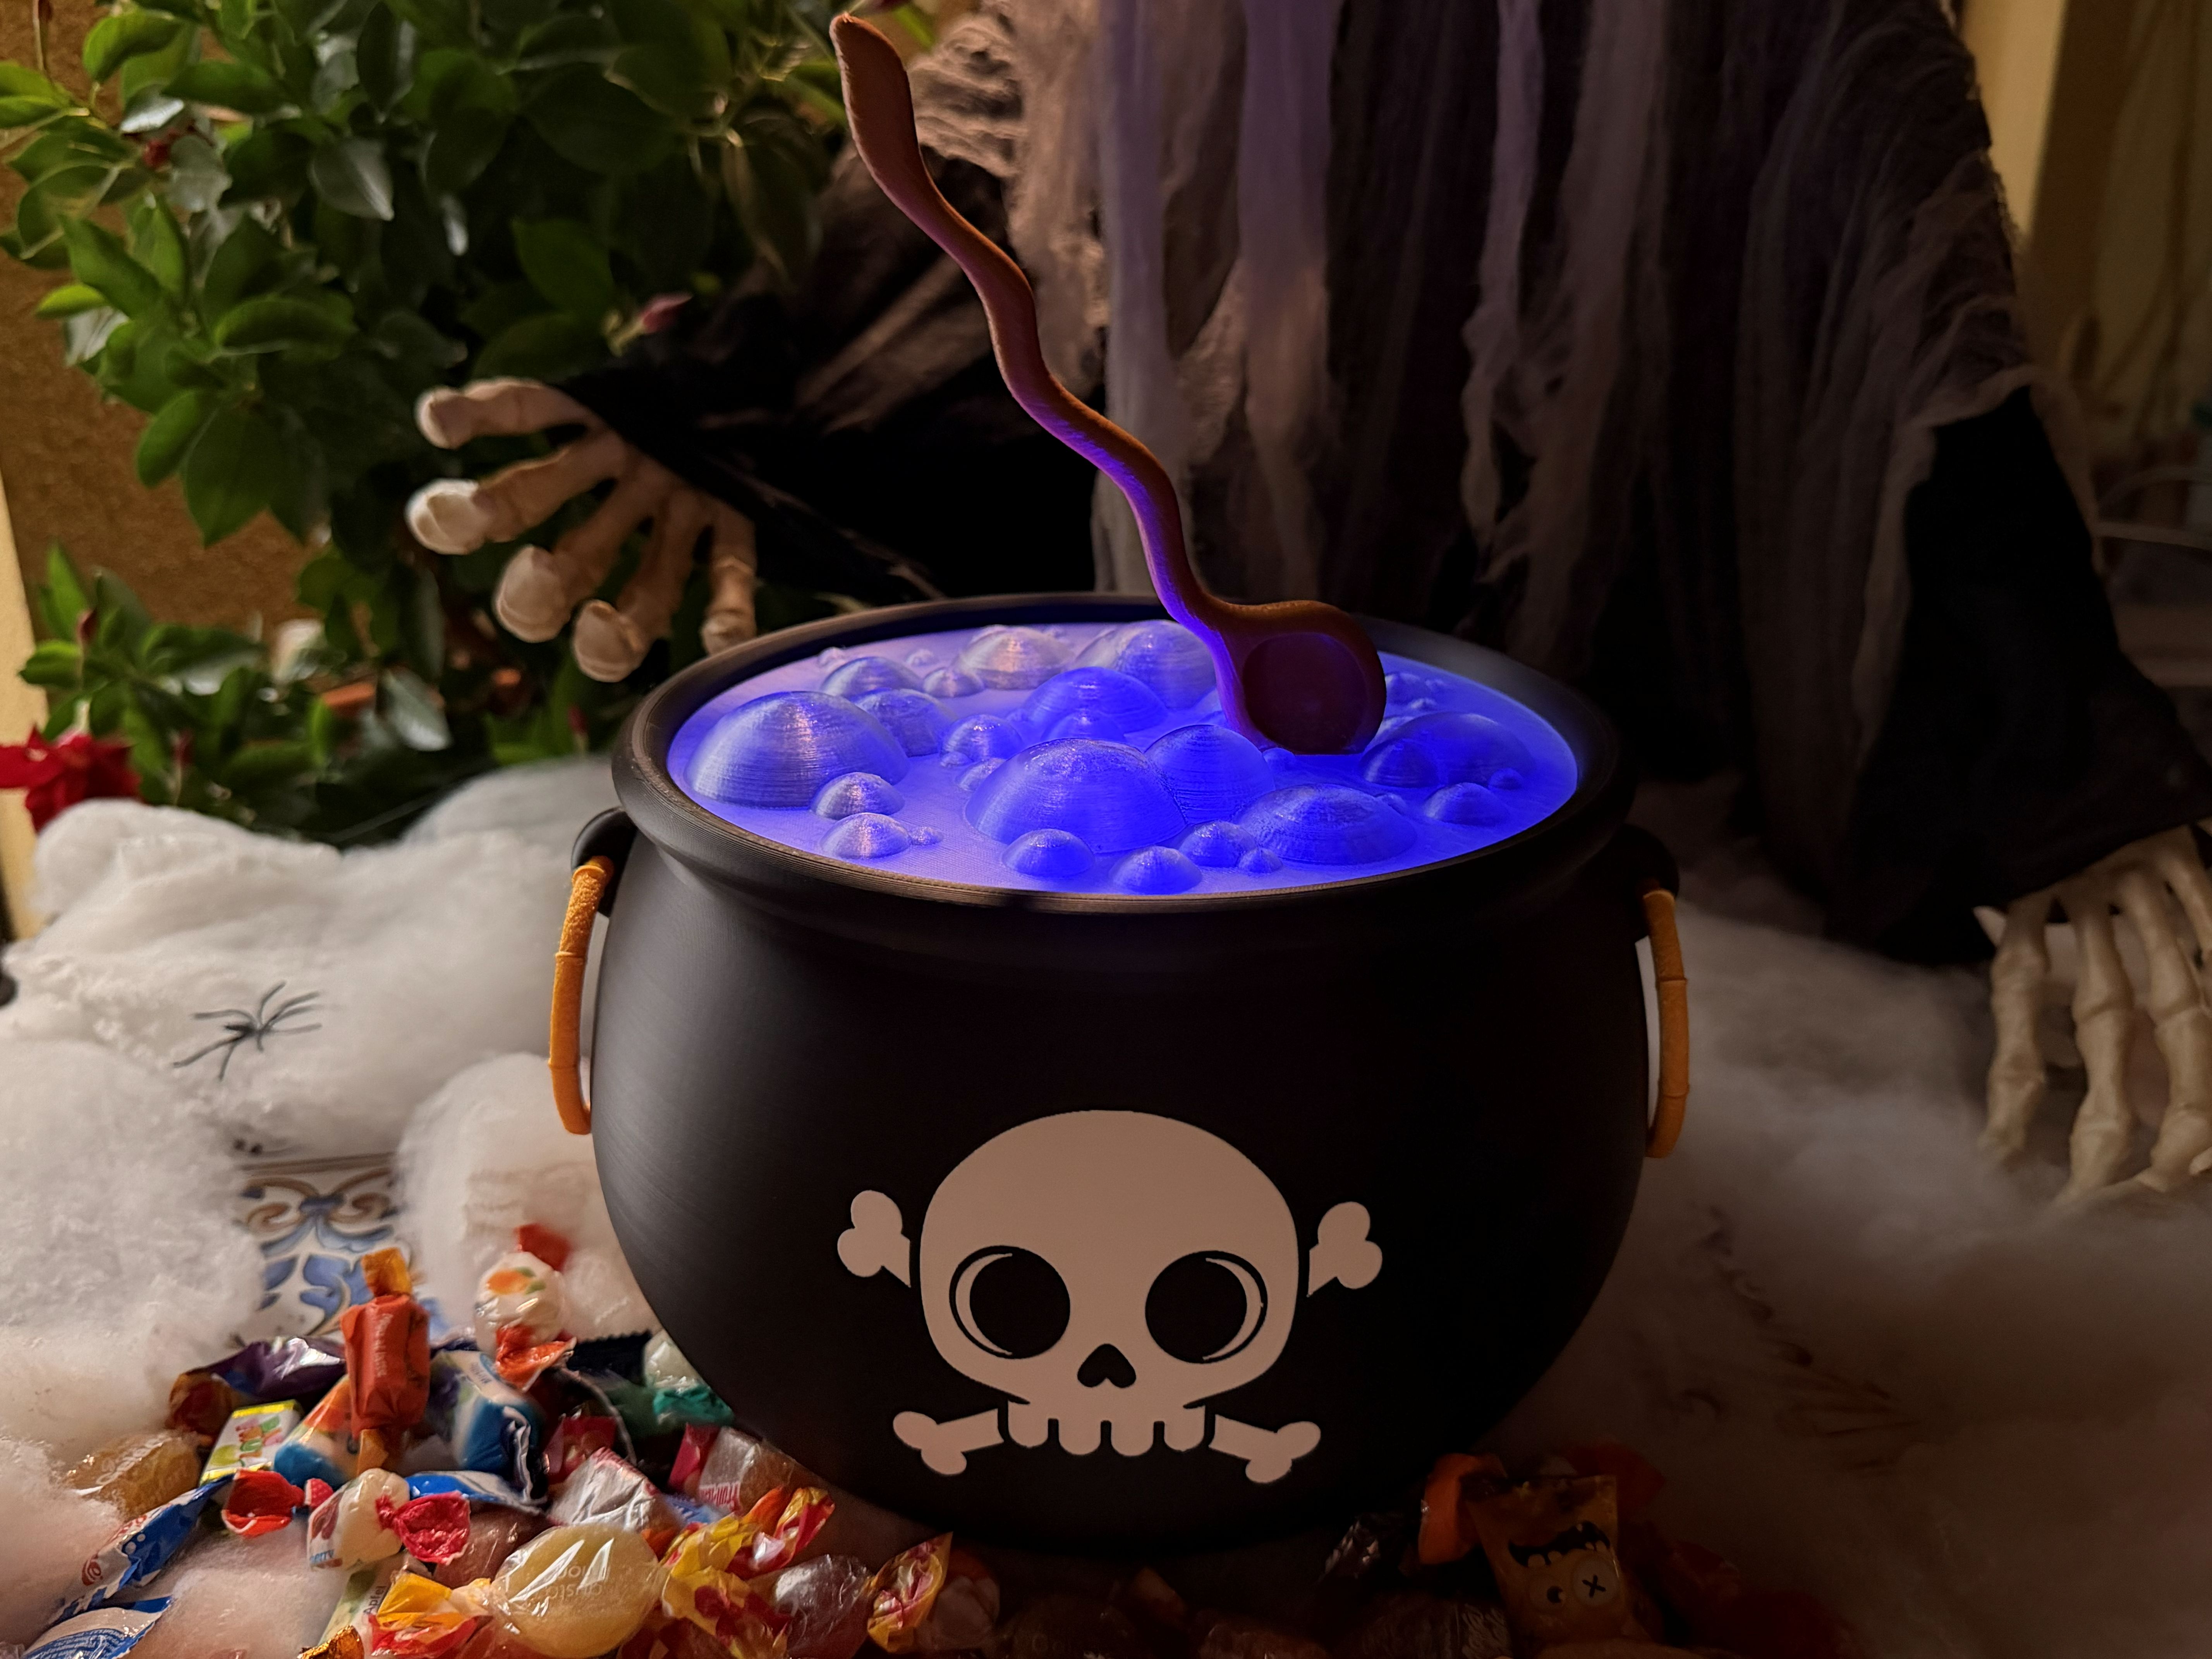
Candy Cauldron — Glowing Halloween Candy Bowl with a Twist-Lock Telescopic Lid A bubbling potion, a glowing cauldron, and a spoon to lift: one simple movement reveals where the treats are hiding. I designed Candy Cauldron to bring a little magic to Halloween night and turn trick-or-treating into an interactive surprise. Children can lift the spoon, watch the potion rise, and reach inside the illuminated cauldron to choose a sweet. The friendly skull, translucent bubbles, and colorful glow make it both a Halloween decoration and a candy bowl to enjoy throughout the celebration. Lift, Twist, and Pick Your Treat Lifting the spoon raises the bubble-covered lid and extends the central telescopic column. Once raised, a small twist locks the column in the open position. The lid stays up on its own, leaving your hands free to reach for the treats arranged around the base of the column. To close the cauldron, twist in the opposite direction to release the lock, then gently guide the lid back down. The lifting and locking mechanism is entirely manual. The light shines through the translucent parts to give the “potion” its magical glow. Lighting: Bambu Lab KC007 The model uses one Bambu Lab KC007 — Remote Controlled 16-color RGBW Puck Light, placed in the dedicated recess at the bottom of the cauldron. The remote lets you choose from 16 colors and adjust the brightness. I used a blue-violet glow in the photos to create an enchanted-potion effect, but you can choose whichever color suits your Halloween display. Each light requires 3 AAA batteries, not included, so there is no external power cable to hide. The KC007 pack contains two lights; you only need one for a single Candy Cauldron. View the KC007 light kit in the Bambu Lab store What You Will Need The printed model parts. One Bambu Lab KC007 puck light and its remote. Three AAA batteries for the light. Glue suitable for your printing material, to attach the bubble lid. Individually wrapped sweets to fill the cauldron. For a glow similar to the photos, I recommend transparent or translucent filament for the bubbles and telescopic column. The final lighting effect will vary depending on the material and color you choose. Assembly Assembly is straightforward, with dedicated mounting seats to help position the components correctly. 1. Fit the Feet and Handles Each foot has a dedicated seat that guides its orientation. Use these features to position the feet correctly, then fit the side handles to the cauldron. 2. Prepare the Light Insert the batteries into the KC007 light, check that it works, and place it in the dedicated recess at the bottom of the cauldron. Test the remote before completing assembly. 3. Screw the Telescopic Assembly into Place First Before gluing the bubble lid, screw the telescopic assembly into its final position. This is the key to aligning the bubbles and spoon correctly with the front of the cauldron. If you glue the bubbles first, the spoon may end up facing a different direction once the threaded assembly is fully fitted. 4. Check the Alignment Without Glue With the telescopic assembly screwed into place, position the bubble lid without gluing it and temporarily insert the spoon into its dedicated seat. Look at the cauldron from the front, with the skull facing you, and check the overall alignment. Also check how it looks both closed and raised in the locked position, supporting the unglued parts throughout the test. 5. Glue the Bubble Lid Once you are happy with the alignment, glue the bubble lid in place, keeping the orientation established during the test fit. Apply glue only to the surfaces being joined. Keep the sliding parts, threads, and twist-lock features free of glue. Allow the glue to cure fully before operating the mechanism. 6. Position the Spoon and Test the Mechanism The spoon has a dedicated seat to guide its placement. Complete the assembly, then check the full movement: Lift the spoon to extend the telescopic column. Give it a small twist to engage the lock. Check that the lid stays raised without being held. Twist in the opposite direction to release the lock. Gently guide the lid back down until the cauldron is closed. Get Ready for Halloween Night Choose your light color and arrange individually wrapped sweets inside the cauldron, around the base of the central column. Leave enough space for the mechanism to move freely. To recreate the display shown in the photos, scatter a few extra sweets around the outside base of the cauldron. They make its purpose clear and invite guests to come closer. Keep it closed for a magical reveal when someone lifts the spoon, or leave it locked open so guests can help themselves throughout the party. Lift, twist… and let the magic of Halloween reveal the treats! 🎃 If you print your own Candy Cauldron, please share a photo of your make. I would love to see your color choices and Halloween displays! Boost MeIF YOU LIKED THE MODEL AND WANT TO LEAVE ME A BOOST WOULD YOU HELP ME GROW, THANK YOU
Tags
Diseñador
3dLabItaly