
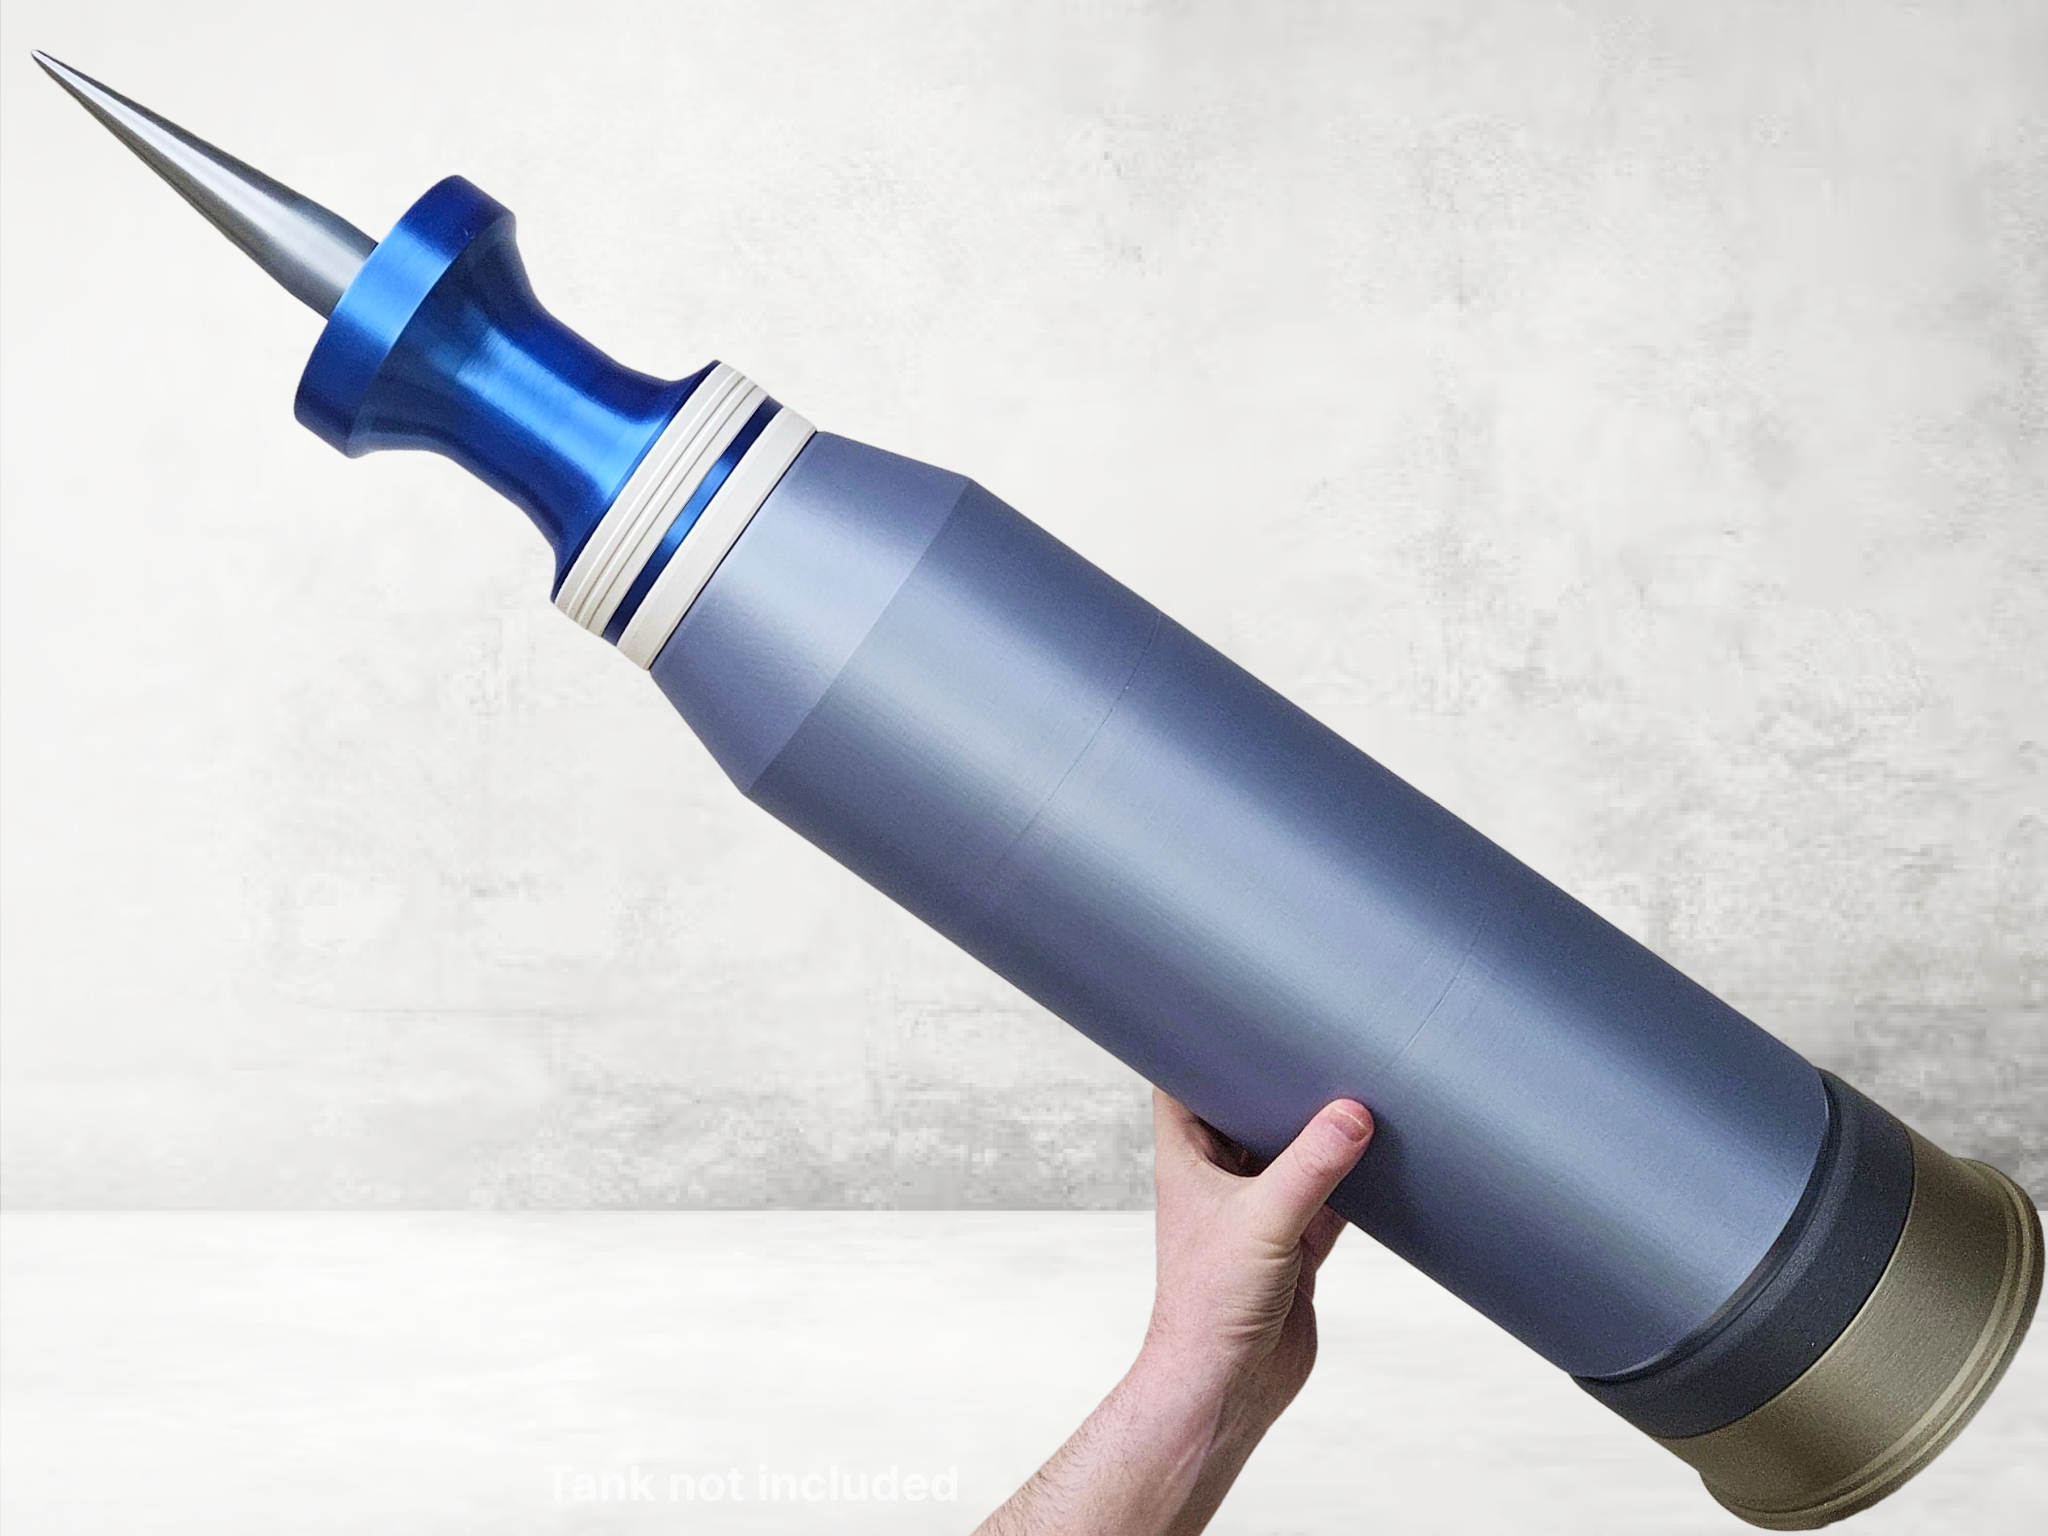
120mm Abrams Tank Round | TPCSDS-T
Peso
1278g
Tiempo
28h 34m
Precio
Cotiza este producto por WhatsApp
Contáctanos y te damos el precio según color y acabado
Las dimensiones dependen del diseño. Confirmamos las medidas exactas por WhatsApp.
Descripción
Want a life-size replica of a 120mm tank round used by the US, NATO, and other countries? This round is the TPCSDS-T, the latest training round used in 120mm tanks like the Abrams, Le Clerc, Leopard, and others. Included is an optional full height projectile dart. This model is super easy to assemble, simply screw together a few pieces. Backward compatibility: this model is backwards compatible with my previous 120mm rounds (that screw together). So, if you've previously printed any of my other 120mm tank shell models (that screw together) then you can print only the top (blue/white part) and screw it onto the base you've previously printed. Filaments used Base/BottomBambu Metal Iridium Gold Polymaker Metallic Chrome (Amazon link)Bambu Basic Dark Gray would work too Casing Main BodySunlu Silk Silver (Amazon link)Note: I printed at a higher speed than you are supposed to with Silk to intentionally make it look dull/less-shiny. I printed it with Bambu Matte settings despite it being Silk. Any semi-shiny light gray filament will work though such as:Bambu Silk+ Silver Bambu Basic Silver etc Round/Shell (at the top)Bambu Silk+ Blue Bambu Matte White Bambu Silk+ Silver (for the pointy tip) Assembly takes only a moment Simply screw the pieces together and stick the pointy tip into the top. See image below for assembly order. 1. Screw the main body segments together as shown below: The parts should screw together very easily, if you find you have to force the screws to get them started, then your two pieces probably aren't level. Make sure the parts of level/flat when you start screwing them on so you don't screw them on at an angle. If you set one piece on a table or flat surface, that helps a lot. Make sure you don't overtighten the screwed on parts 2. Next, screw the piece you see below onto the top, in reality it is white, but it shown in orange to stand out. 3. Then, screw all the parts of the top projectile onto that piece from above (shown in orange): 4. Lastly, screw the dart together and then insert it into the blue top:
Tags
Diseñador
Rexi Labs