
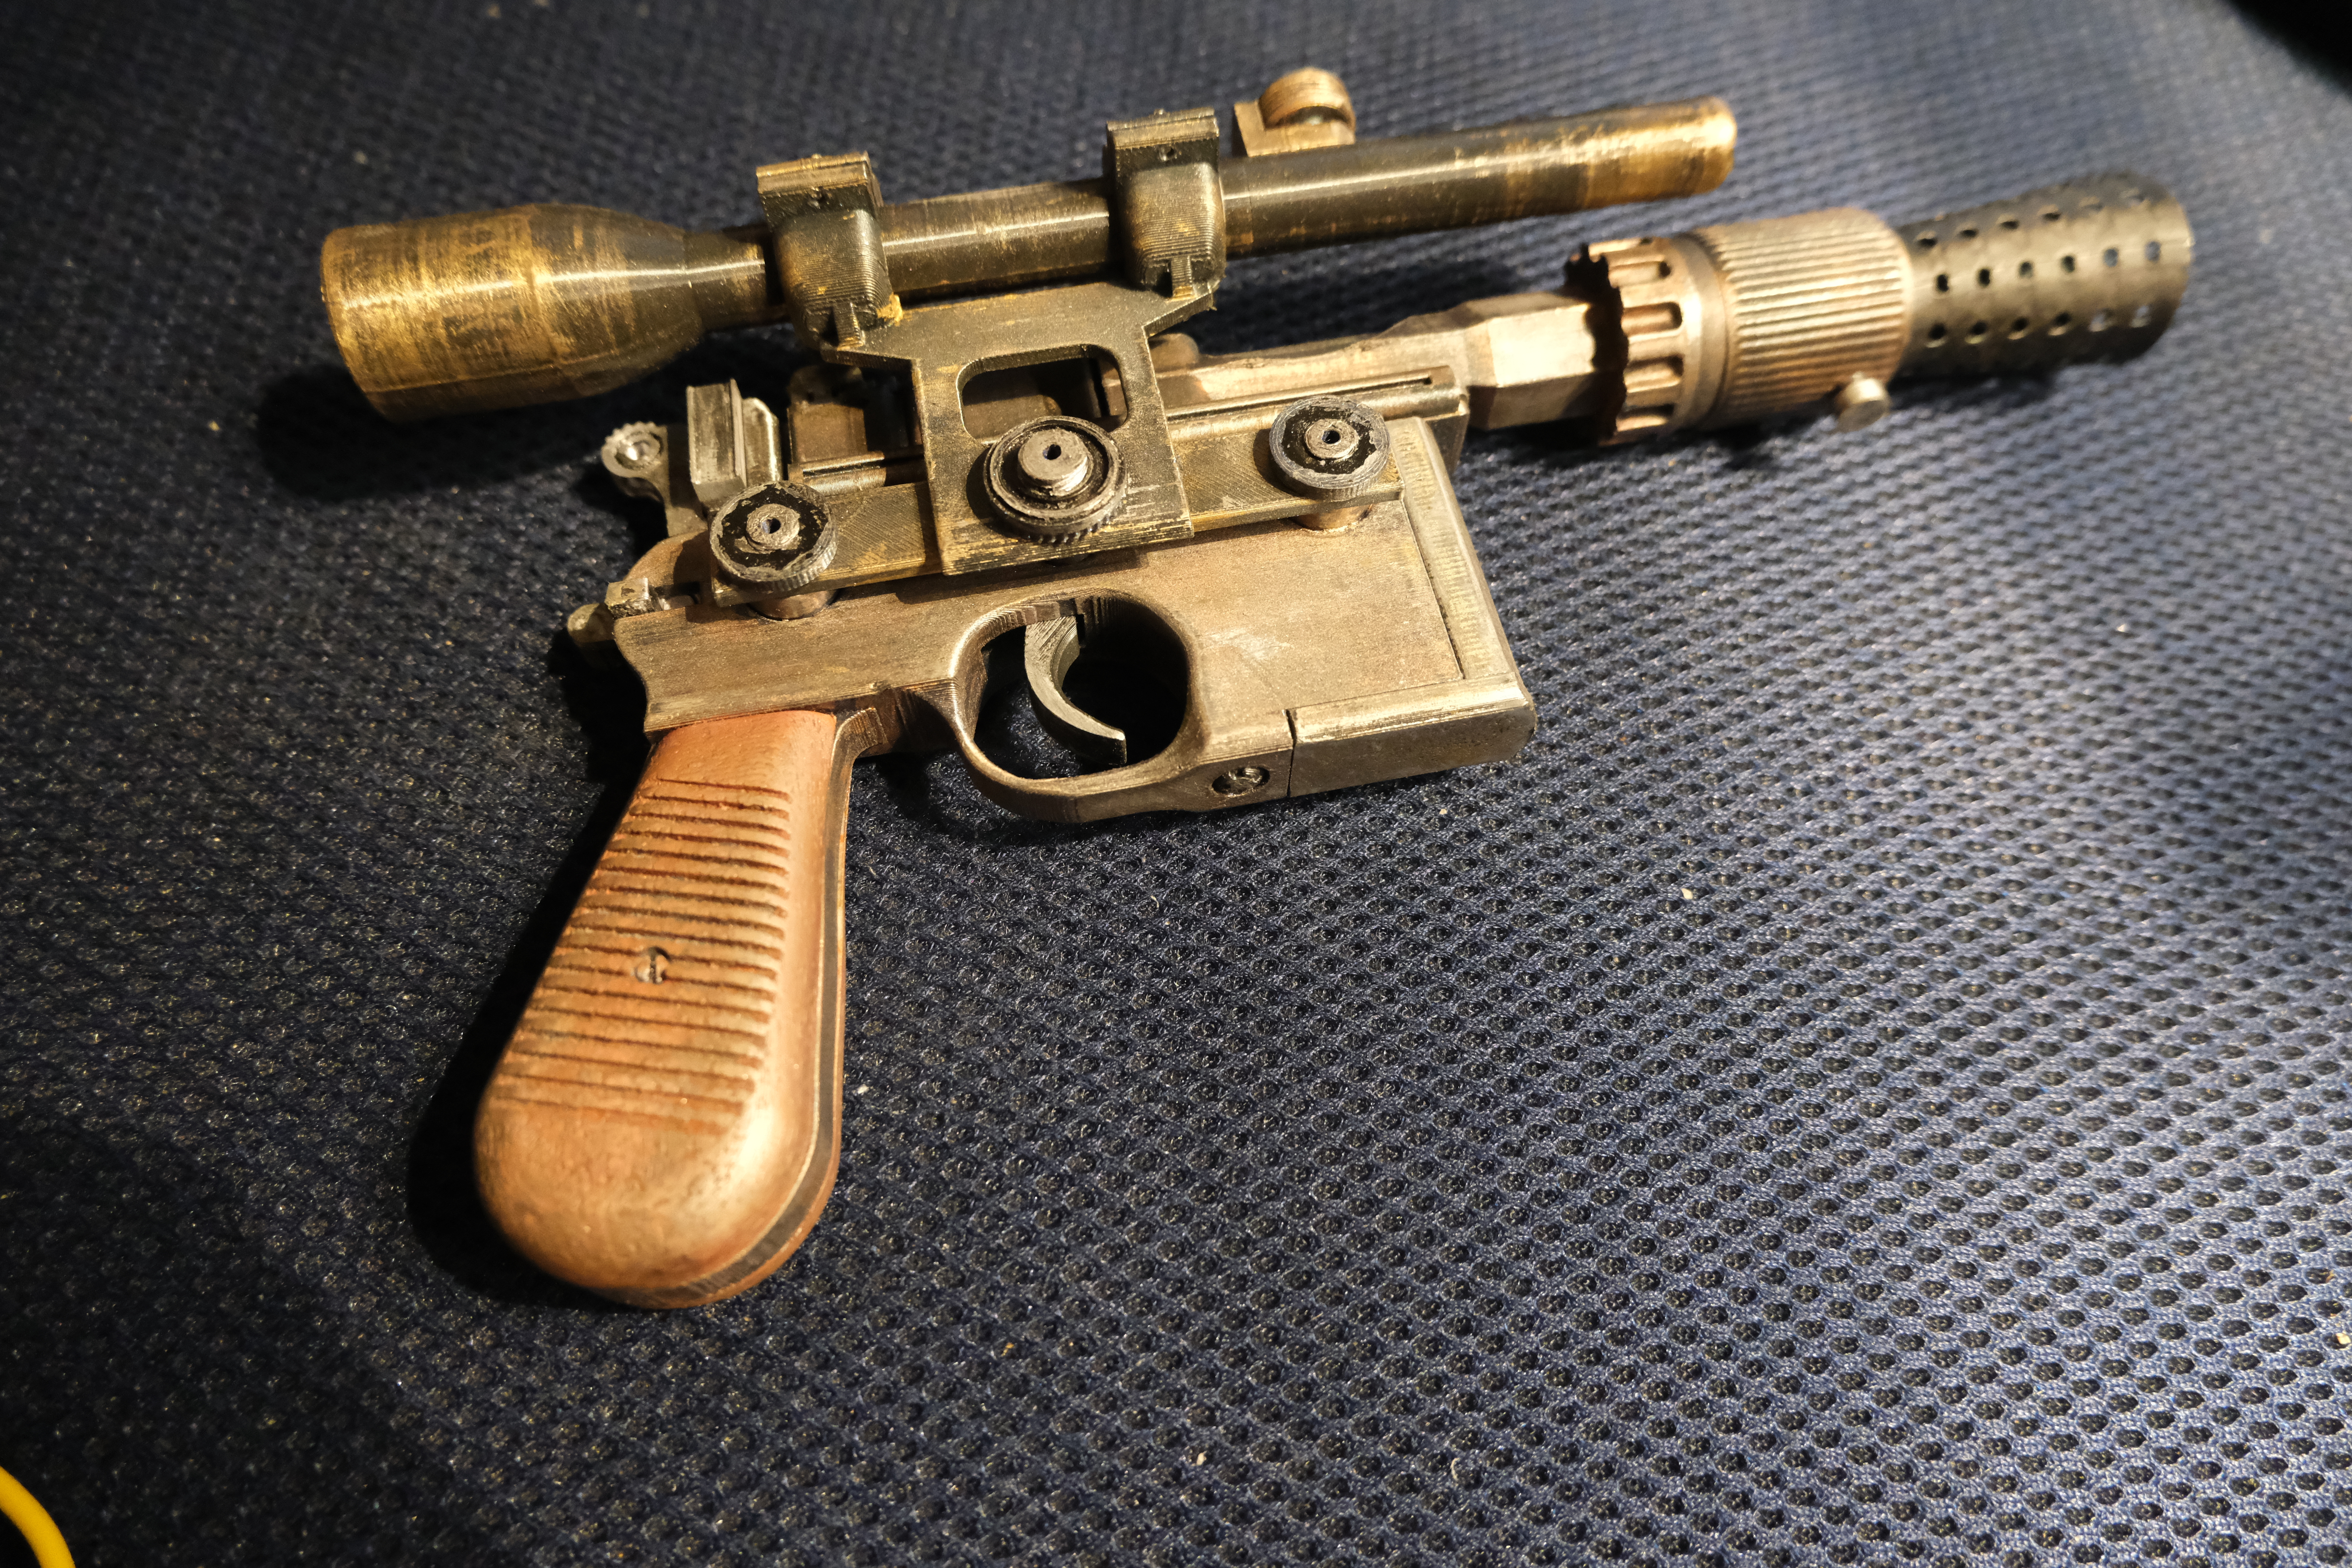
Screen Worthy Han Solo DL-44 Star Wars Movie Prop
Peso
246g
Tiempo
11h 13m
Precio
Cotiza este producto por WhatsApp
Contáctanos y te damos el precio según color y acabado
Las dimensiones dependen del diseño. Confirmamos las medidas exactas por WhatsApp.
Descripción
This is my personal quest for The Ultimate Star Wars Screen-Worthy Replica! It's not just a still “statue” object like many, it articulates and can be disassembled when in need. The trigger pull is wonderfully satisfying, too (which took me many tries to get right). And it comes with an alternative swap-in front - the original Han Solo blaster that has no front cooler (and resembles Mauser C96) and the black coil cooler - or whatever that seems to be added later. Now, I went for hunt of the original prop pictures and so this was modeled from them. The left side has missing the rectangle imprint - I'm not entirely sure about it, it seems versions come and go with and without it. I am getting ready to make a "How To" video because assembling this thing could take a little bit of figuring out. I'm going to throw in some finishing tips at the end too so hang on! Here quick assembly notes before I make a video. (see the assembly image) The trigger is assembled from the top to the main body, and the top spring rests on the roof of the main body. The trigger is held by the central pin - that also holds the scope assembly. Obvious, but still: you have to remove the pin in order to put the trigger. The trigger goes in - you might use a screwdriver to bend the top to go under the roof - once it is in you will see the flat top through the hole. Before you use the pins, try the nuts on the threads, work them a few times if they are stiff. The back box is held by the rear pin for the scope. You need to assemble the box then slide it in, then put pin. The box has the lever and striker - they match together, they are held together in the box with a central thin pin that you push through the box. Then a spring is pushed from the back to give it actuation. The top assembly is a few dovetails linked together. Well, you will need to figure that out… The entire top barrel/striker part is when assembled one dovetail sliding on the main body. The scope gear on top has a loose pin to hold it (the hole that goes through - first push it to the scope box, then push the knob - it is meant to go hard there, but once in, it will rotate freely. Then the whole scope box is pushed to the scope tube. Note - there is a hair cross circle that goes between the tubes before assembly. You might put a drop of glue so it doesn't rotate freely. Where Glue is meant to be: for the silencer to the octagonal barrel. The two parts of the scope. A small silver screw head to the bottom. A small screw to the silencer assembly. A small screw to the striker lever. Wooden handle pieces + Two screws to the handle. Most of the other parts are designed not to be glued and can be disassembled. Note the two standoff screws and central screw for the scope holder are friction fit to the body. They do rotate if you press too much on the nut - preventing from damaging the threads. The scope holder (where the scope sits + the top clamp) - I included tiny pins if you want to glue things together - they won't work mechanically - way too wonky, but plug the hole. I would suggest using normal tiny screws, this way you can remove it. Best use black screws. (something like 2.5 mm screws etc, look in your drawers for those tiny screws) The bottom part is a dovetail and allows you to swap the cooler vs the flat front - so you can play different versions. (I like the plain more, the cooler is goofy IMHO and even on the real prop it kind of look glued on) Mea culpa if I forgot something. But in my defense, you can expect a nice long video where I calmly explain everything at length, so chill out! Anyway, as much as possible this is modular and interchangeable, so I will later make some of the parts look prettier or more futuristic (or just better), and it will be easier to swap them around without having to reprint everything. I'm also including a wood-texture handles as an extra (1.5 million of polys - if you really want that). With a bit of finishing you can make it look pretty convincing wood. I hope you like it - the goal is to make an ultimate screen worthy prop - if you have any comments or want to discuss this - shoot (pun intended)
Tags
Diseñador
FPHAM