
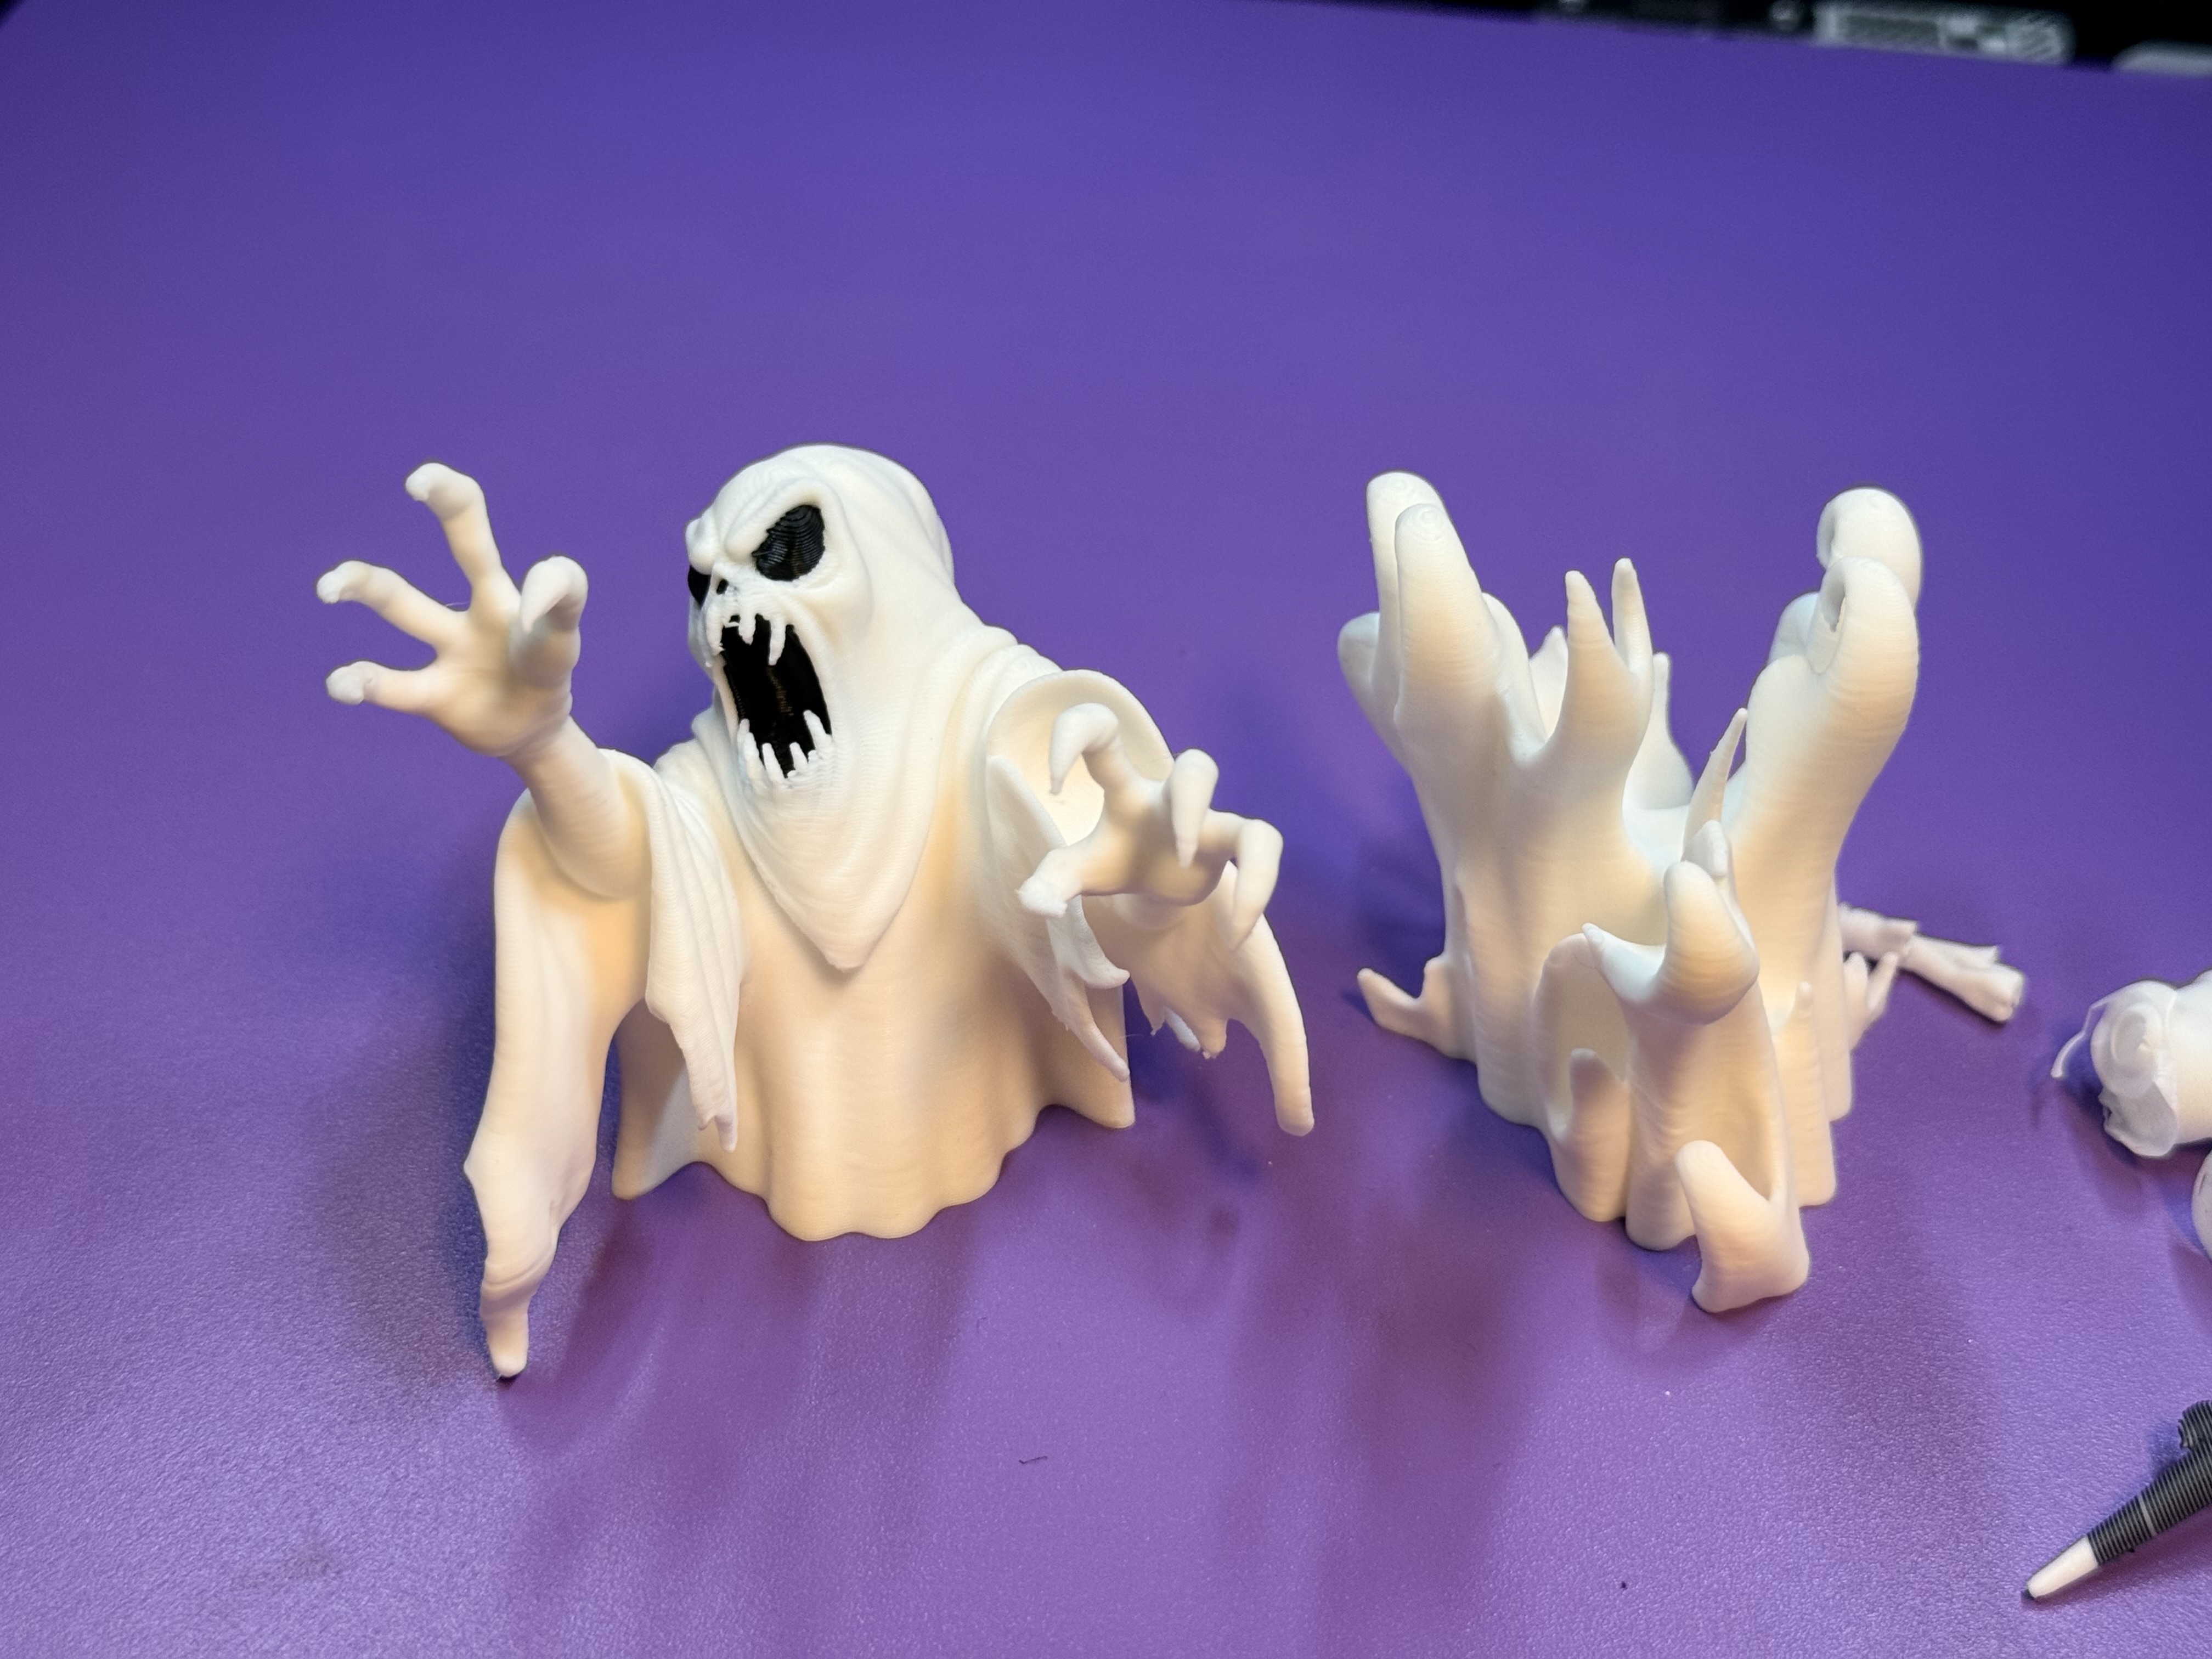
Halloween Ghost through window V2 - Scary
Peso
68g
Tiempo
3h 48m
Precio
Cotiza este producto por WhatsApp
Contáctanos y te damos el precio según color y acabado
Las dimensiones dependen del diseño. Confirmamos las medidas exactas por WhatsApp.
Descripción
Welcome back witches and wizards! Since a lot of you liked my ghoast floating through a window much 2 years ago, I wanted to make a version 2.0. This is it! A yet scarier ghost, that floats through a window. How to print? A dual Nozzle machine is recommended, since it uses 2 colors. But of course any AMS system will also work, but print time will be longer. Use tree supports for the folating areas. How to assemble? Note: The last time it bothered me, that the size of the ghost was weird with the glass, because the glass thickness was added because I made a clear cut. This time I cut away 3mm of the ghost, so it looks better (best if glass thickness is 3mm). So don't wonder why the 2 parts don't seem to fit together when you put them directly onto each other. with a glass between them it looks perfect. Assembly is easy, I made 4 versions: Tape version - just to flat planes which you can glue to your window using tape. 25x3mm Magnet version - to use magnets, you need strong ones because even a thin window will make magnetic force work less because of the distance of the magnets. So I wanted to use stong ones, the 25x3mm magnets from bambu lab are listed in the BOM list. 10x3mm magnet version - If you don't have or dont want to buy the big magnets, there is a version with 6 magnets of the size 10x3mm. They are also linked in the BOM list. Modify to your magnet size (use any of the magnet print profile and open it in bambu studio). I created the holes by adding negative parts in bambu studio. You can change the size of these negative parts in bambu studio. Just choose the magnets from the list of objects and change their size. z = maget height +0.2mm. I recommend to use the actual size of the magnets for press fit. Make sure to change the magnets height to ½ (magnet height + 0.2mm) (see pictures below) Just press the magnets into the holes (yes it might need some force because the size is press fit) and make sure the orientation fits to both parts so they appeal each other and not push away each other! Have fun using it an please post some pictures!
Tags
Diseñador
DIY Wizard