
ShrinkStar: XY Filament Shrinkage Calibration Tool
Peso
8g
Tiempo
39m
Precio
Cotiza este producto por WhatsApp
Contáctanos y te damos el precio según color y acabado
Las dimensiones dependen del diseño. Confirmamos las medidas exactas por WhatsApp.
Descripción
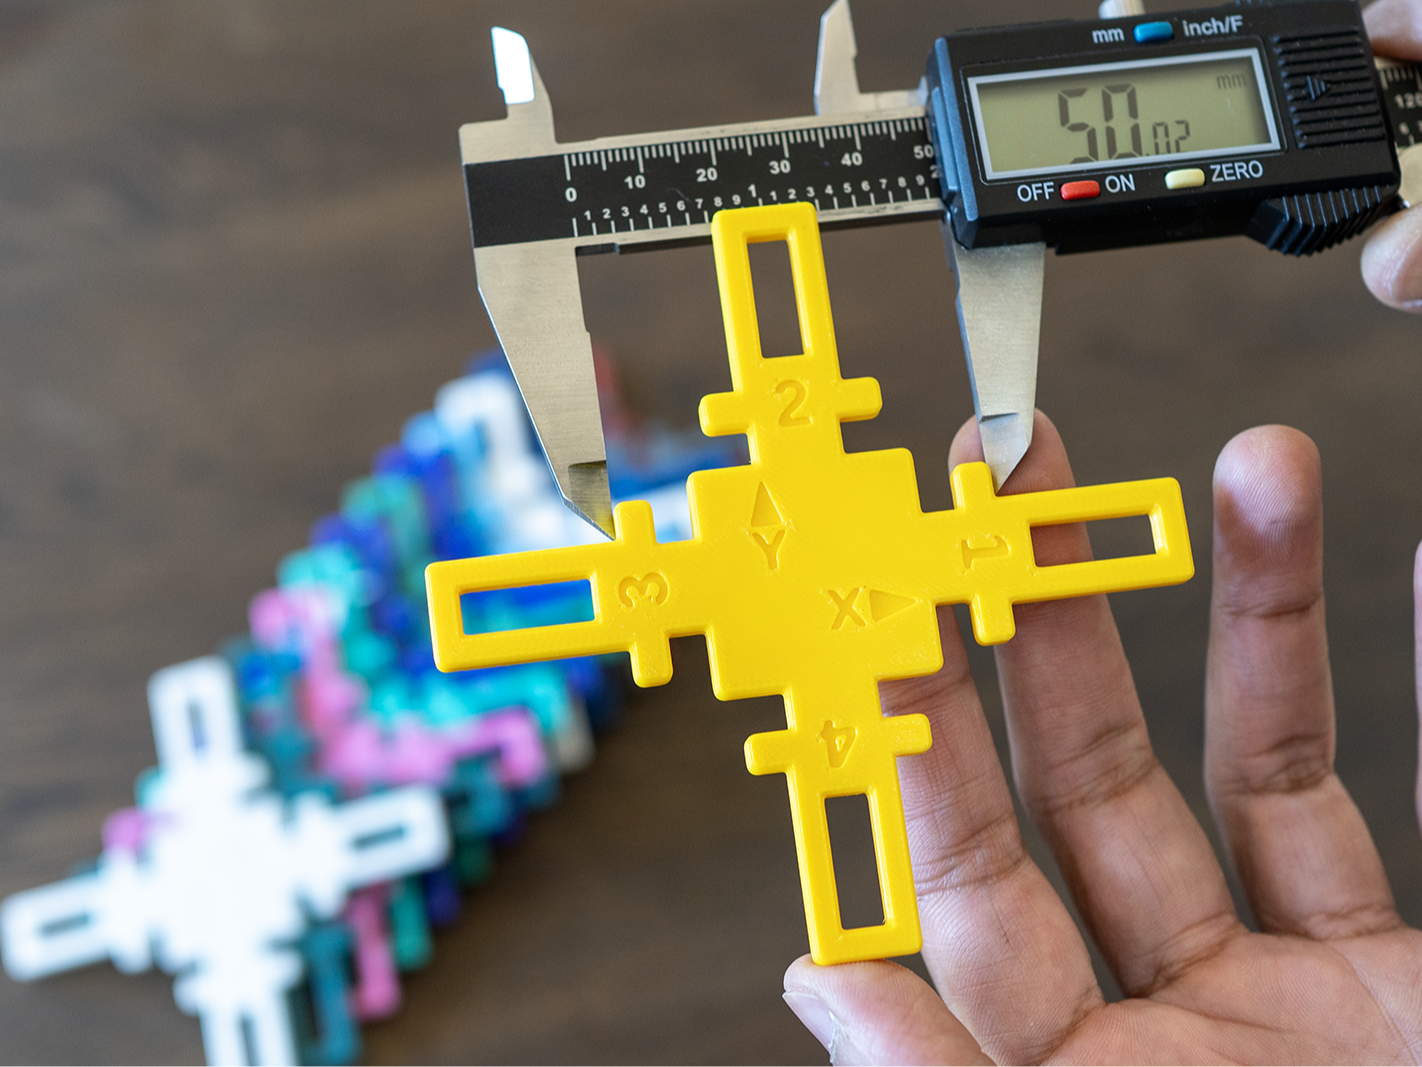
Ever designed and printed a mount for something you own, like a phone holder, or printed a tool bracket or a box to hold a real item, only to find it's a little too tight or loose? That's usually not caused by the design mistake, but material shrinkage. Plastic contracts slightly as it cools after printing, and how much depends on the filament. If you're printing two parts that only need to fit each other, like a snap-fit box, small shrinkage differences usually don't matter much, since both halves shrink by roughly the same amount. But the moment your print needs to match something that already exists, like a specific screw, a battery, or a piece of hardware, that small shrinkage adds up. ShrinkStar measures exactly how much a specific brand and type of filament shrinks on your printer, and gives you one number to enter in Bambu Studio to compensate. From then on, prints in that same filament brand and type come out true to size. It's specific to that filament though, so you'll want to run it again for other filament brands and types (variation between colors is usually negligible). Quick Facts Print time: under 30 minutes (most printers on standard settings) Filament used: less than 10 grams Supports: none Fits any Bambu printer, including A1 Mini Tools needed: a set of (digital) calipers I've personally tested this across 10 different ABS and ASA filaments from 4 brands on my H2C, and it holds up consistently across all of them. Is this for me? Mostly printing PLA or PETG for decorative stuff? You can still try it, but PLA barely shrinks, so you probably won't notice much difference. Printing ABS, ASA, PC, nylon, or PAHT-CF for parts that need to match something real? This is exactly what it's for. Those materials shrink more, and that's usually where fit problems come from. Before you print ShrinkStar Two things worth doing first, both built into Bambu Studio: Flow Rate calibration. This keeps extrusion accurate. If your prints are a little over or under extruded, that shows up as walls that are slightly too thick or thin, and it'll throw off the shrinkage number. Flow Dynamics (Pressure Advance) calibration. This keeps corners sharp and accurate. ShrinkStar's measurement points can be affected by print quality, so if pressure advance isn't dialed in, the corners can round off or bulge slightly and throw the measurement off. Before your first calibration print, set Filament Settings → Basic Information → Shrinkage back to 100% for that filament. That way you're measuring the real, uncompensated shrinkage instead of stacking a new number on an old one (although the calculator can be used for subsequent measurements). How it works Print ShrinkStar with the filament you want to calibrate, using your normal print settings. Open the calculator (https://rajenki.github.io/shrinkstar/) in any browser. It runs completely locally and nothing you enter ever gets uploaded or sent anywhere. Once the print is fully cooled, measure it with calipers and enter the numbers. The calculator shows exactly where to measure, with a picture for each spot, so you're not guessing. Three measurements for each spot are averaged to minimize mistakes. After all measurements are entered, the calculator gives you one shrinkage number. Paste it into Bambu Studio: Filament Settings → Basic Information → Shrinkage. That filament will now print true to size going forward. Be sure to save the profile for future use. Share your result The calculator has a "copy for MakerWorld" button that formats your result (printer, filament, and shrinkage percent) so you can paste it as a comment below. If enough people do this, it becomes a handy reference for other makers to know roughly what to expect from a specific filament on a specific printer before running their own calibration. Boost MeIf this saved you a headache, a boost genuinely helps more people find it. I'm always open to suggestions if you think something could work better, just leave a comment. Thanks for checking it out!
Tags
Diseñador
Mr RVK