
Brim Object Gap Calibration Test
Peso
11g
Tiempo
34m
Precio
Cotiza este producto por WhatsApp
Contáctanos y te damos el precio según color y acabado
Las dimensiones dependen del diseño. Confirmamos las medidas exactas por WhatsApp.
Descripción
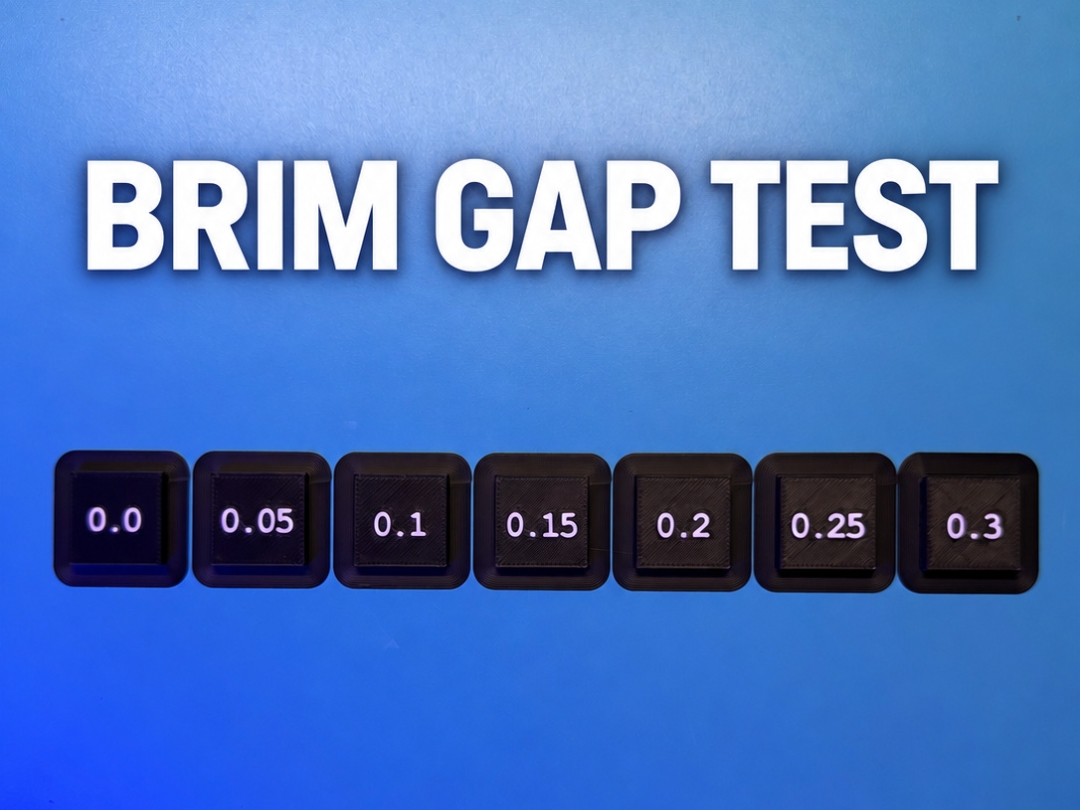
Brims difficult to remove? Or separating from your print before they can help? This brim object gap calibration test helps you compare seven gap settings to find a useful balance between brim attachment and clean removal for your printing setup. WHAT IT TESTS Brim object gap is the horizontal space between the model and its brim. • Smaller gaps generally produce a stronger connection but can make removal more difficult. • Larger gaps generally make removal easier but can leave the brim insufficiently connected to the model. The goal is a brim that stays connected during printing and peels away afterward without excessive cleanup. INCLUDED GAP VALUES 0.00 / 0.05 / 0.10 / 0.15 / 0.20 / 0.25 / 0.30 mm Seven labeled samples let you compare the results side by side. Each uses the same geometry and a 5 mm brim, with only the brim object gap changing. HOW TO USE Use the printer, nozzle, build plate, and filament you want to calibrate. Keep your normal first-layer settings consistent across all samples. Check the sliced first-layer preview before printing. Make sure every sample has a brim and neighboring brims remain separate. Print the test and let the build plate cool as you normally would. Compare how securely each brim connects and how easily it peels away. Save your preferred gap in the print preset you use for that setup. WHAT TO LOOK FOR Too close: The brim is difficult to peel away, leaves a rough edge, or requires substantial trimming. Useful gap: The brim remains connected during printing and removes with minimal effort and little cleanup. Too far: The brim prints separately or disconnects too easily to provide useful support. FINE-TUNING If two neighboring samples give promising results, test between them in 0.025 mm increments. For example, if 0.10 mm is difficult to remove and 0.15 mm releases too easily, try 0.125 mm. IMPORTANT NOTES This is primarily a brim attachment and removal test. Small samples do not reproduce the warping forces of larger prints, so confirm your chosen setting on your intended model. Results can change with filament, build plate, nozzle size, and first-layer settings. Recheck your gap when changing your setup. The gap values must be applied in the slicer. Labels or STL geometry alone do not configure the brim object gap. SHARE YOUR RESULTS Post your printer, nozzle size, filament, build plate, and preferred gap in the comments to help other makers compare their results! Boost MeDid this test help you find your perfect brim gap? A boost helps support my work and encourages more practical calibration tools like this one. Thanks for printing and supporting my designs! 🙌
Tags
Diseñador
JustPlayin3D