
Halloween Lantern
Peso
973g
Tiempo
27h 26m
Precio
Cotiza este producto por WhatsApp
Contáctanos y te damos el precio según color y acabado
Las dimensiones dependen del diseño. Confirmamos las medidas exactas por WhatsApp.
Descripción
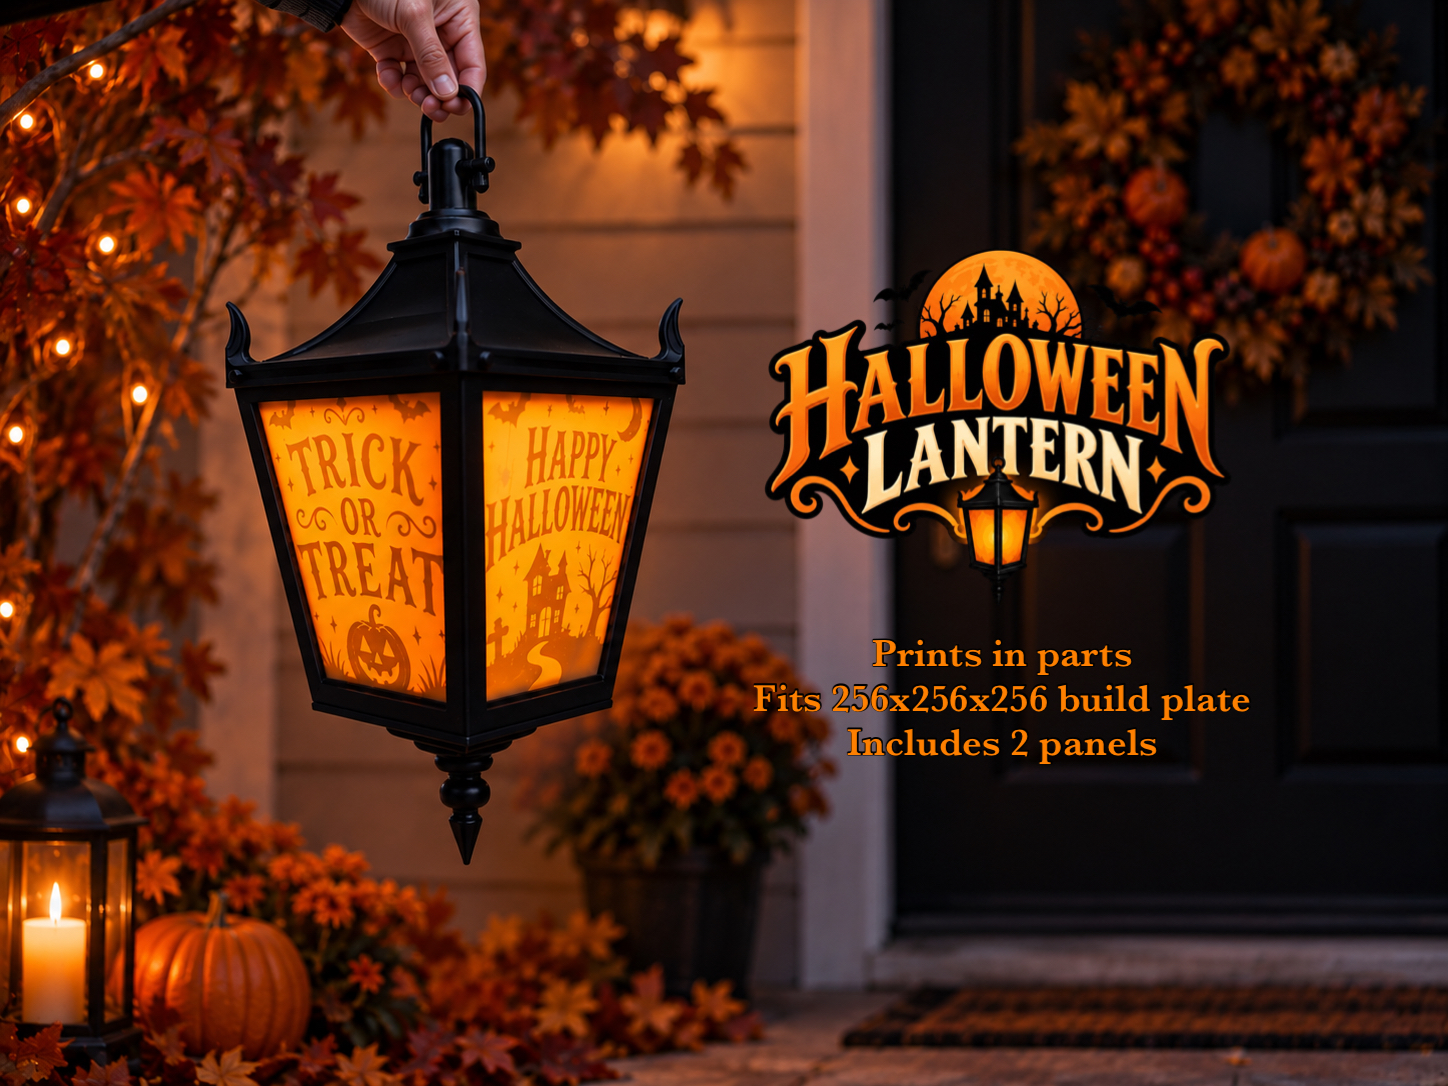
The Halloween Lantern is a derivative of the larger Halloween Lamppost, rebuilt and redesigned specifically into a hanging lantern form. The original Halloween Lamppost is available separately via Patreon, Thangs, Tribes, Cults and MyMiniFactory. The Halloween Lantern includes 2 panel designs, as pictured. A further 38 unique panel designs are available separately across the platforms mentioned above, giving you plenty of options to customise your lantern. A blank panel is also available for subscribers, allowing you to create your own designs. The lantern prints in separate parts for easy printing and assembly. For illumination, the lantern is designed to accommodate a battery-powered light puck up to 8 cm in diameter. These are readily available from most large online retailers. Halloween Lantern Instructions Assembly 1. Attach the Base Start with the Base and place the Main Body on top. Take the 4 screws and thread them through the Main Body into the Base. Use the provided key to tighten the screws securely. 2. Attach the Top Main Section Place the Top Main section over the 4 upright poles. The orientation of this section does not matter. 3. Add the Light and Panels Insert your chosen light source into the centre of the lantern. Next, insert the 4 lantern panels into position. 4. Attach the Top Place the Top onto the assembled lantern. This time, orientation does matter. The Top includes holes for 4 locking pins, which secure it to the Main Body. Rotate and position the Top so that these holes line up correctly with the corresponding holes below. You will also notice 4 additional holes. These are decorative only and are used for the shorter pins. 5. Insert the Pins Two different pin lengths are included in the files: 4 longer locking pins – Insert these into the 4 corners where the holes in the Top and Main Body line up. These pins lock the two sections together. 4 shorter decorative pins – Insert these into the remaining holes in the Top and glue them in place. These are purely decorative and help give the finished lantern an even and symmetrical appearance. 6. Assemble the Hanging Loop Lastly, assemble the hanging loop. Thread the Loop Bar through the hole in the lantern Top. Place the Loop through the Loop Bar, then secure it in position using the 2 threaded Loop Ends. Finished! Congratulations — your Halloween Lantern is now complete! Switch on your light source and enjoy your finished Halloween display. The top will go into the exclusion area of the p1s, please seach how to turn the exclusion area off, or i suggest scaling all parts to 95% Boost Meif you liked this model please consider a boost
Tags
Diseñador
ENIQUE3D