
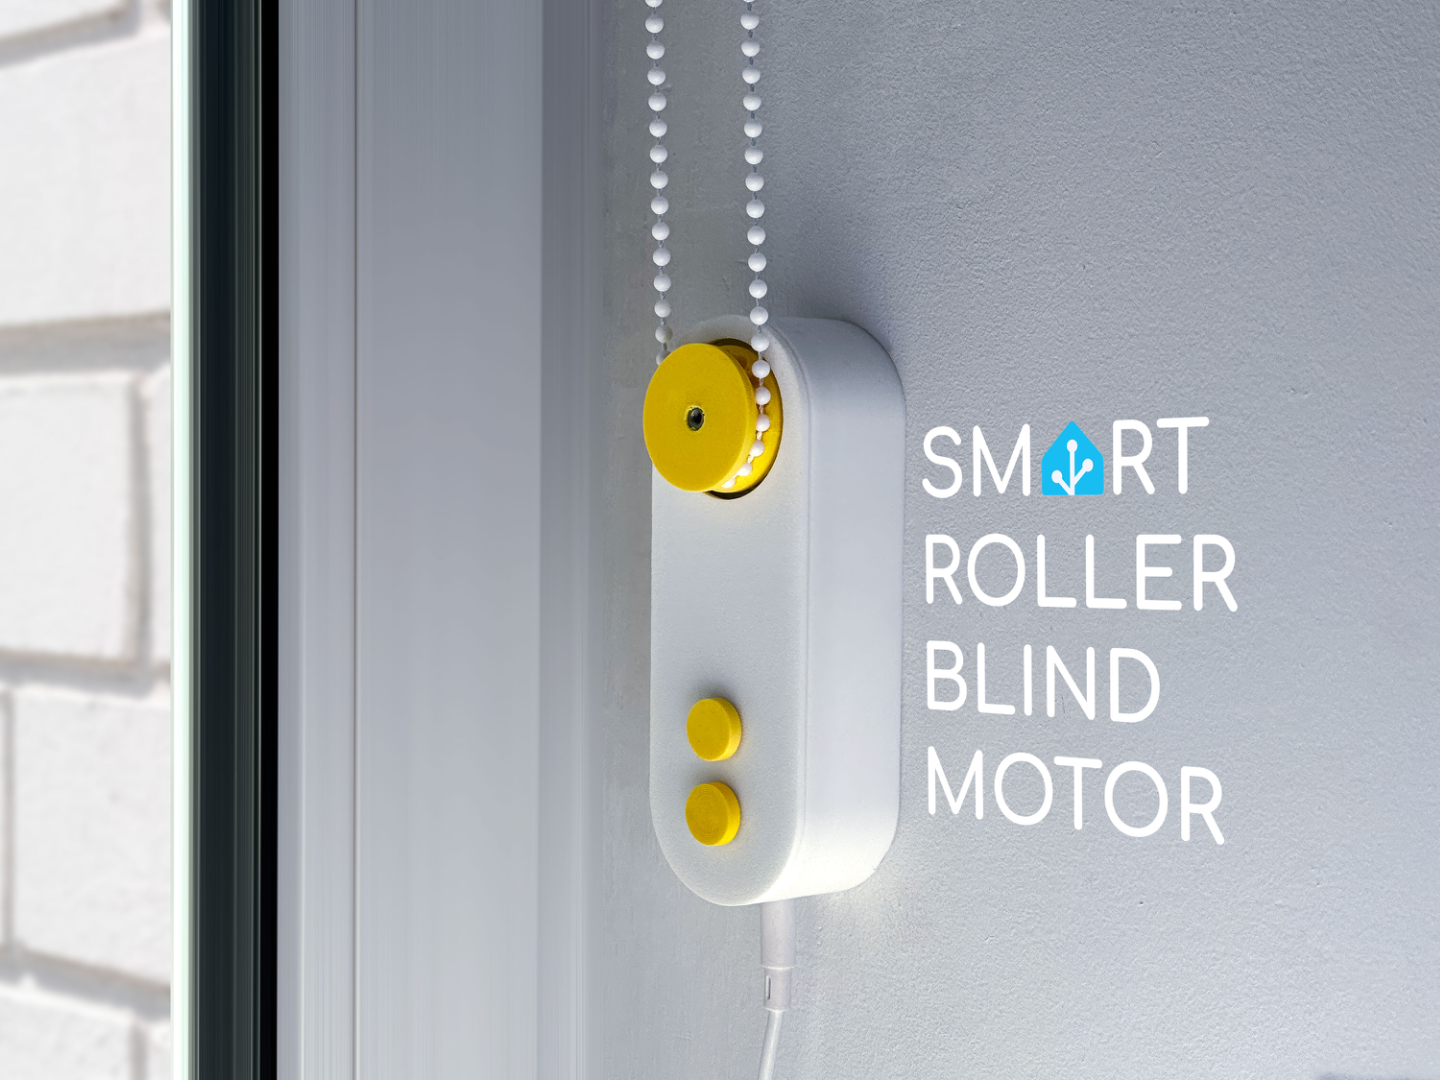
Smart Roller Blind Motor | ESP32 + Home Assistant
Peso
86g
Tiempo
2h 40m
Precio
Cotiza este producto por WhatsApp
Contáctanos y te damos el precio según color y acabado
Las dimensiones dependen del diseño. Confirmamos las medidas exactas por WhatsApp.
Descripción
🪟 Smart Roller Blind Motor — ESP32 + Home Assistant A DIY motor unit that automates a standard chain-driven roller blind and talks natively to Home Assistant via ESPHome. No cloud, no subscription, nothing to sign into. Built this after burning through three ESP boards getting it right. All four of my blinds now move on their own and follow the sun across the day 🌞 — sharing it in case you want the same. ✨ What it does - 🏠 Native HA integration — shows up as a cover entity with full position control - 🔘 Physical buttons — short press opens/closes fully, press again to stop anywhere - 🎯 Calibrate straight from the buttons, no computer needed - 🔄 Reverse switches for motor and buttons — wired something backwards? Flip a toggle, no re-soldering - 📡 OTA updates — flash once over USB, update over WiFi from then on - 🌐 Built-in web UI — works even without Home Assistant - 👥 Runs several blinds as a group and can follow the sun automatically (how I run my bay window) 🧰 What you need ⚙️ ESP32-C3 SuperMini — ~$2 ⚙️ TB6612FNG motor driver — ~$1.5 ⚙️ JGY-370 12V 40RPM worm gear motor — ~$8 ⚙️ Mini-360 buck converter — ~$0.5 ⚙️ DC jack 5.5×2.1mm — ~$0.5 ⚙️ 2× tactile buttons — ~$0.2 ⚙️ 12V 1A+ power adapter — ~$3 ⚙️ Silicone wire + heat shrink — ~$2 💰 Total, per blind — under $20 Also needed: a soldering iron, a multimeter (mandatory — sets the buck converter voltage before it kills anything 💀), and a 3D printer for the enclosure. 🔗 Firmware, wiring diagram, full build guide: https://github.com/nik-po/nik.po-roller-blind 📍 How it knows the position No encoders or end switches — it tracks position by time. Teach it once how long a full open/close takes and it calculates the rest. Not laser-precise, but plenty accurate for a blind, and a 10-second recalibration from the buttons fixes any drift. 🔋 Why 12V, why no battery? The motor needs 12V for real torque — a USB boost converter works but adds complexity for no real gain. A WiFi-connected ESP32 also draws too much to live happily on a battery and still respond instantly. A permanent 12V line is the simple, honest tradeoff. A USB or deep-sleep-battery version might happen later if there's interest — say so in the comments. 🛠️ Assembly, in short 1. Print the enclosure and gear 2. Set the buck converter to 3.3V before connecting anything else 3. Flash the firmware over USB while the board is still bare 4. Solder everything per the wiring diagram — don't worry about polarity, reverse toggles fix it in software 5. Mount it, feed the chain over the gear 6. Calibrate top/bottom from the buttons 7. Home Assistant finds it automatically Full step-by-step with photos is in the attached PDF and the firmware guide linked above. 📸 If you build one, drop a photo in the comments — genuinely made my month territory. And if you find this useful, a free boost helps other makers find it too 🙌
Tags
Diseñador
Printy.Po