
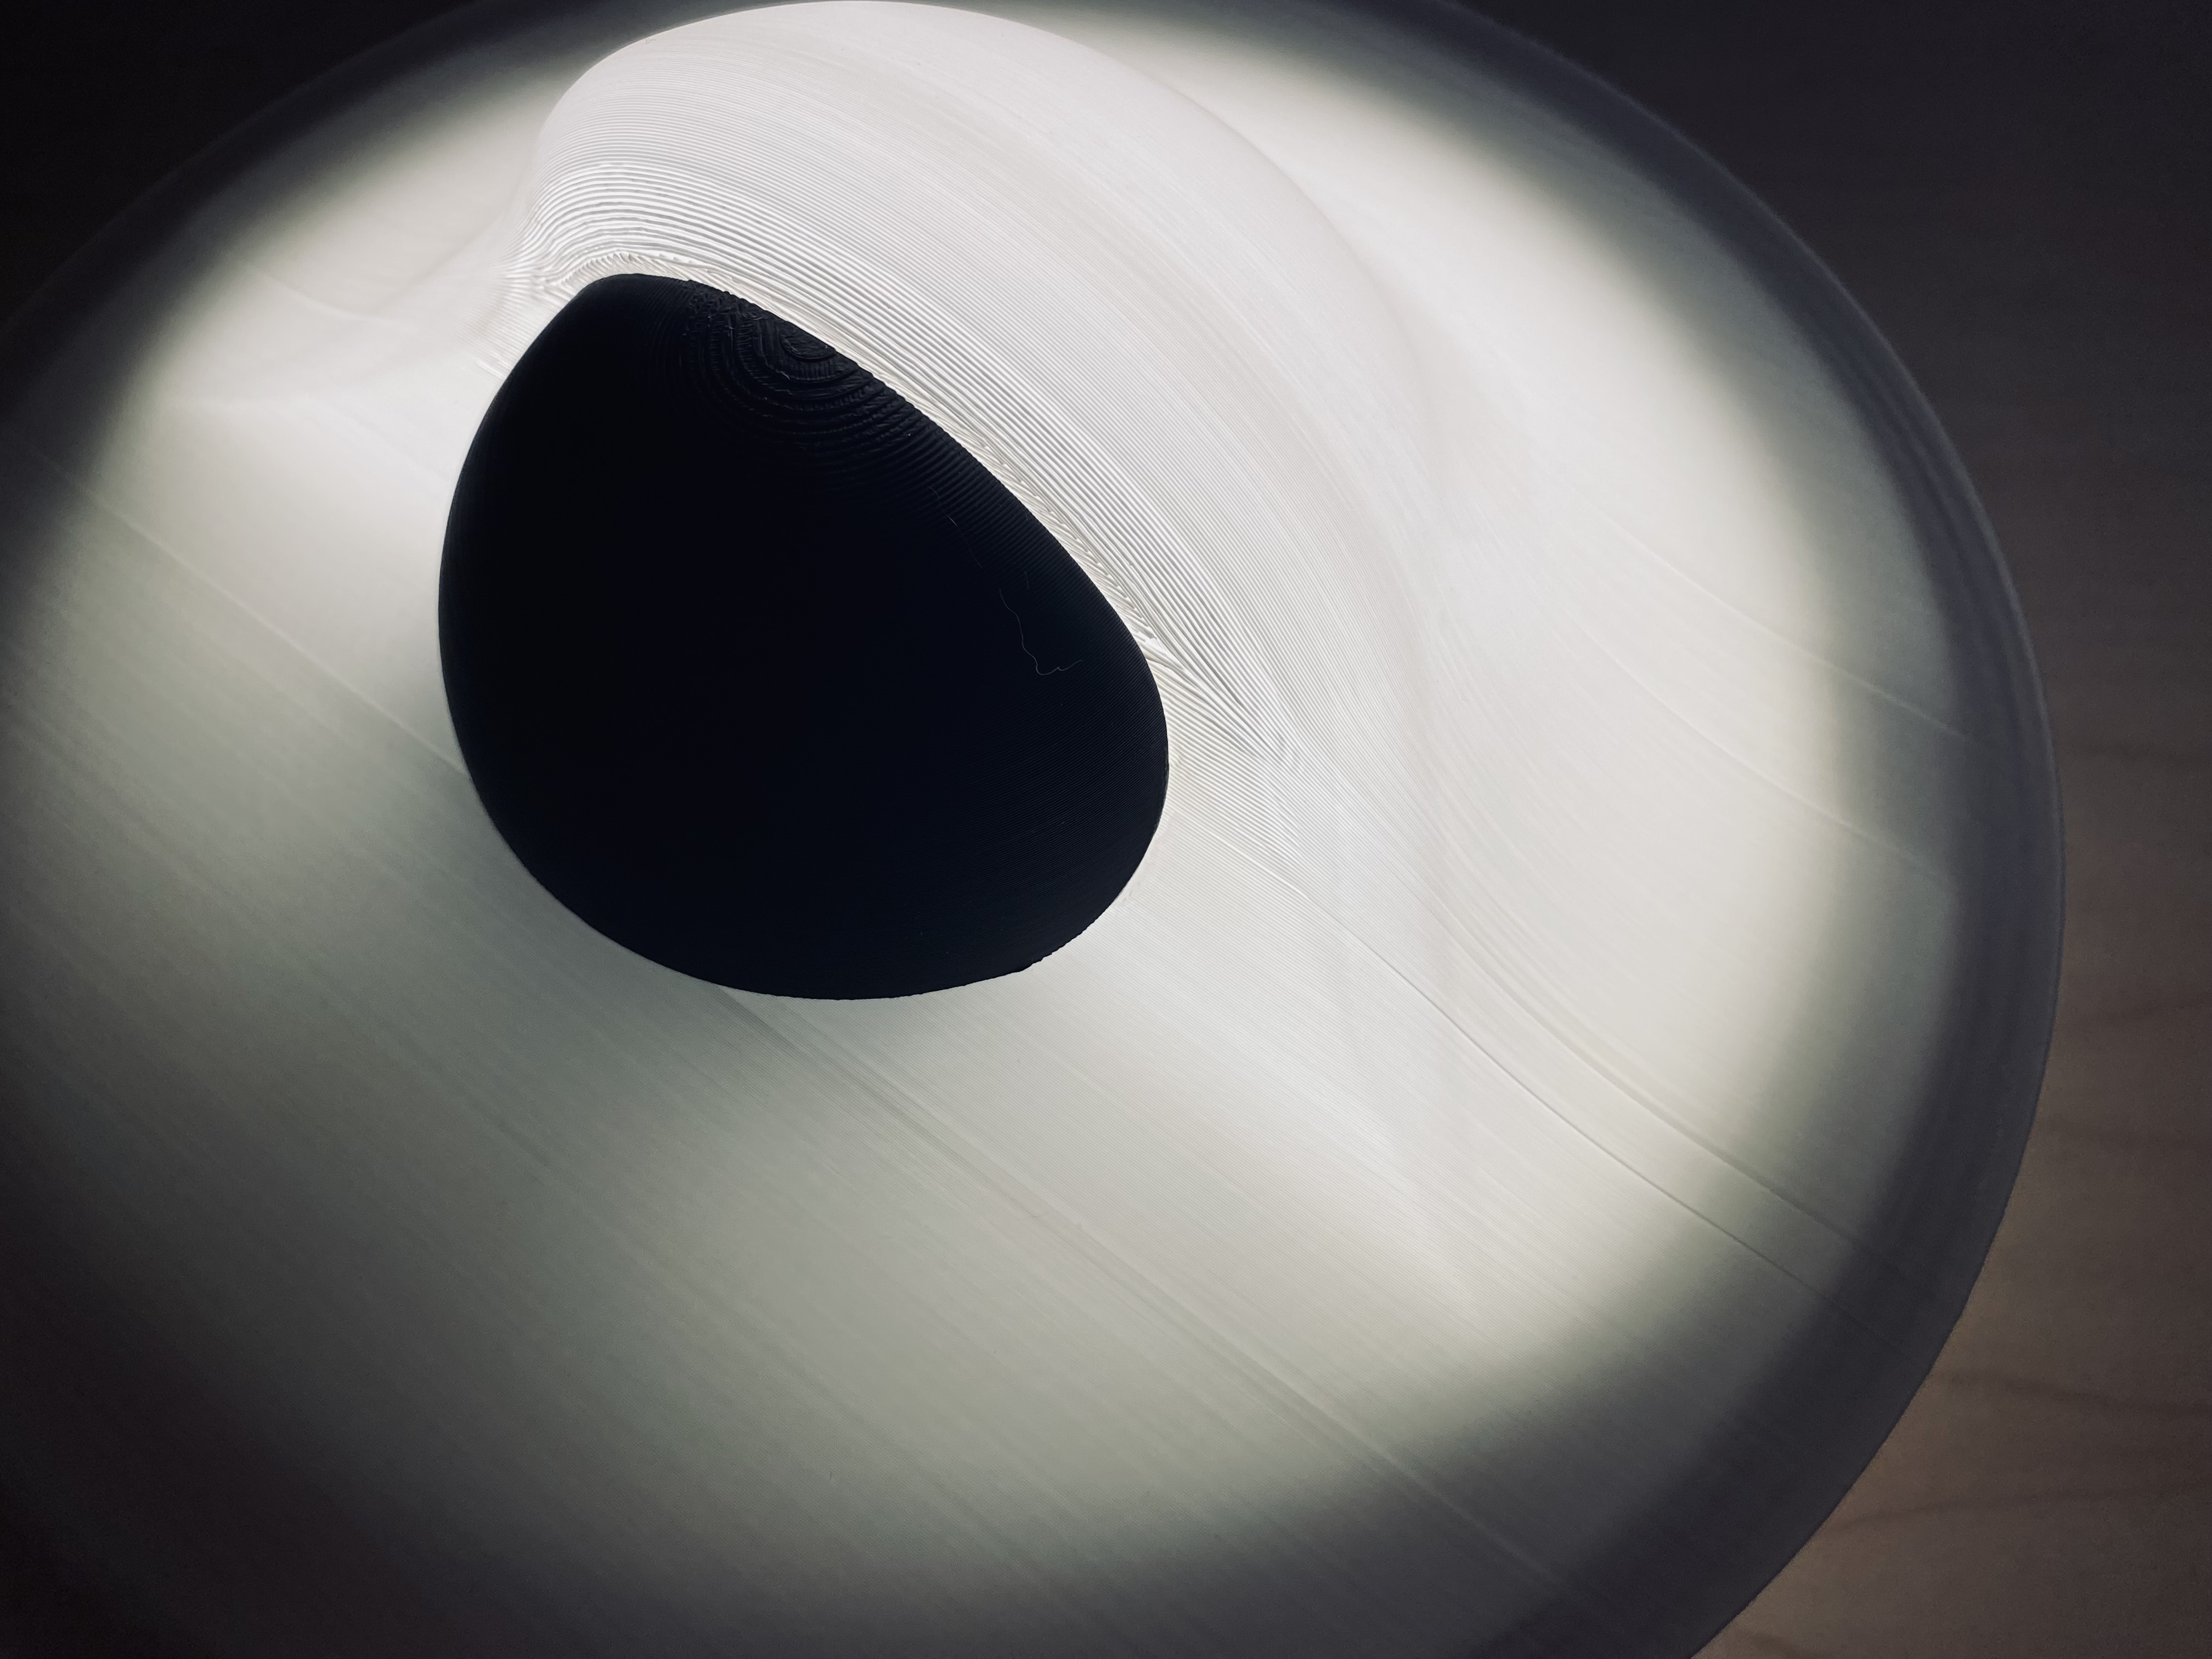
Black Hole Lamp V2
Peso
274g
Tiempo
10h 5m
Precio
Cotiza este producto por WhatsApp
Contáctanos y te damos el precio según color y acabado
Las dimensiones dependen del diseño. Confirmamos las medidas exactas por WhatsApp.
Descripción
What is New? The light-up part of the black hole now prints in one piece instead of two, meaning there is no more seam or gap A new internal LED Lamp Kit housing that makes it possible to install the LED lamp into this new design without requiring an adhesive pad An updated connection between the black hole light and stand for easier alignment Designed for easier gluing A new assembly process (instructions are provided) The exterior geometry of the design has been updated slightly Updated print settings These improvements do come with the drawback of requiring more supports, and to print this model, your print volume needs to at least fit a 156mm x 156mm x 220mm area. Pliers and flush cutters are great tools for removing supports. About This Model This is a light up display lamp that looks like a black hole. It requires only two colors of filament and an LED Lamp Kit 001. This model does also print in multiple parts that will need to be glued together (I recommend using super glue or 3D Gloop). I highly encourage you to print each part with the print settings specified, or use the provided 3mf that already has these settings applied. Print Settings "Light": Use white filament I suggest printing in the default orientation 3 wall loops 100% infill Use tree supports along the edges of the disk (this prevents the print from falling over as it prints) and under significant overhangs (especially around the center bulb area) Paint the seam along the outside edge of the disk (hides the print seam) Optional: decrease the outer wall print speed for a higher quality finish (this setting is NOT applied in the provided 3mf) Optional: decrease the initial layer print speed for better adhesion (this setting is NOT applied in the provided 3mf) "BlackParts": Use black filament 4 wall loops 5% infill enable brim enable supports Optional: decrease the initial layer print speed for better adhesion (this setting is NOT applied in the provided 3mf) "Stand": The filament color is your choice 5-15% infill 4 wall loops Set the seam position to the back of the stand Assembly Instructions
Tags
Diseñador
NAM_3