
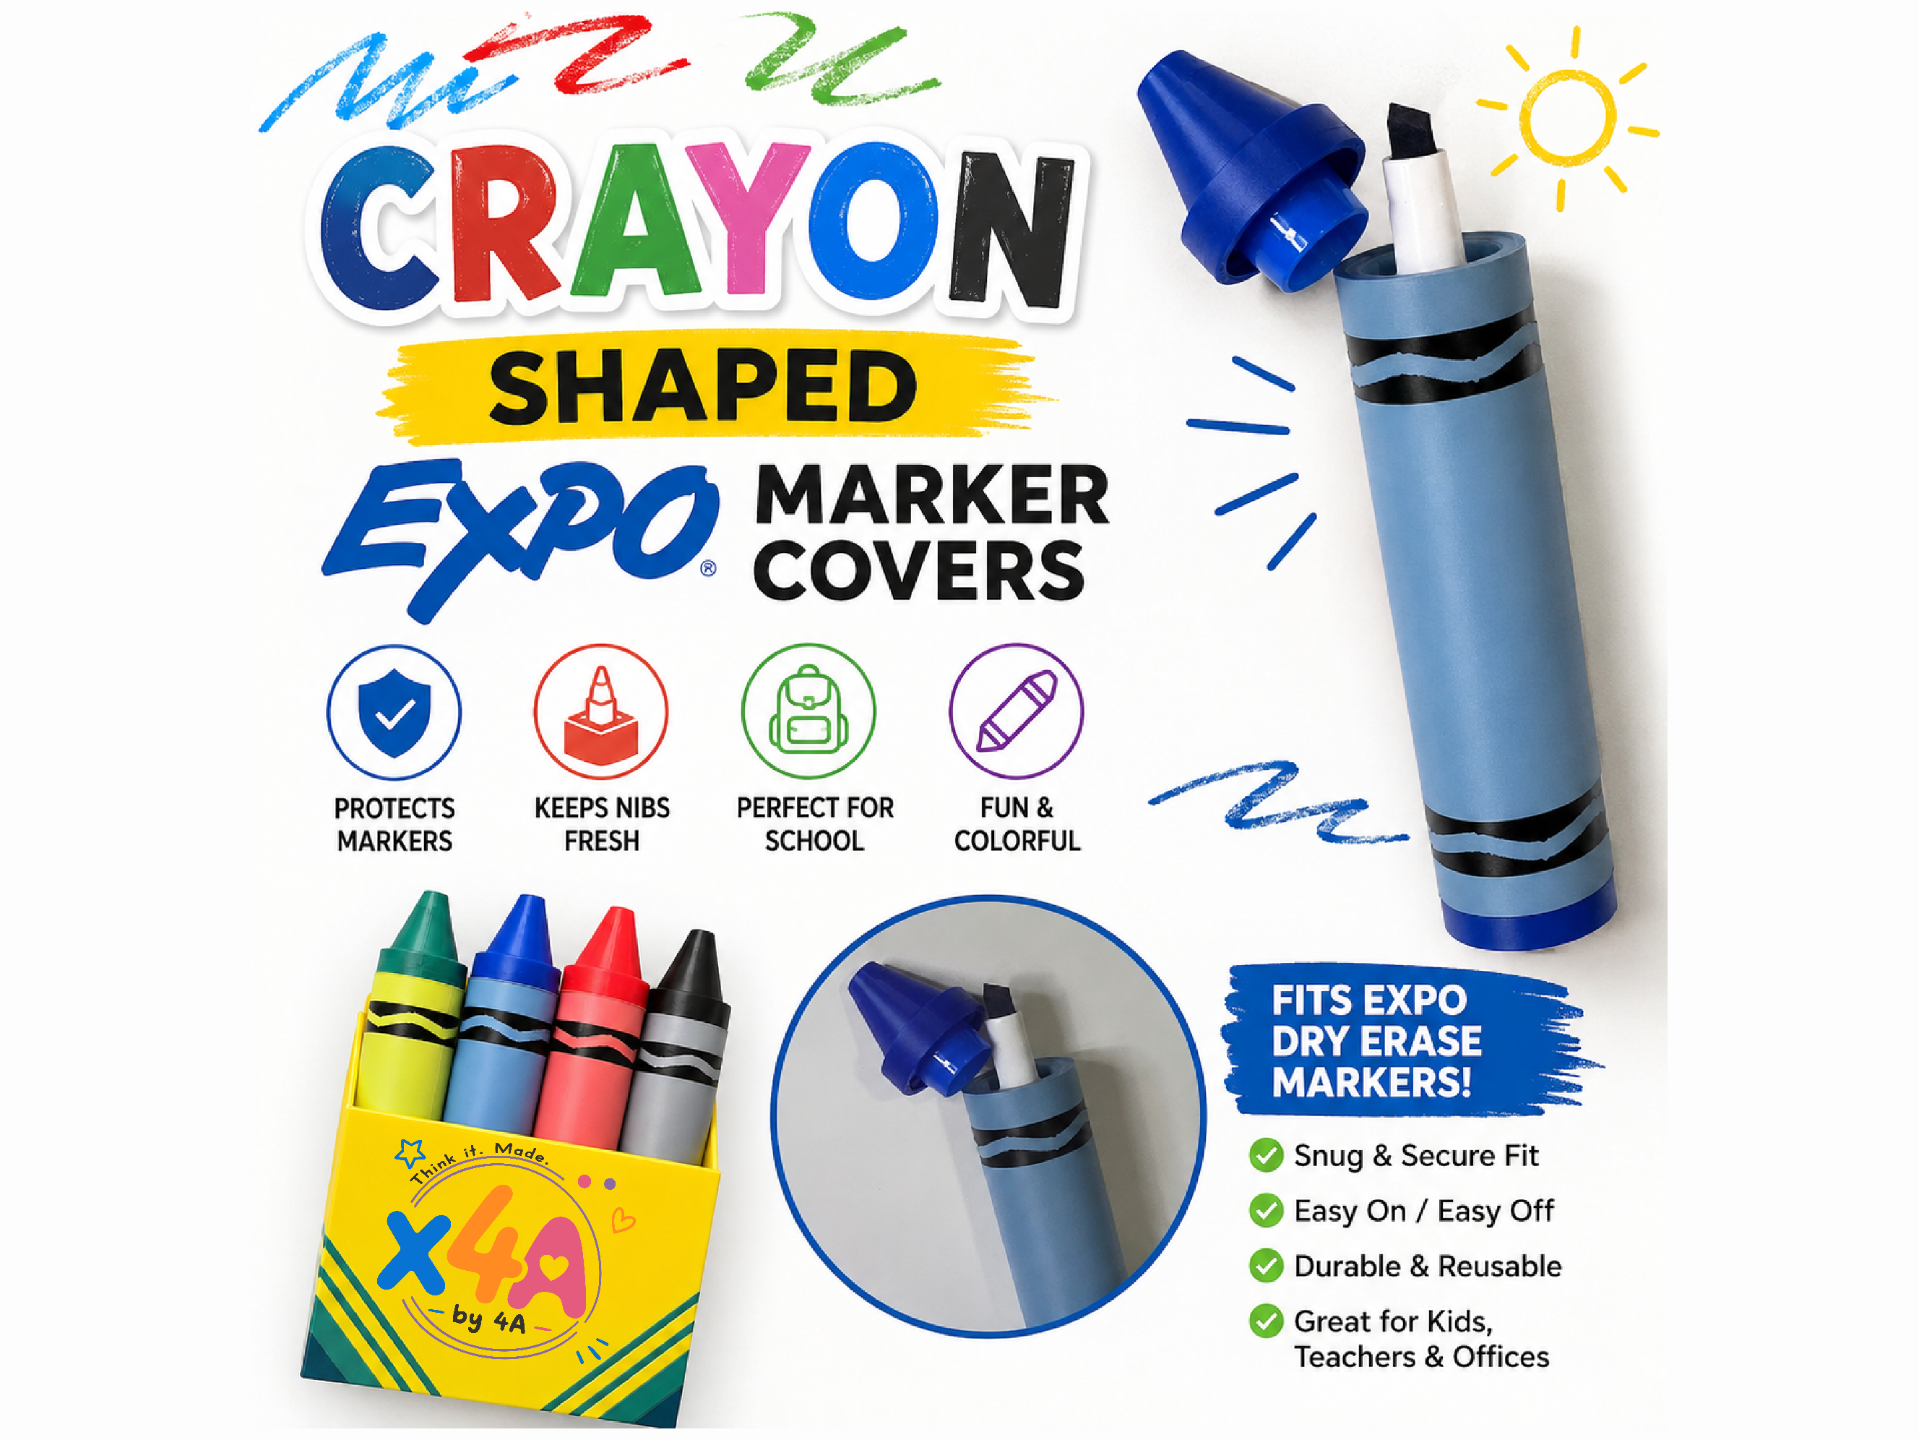
Crayon-Shaped EXPO Marker Cover x4A
Peso
137g
Tiempo
6h 13m
Precio
Cotiza este producto por WhatsApp
Contáctanos y te damos el precio según color y acabado
Las dimensiones dependen del diseño. Confirmamos las medidas exactas por WhatsApp.
Descripción
Boost Me❤️ Like the model? Consider giving it a Boost! Boosts help support me and let me keep designing and sharing more fun models with the MakerWorld community. 🛍️ Interested in selling physical prints of this model? Send me a message! Commercial/reseller permissions may be available for supporters. Thanks for printing, sharing, and supporting my designs! 🚀CrayonShaped EXPO Marker Cover x4A Turn an ordinary dry erase marker into something a little more fun! 🖍️ The Crayon Shaped EXPO Marker Cover x4A transforms standard EXPO dry erase markers into oversized crayons—perfect for teachers, classrooms, offices, or anyone who wants to add some color and personality to their marker collection. This updated design is made to work with the marker’s original EXPO cap, helping keep the nib properly sealed and preventing it from drying out while still giving you the full crayon look. Features: 🖍️ Fun crayon-inspired design 🧢 Uses the original EXPO cap to help keep the marker fresh ✏️ Comfortable, easy-to-hold shape 🔄 Reusable—swap markers whenever needed 🎨 Mix and match colors 🍎 Great for teachers, classrooms, offices & gifts 🖨️ Designed with 3D printing in mind Assembly Instructions 🖍️ This will require some extra work but the results are worth it! Prepare the EXPO Cap Remove the original cap from your EXPO marker and insert it into the provided Twister Handle. Trim the Cap Insert the cap and Twister Handle into the provided Cap Cutter. Using the Twister Handle for grip, turn the cap counterclockwise until it is completely cut to size. Assemble the Crayon Tip Remove the trimmed cap from the Twister Handle and press it into the Crayon Tip until fully seated. Install the Lock Ring and use the provided Lock Ring Key to screw it into place. Insert the Marker Slide your EXPO marker into the Crayon Body until fully seated. Secure the Marker Screw the Bottom Cap onto the Crayon Body. Ready to Use! 🖍️ Place the Crayon Tip onto your marker and you're all set! IMPORTANT: ✂️ Use caution when trimming the original EXPO cap. The provided Cap Cutter is designed to help guide the cut to the correct size. Once assembled, your marker keeps the original EXPO cap seal while getting its new crayon look. Video and picture guide will be posted soon. If you have any questions please send me a message.
Tags
Diseñador
- by 4A -