
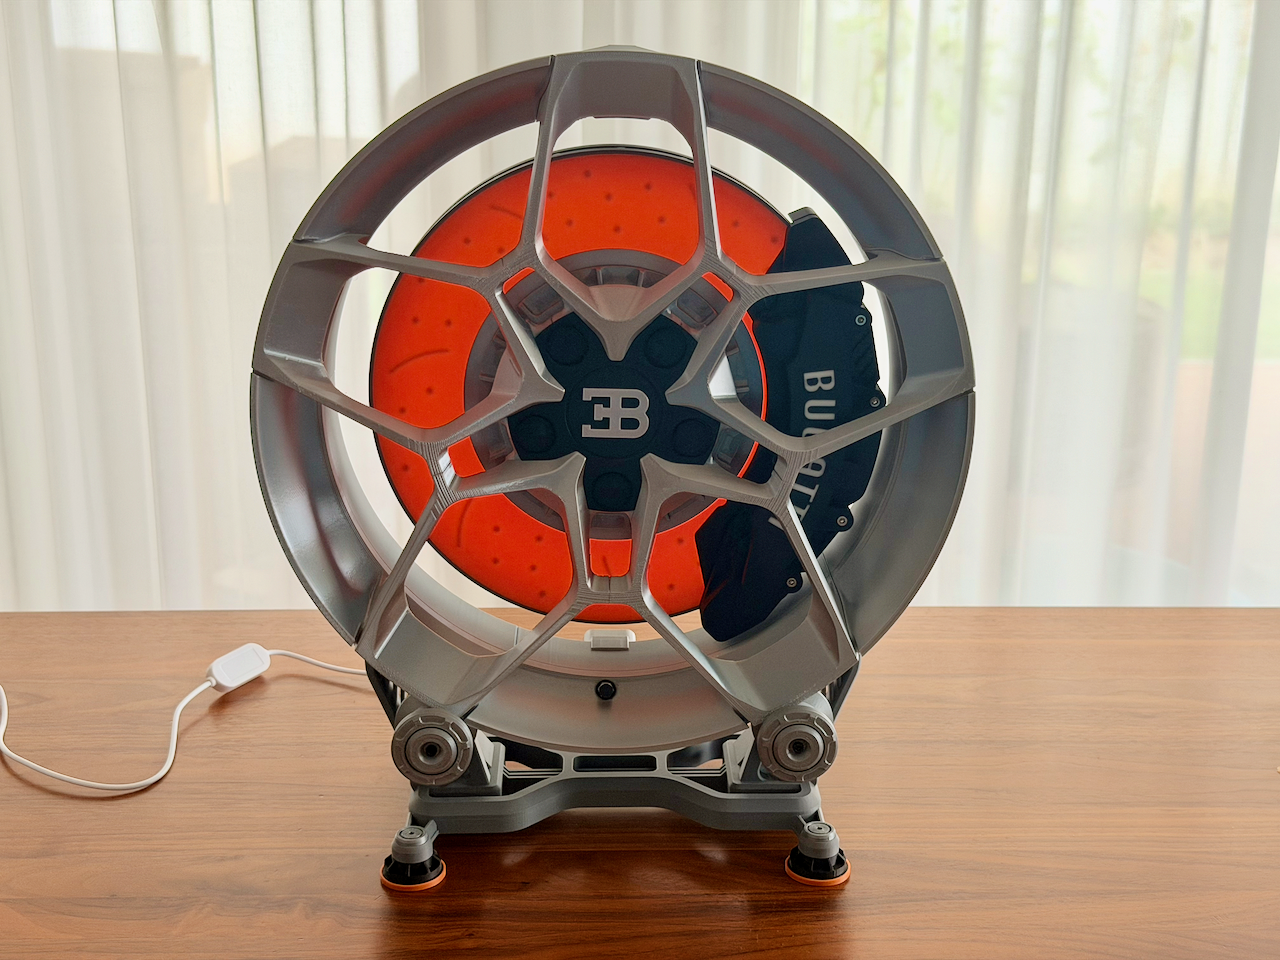
Bugatti Tourbillon Burning Brake Rim Light by HX8
Peso
1726g
Tiempo
57h 6m
Precio
Cotiza este producto por WhatsApp
Contáctanos y te damos el precio según color y acabado
Las dimensiones dependen del diseño. Confirmamos las medidas exactas por WhatsApp.
Descripción
Bugatti Tourbillon Burning Brake Rim Light Boost Me Print: Directly using my original print profile is highly recommended, all the necessary settings are done. Colors recommend: Bambu Lab PLA Silk+ Silver Bambu Lab PLA Basic Black Bambu Lab PLA Basic Silver Bambu Lab PLA Basic White Bambu Lab PLA Matte Nardo Grey Bambu Lab PLA Basic Pumkin Orange Bambu Lab PLA Matte Latte Brown(or similar brown color) Hardware: 1x LED Stripe 1 meter with wire attached (cuttable, the one I am using: https://www.amazon.de/dp/B0FBV68BTN ) Some M3 Bolts Optional: Superglue Assembly: Step 1: connect front rim together Step 2: insert the valve into the rim Step 3: connect the rim with the small disc with 10x M3 14-16mm bolts Step 4: insert the rim cap Step 5: use cap bolt to secure the rim cap with front rim Step 6: Connect the rear rim together with connectors by using 10x M3 20mm bolt Step 7: Connect the front rim with rear rim, by using 10x M3 20mm bolts. ATTENTION: the valve on the front rim should be on the very bottom, and rear rim with “TOP” text should be on the very top position! Step 8: Stick the LED Stripe on the light base as showed in the picture: Step 9: Assemble the brake calliper, Option A: using 4x M3 30mm bolts, Option B: using superglue. (For the calliper valve please use superglue) Step 10: Put the orange disc on the light base (disk drill holes face down) Step 11: install the brake calliper by using 2x M3 14-16mm bolts Step 12: secure the rim with brake disc by using printed center bolt Step 13: assemble the desktop stand Finished ! Enjoy ! Boost Me Some extra info: The LED Stripe you can using any type as you want/have as long as the width is smaller than 10mm, I found the perfect one (https://www.amazon.de/dp/B0FBV68BTN) which is cheap, 6 Euro, dimmable, cuttable, the section length is quite short so you can cut it easily to match the whole length. The “light base” part is painted white on the inner wall, to add reflective for the light source. Wallmount: just insert the 2 piece wall mount parts, and secure with 2x M3 10mm bolts for the top one. For the ambient light effect I cut out the back of disc, if you dont want this feature you can just stick something on the back to block the light to reflect on the wall.
Tags
Diseñador
HX8 3D Design