
Filament welder V3
Peso
11g
Tiempo
47m
Precio
Cotiza este producto por WhatsApp
Contáctanos y te damos el precio según color y acabado
Las dimensiones dependen del diseño. Confirmamos las medidas exactas por WhatsApp.
Descripción
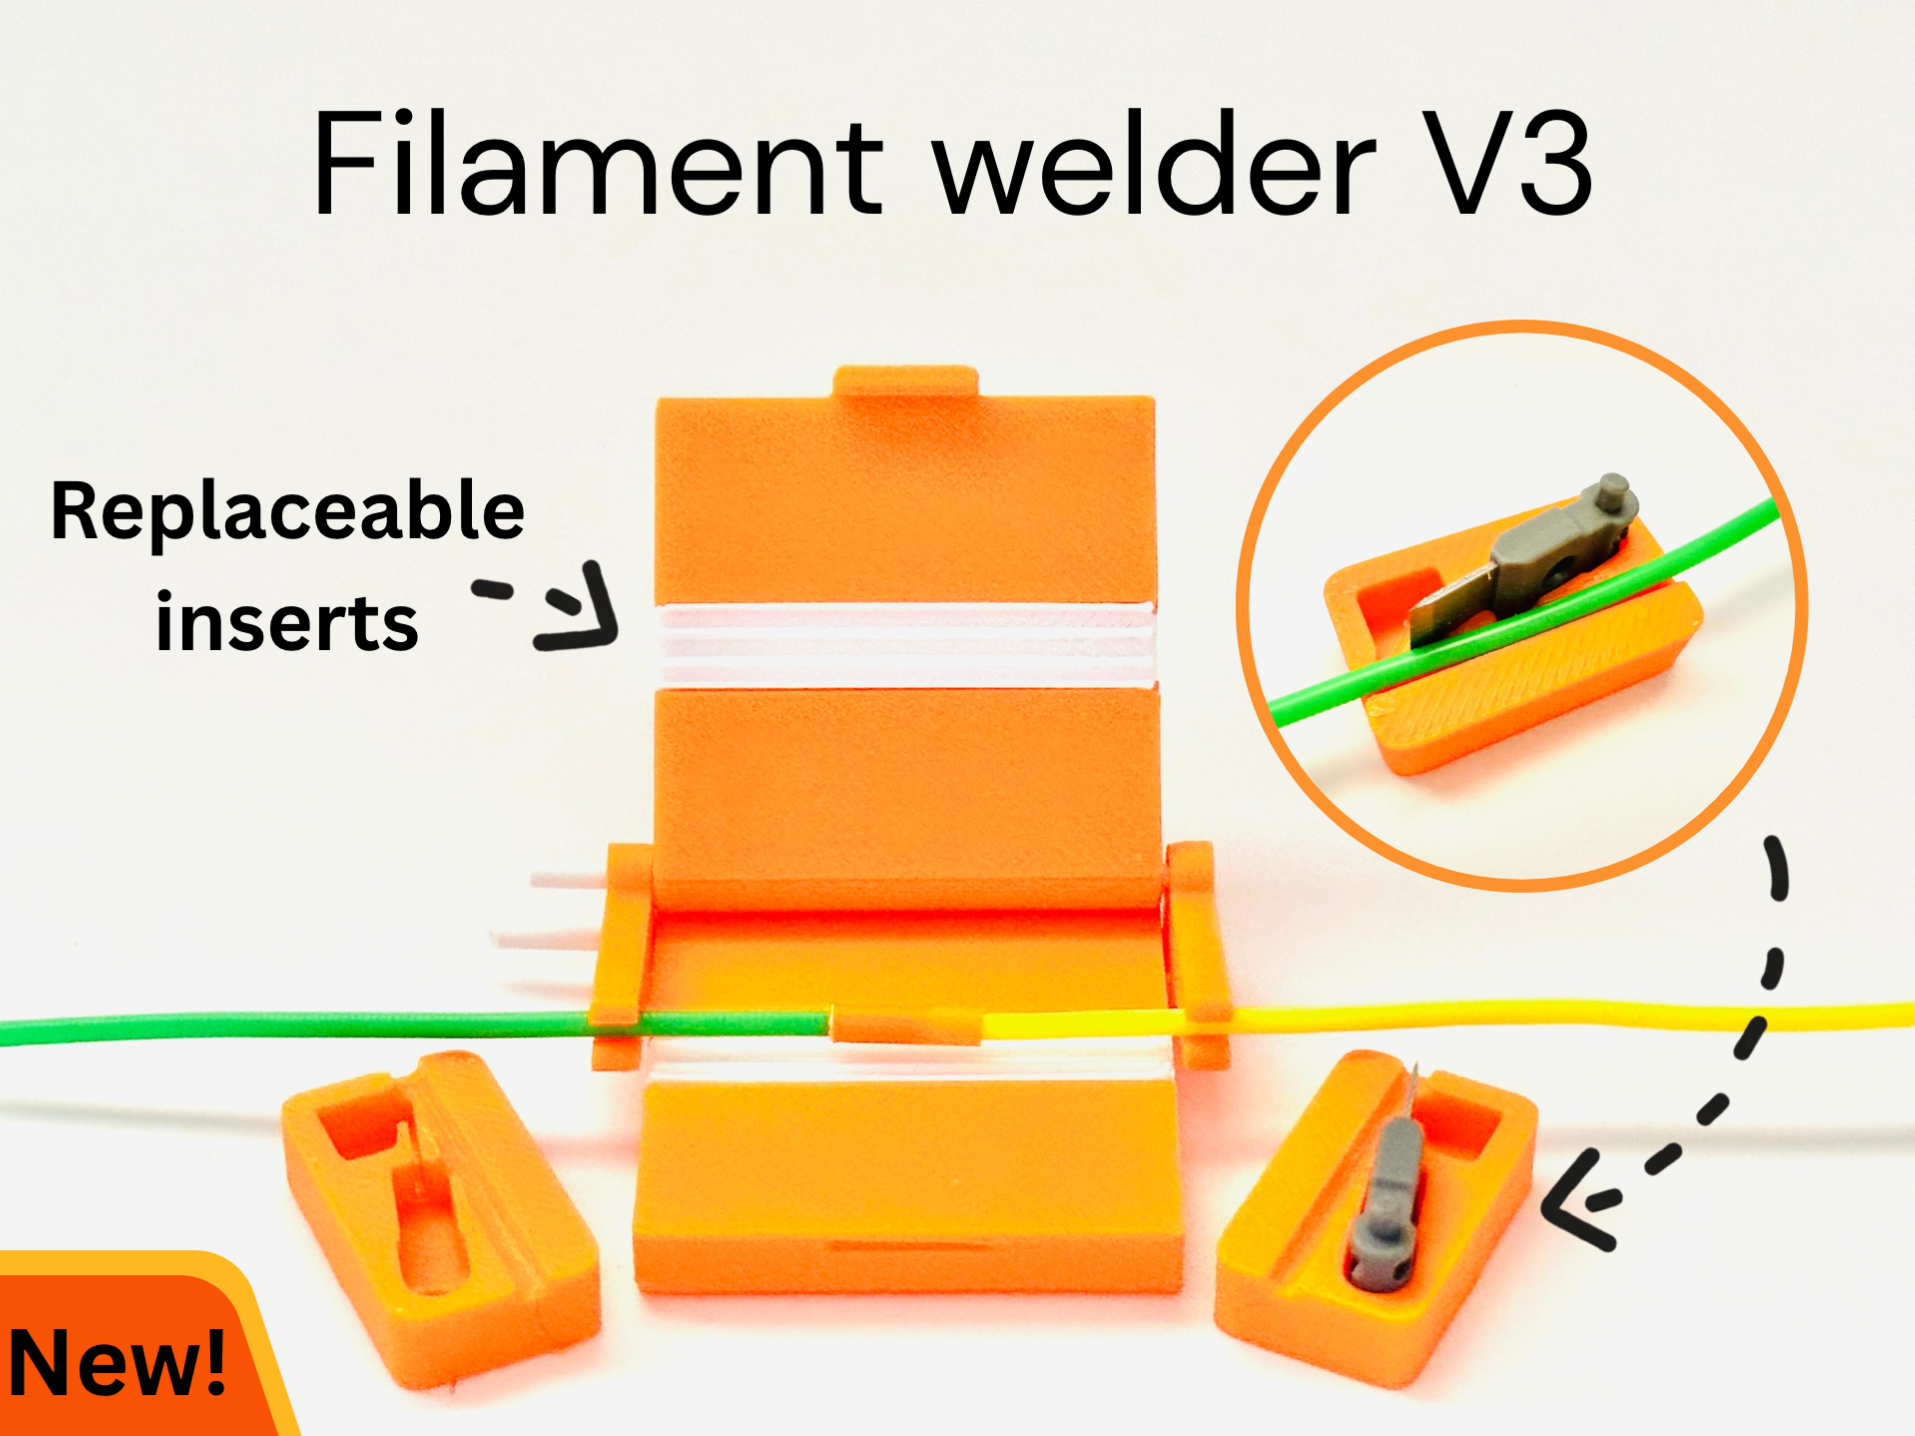
Never waste short pieces of filament or partial spools ever again. The filament welder v3 lets you join filament with ease in seconds with no hardware, ptfe tubes, or any other non 3d printed object — giving you waste reduction at your fingertips. What's new: Swappable inserts Trimming tool New arms that hold the filament better 1 step closing Lighter Faster to print More compact New groove design Chamfers And much more! How it works: When your filament gets heated up, it starts to soften and when you clamp it in the merging part, the soft filament gets pushed together and melts together, leaving you with a strong bond. The excess material, flows through a tight gap between the inserts into a small divot, making the removal of it much easier. Assembly: The hinges are assembled simply by threading 1.75mm filament through the hinge holes and cutting the excess off using scissors or flush cutters. Then (optional) you can heat up the end of a piece of filament and push it onto the chamfers to create a permanent hinge that stays in place. Also push the inserts into place. (You can put mounting tape at the bottom stick it to your workbench, there is a slit at the bottom) How to use it: Step 1. Grab your two ends of filament and make sure it is straight ( If not you can bend them ) Step 2. Clip the two strands of filament on the holder and layer them over each other ( Or use the small tubes ) Do this OR This Step 3. Heat up the filament to temperature using a heating element (I'm using a lighter) Step 4. Close the lid when the filament starts drooping down, press on down the lid and wait about 30 seconds Step 5. Cut the excess off the two sides, tread it into the trimming tool and move it back and forth End result (no sanding, just pliers and the trimming tool) So why use a filament welder? Join filaments together so you can create multicolor prints without ams Save small pieces of filament Prevent print failures for swapping filament manually Tips and warnings Only compatible with 1.75mm filament use high temp filaments to print the inserts to make lifespan longer If you have any recommendations or feedback, feel free to share in the comments. Thanks to: @itlpps @buzzboy_1111 @TunaTown @HIGGS988 @Mr2wheeler @Kazoomba @DannyHotGlass @Mr.Dr. @nadaadsforme @user_729934686 @user_4278000974 @TottonThis and more for inspiration, feedback, ideas, and more. :) Boost MeGreatly appreciated!MembershipIf you want to sell any of my designs, please consider getting a membership. It helps developers like me out a lot :)
Tags
Diseñador
Random_guy