
Volcano Science Experiment Kit Card
Peso
302g
Tiempo
13h 52m
Precio
Cotiza este producto por WhatsApp
Contáctanos y te damos el precio según color y acabado
Las dimensiones dependen del diseño. Confirmamos las medidas exactas por WhatsApp.
Descripción
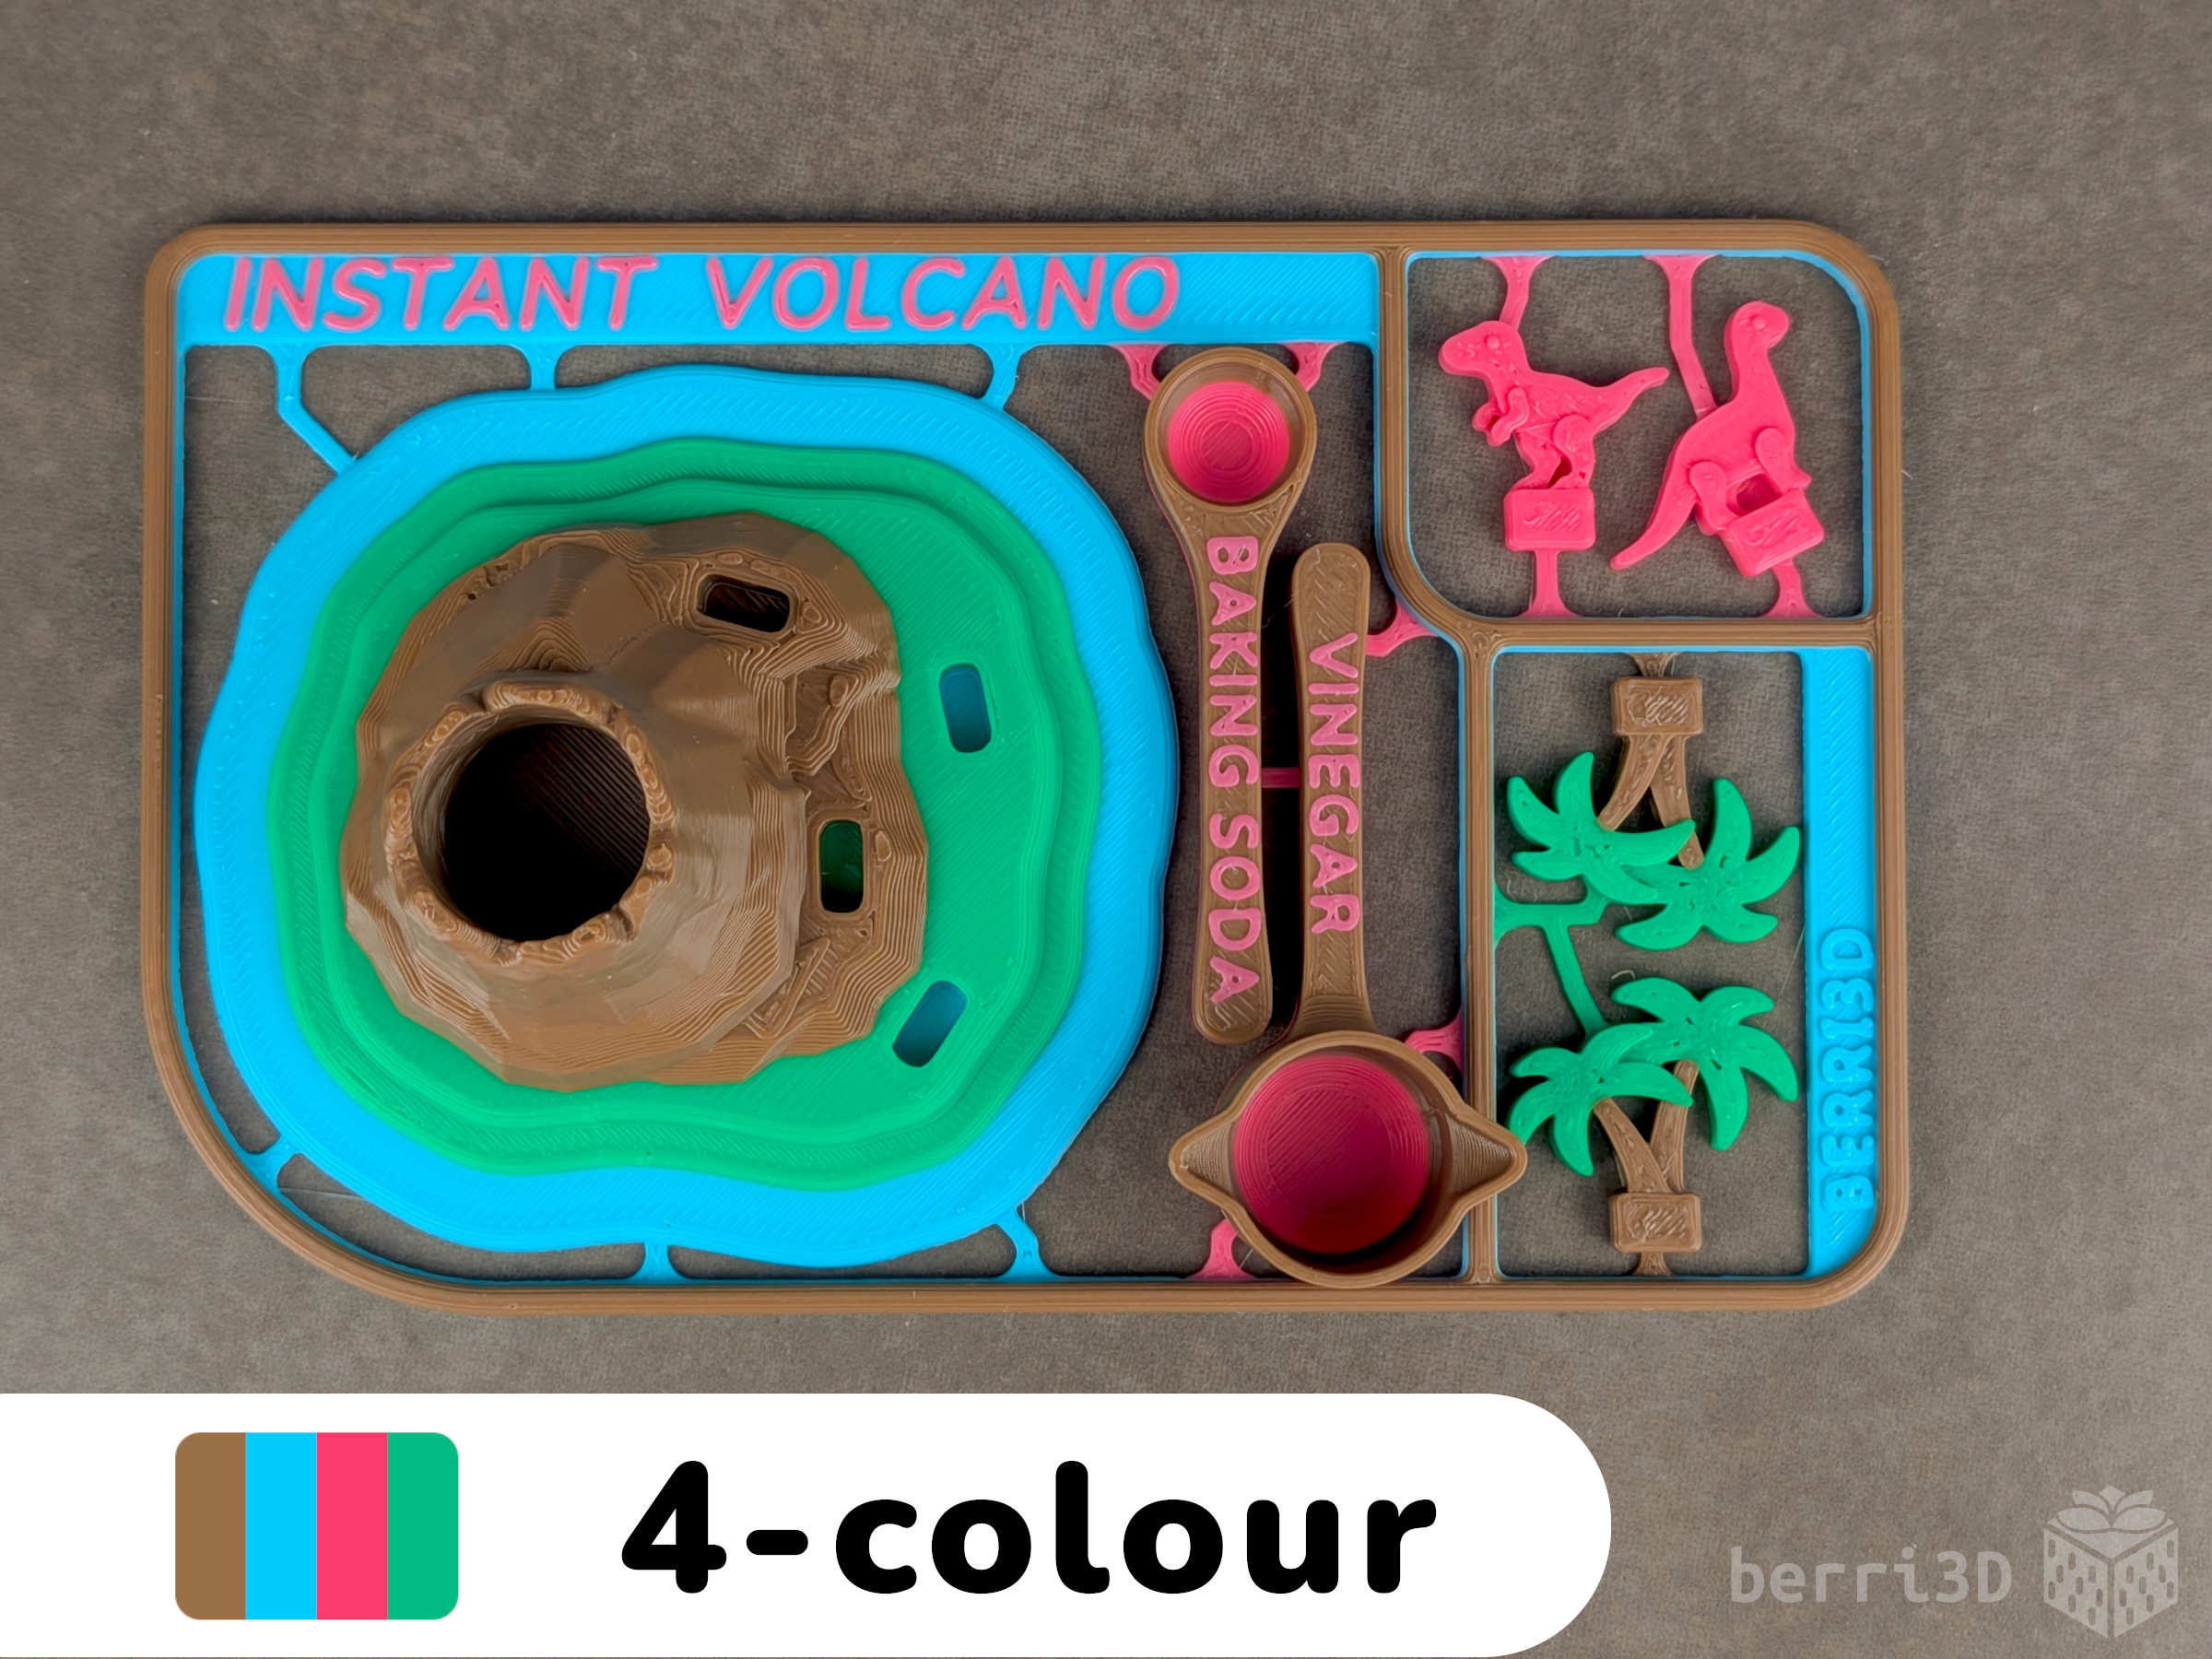
🌋 IMPORTANT: there are several colour profiles for this kit card. Please read their descriptions carefully and choose the one that best fits your set up. Scroll down for more information. Despite being only 1.2" high, this volcano kit card can still erupt. Just add baking soda and vinegar for an instant science experiment! Print in either 5 colours (1 AMS + a manual swap), 4 colours (1 AMS), or as separate single colour parts. I doodled a lot in my notes as a kid. Also, this started out as a grown-up infographic. I guess some things never change? This is a miniature with small parts, so keep it away from babies, pets, and anyone likely to eat it. For best results, use a freshly cleaned textured build plate, let it cool completely before gently flexing the plate to release the card, and always test-print before gifting or batch printing since fit varies by printer and filament. Flush cutters or scissors are recommended for quick, clean part removal. 🧪 Experiment! 🔍 Use the included measuring tools. Add 1 spoon baking soda then add 1 ladle of vinegar. Optional: use liquid food colouring to create colourful magma. It may stain so rinse off the volcano soon after use.Surprise lava: add 1 drop directly to the volcano before the other ingredients. Suitable for one or two scientists but may not be practical for more. Lava “juice”: add colouring to the vinegar first (follow package instructions to get the right shade). Not as surprising but more cost-effective 🙃 Optional: add 1 drop of dish soap with the baking soda. Want another eruption? You might be able to get up to three more by adding more vinegar. Once it no longer fizzles, add more baking soda. 🏫 Tips for Group Learning 🧑🏫 I often share my kit cards with kids in group settings. Here are a few tips I've acquired over the years. Test one card before batch printing. I always test fit, even my own models. The last thing I want is for kids to be frustrated so I make sure everything fits easily before I print a bunch. If I need to, I'll tweak the flow rate for one of the filaments that's either fitting too loose or tight. Parts are designed to snap out of the card, but small sprue bits may remain. Small kid-sized scissors work well for removing them. Add some trading fun! Print batches with different accent colours so kids can trade dinosaurs and other decorations. As a side benefit, it's a great ice breaker if the kids are new to each other! Reuse the empty card. Draw a picture and then mount it and the empty card to stiff paper or cardboard. I've used this trick for the really-fast kids to give them something to do while everyone else is still catching up. Colour Profiles 🌋 A1 Mini owners: your print profile contains both 4- and 5- colour kit cards. 4-colour kit card – Easiest multicolour option, load the colours and print BROWN: volcano, top of spoon/ladle, palm trunks, sprue top GREEN: island base, palm tops BLUE: water, sprue bottom ACCENT: dinosaurs, spoon/ladle bottoms, text If you're looking for a nice “sand” colour, I used Desert Tan Matte PLA (link in sidebar). Latte Brown Matte PLA is also a good alternative. 5-colour kit card – only one AMS is needed! BROWN: volcano, top of spoon/ladle, palm trunks, sprue top GREEN: land under volcano, palm tops TAN: sandy beach and palm trunks BLUE: water, sprue bottom ACCENT: dinosaurs, spoon/ladle bottoms, text x1 AMS unit ⚠️ The volcano will appear blue in the slicer. This is normal. Load BLUE, TAN, GREEN, and ACCENT colours and start the print. At layer 9, the printer will pause automatically (check Bambu studio Preview tab for a time estimate). Remove the BLUE filament from the AMS and replace it with BROWN filament. Resume printing. x2 AMS units Load BLUE, TAN, GREEN, ACCENT, and BROWN colours. Print. No AMS is needed!4-colour Volcano Island – Print just the volcano in multi-colour, no AMS needed, no purge waste AMS → Automatic swaps Load BLUE, TAN, GREEN, and BROWN colours. Print. The AMS will handle filament swaps automatically. No AMS → Manual filament swaps with built-in pauses Load BLUE and begin printing. At the first automatic pause, change to TAN and resume. At the second pause, change to GREEN and resume. At the third pause, change to BROWN and resume. Carrot island?1-colour Separate Parts – No sprue Parts are single colour optimized. The print profile includes the following plates: Volcano island Measuring tools Dinosaurs Palm trees All parts (as shown in picture) Would you like a multi-colour separate parts profile? Please let me know and I will create one. Printer Settings This model has been optimized specifically for: Nozzle: 0.4mm Layer height: 0.2mm Wall generator: Classic All my 3MFs include these values in addition to other settings I've developed over the years to ensure the best possible result. Changing these values may result in parts not fitting or small details printing incorrectly. Text Customization/LocalizationSuggested FilamentsDownload to Bambu Studio to personalize or translate the title or measuring tool text as needed. The font used in the 3MFs is Nunito: https://fonts.google.com/specimen/Nunito (open source font, free download) For this model, I recommend Bambu Basic PLA (all colours except sand) and Bambu Matte PLA (desert tan). Test prints were made using the filaments listed in the print profiles using default settings on a Bambu X1C. All parts were found to have a good fit between them. Your results may differ due to filament colour/type/brand, and printer. About As a tactile learner, I really like being able to turn stuff over in my hands. It helps my brain remember. I especially like it when I get to be creative at the same time. So when I sat down to think of a science themed kit card, I wondered what I would've liked as a kid instead of a text book? The answer of course is dinosaurs and lava. Credits Many thanks to @MalcTheOracle for allowing me to use his way of explaining how to print with more than 4 filaments! This is the second model I've had cause to use Bumpmesh on and I can't sing its praises enough. It was created by Stefan of CNC Kitchen as a free, open-source tool for anyone to use. I created the volcano mesh on my own, but it was Bumpmesh that gave it a bit more depth thanks to the texture extrude. Highly recommended! Behind the scenes in my “studio” (aka the workbench beside my printers)
Tags
Diseñador
berri3D