
Iron Man MK1 Helmet | A1 Mini & All Printers
Peso
509g
Tiempo
19h 13m
Precio
Cotiza este producto por WhatsApp
Contáctanos y te damos el precio según color y acabado
Las dimensiones dependen del diseño. Confirmamos las medidas exactas por WhatsApp.
Descripción
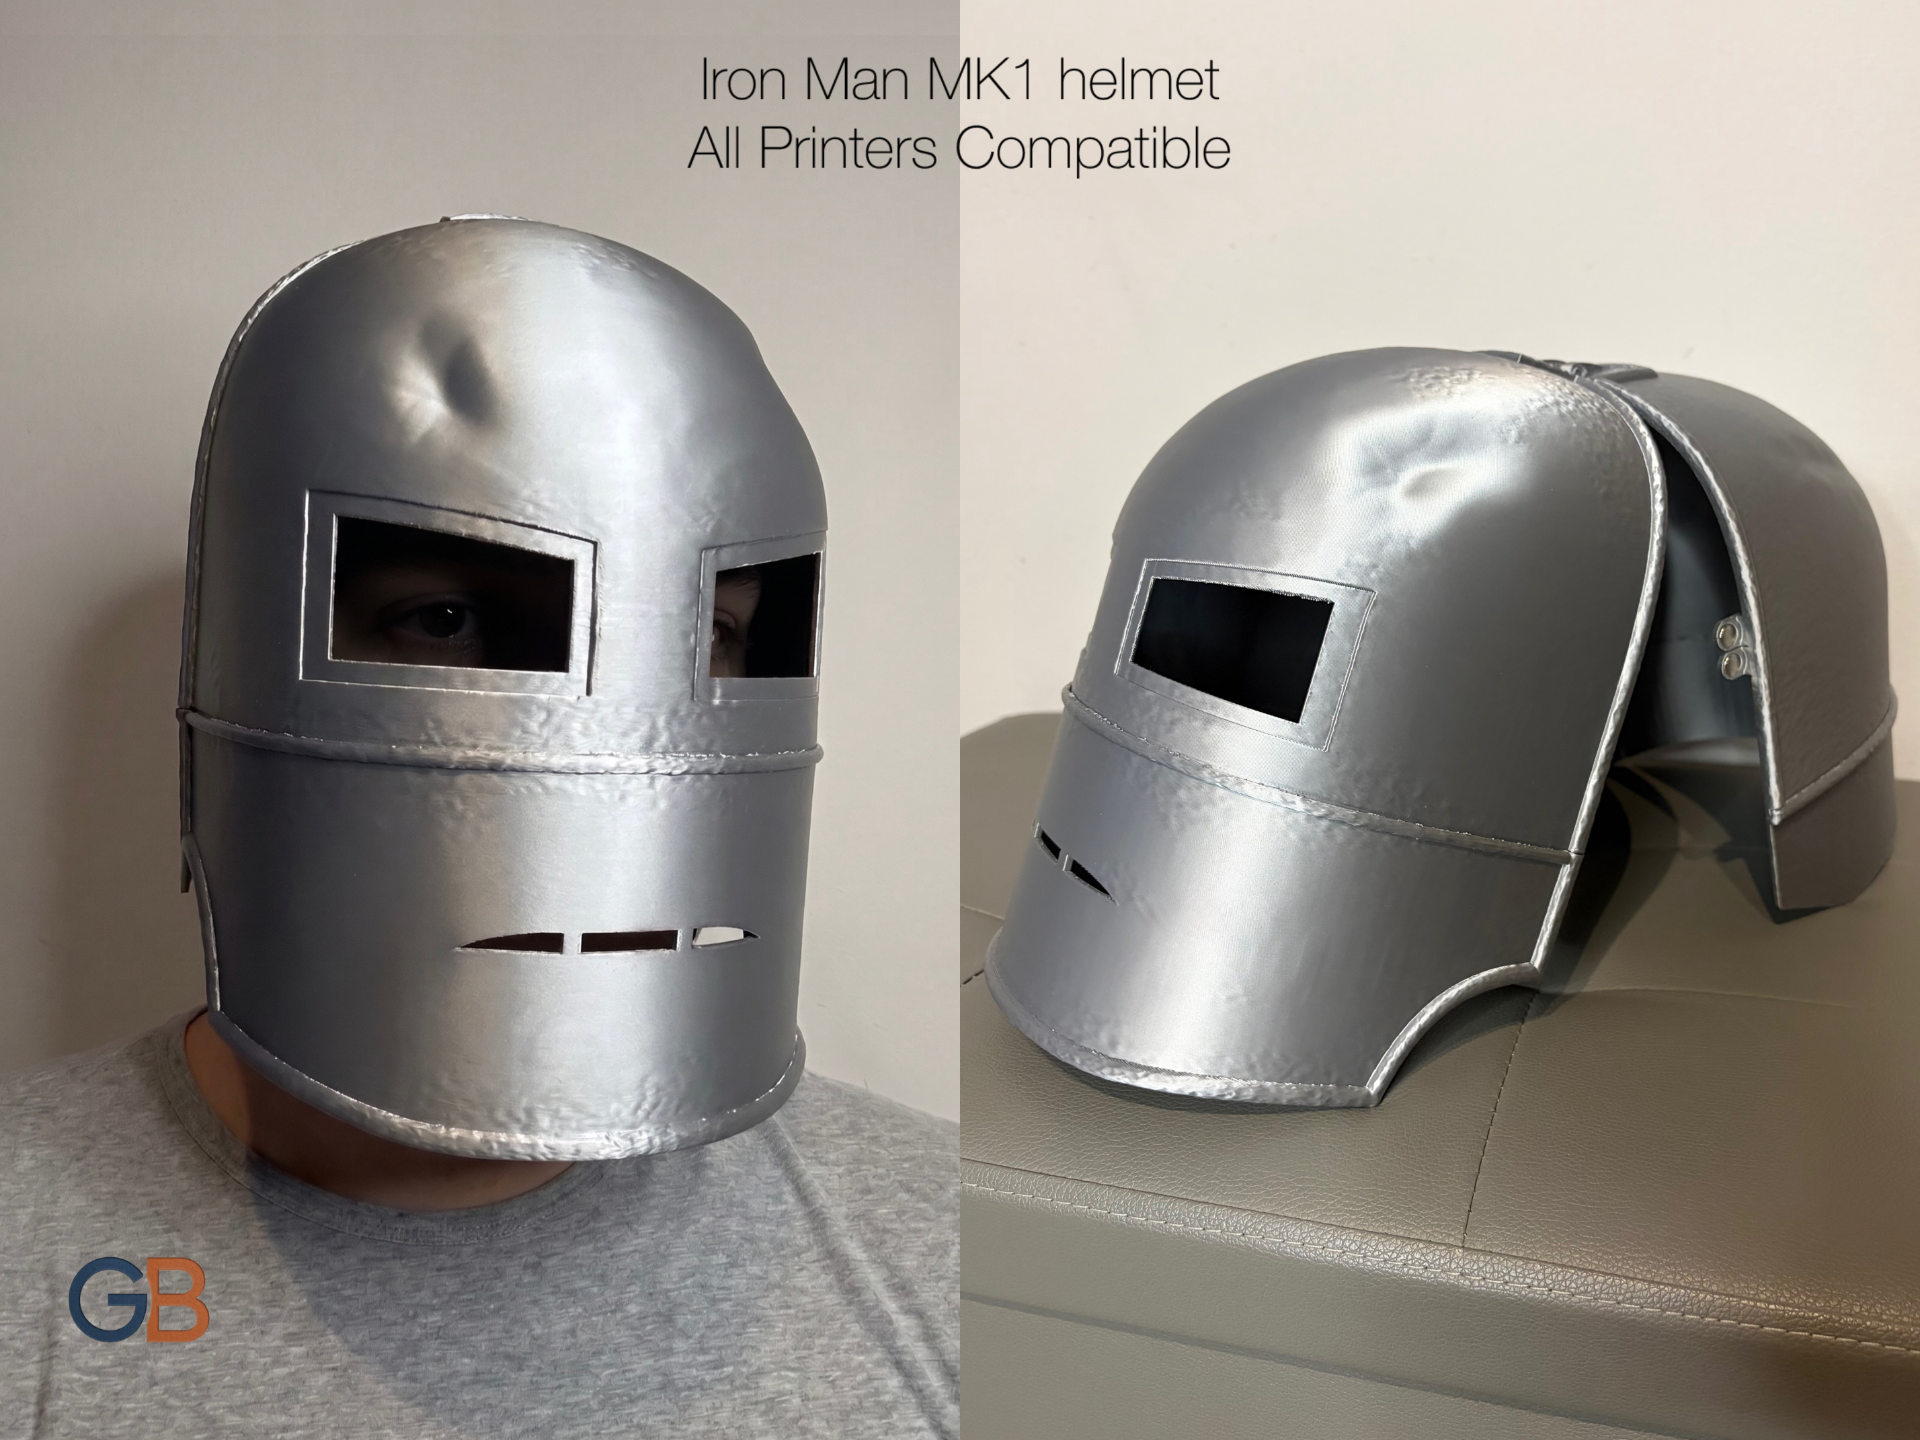
Wearable Iron Man MK1 helmet with rust effect surface texture, hammered effect, and battle scars, fully optimized for printing on all 3D printers, including the A1 Mini. Stop wasting your time and start printing this masterpiece! Boost MeBoost me if you want more and more masks suited for all printers! The model dimensions are designed based on what I consider the international standard: Budwin's Sizing Head No. 3, whom I deeply thank for making it available and making everyone's life easier. Some users might find it slightly tight around the ears: the inner ear-to-ear dimension is 17 cm. I had to design it this way to fit the parts on the build plates of all printers, it was not an issue for me. Main Features & Smart Cutting No Harsh Cuts: The cuts follow the helmet's design lines, making the joints invisible from the outside for a clean look. No Circling: Dividing the model into pieces, applying specific plate-orientation adjustments, and adding a subtle surface rust texture completely eliminates the "stair-stepping" effect on the dome typical of single-piece prints, ensuring a smooth surface with no sanding needed. Easy Printing: Splitting the project reduces individual print session times and the risk of failures, making it accessible to anyone with any printer. Single Color Needed: Only a single color is required; I printed everything in Bambu PLA Basic Silver with a printing temperature of 205°C. Custom Display Stand: you can use this fantastic stand to display it at its best. ⚙️Assembly and Mechanical Opening By following the instructions in the uploaded GIF, you can see how to assemble the entire project just like I did and achieve a fully functional mechanical opening! As you can see in the assembly GIF, the four pieces must be joined after printing. Among the uploaded photos, you will also find a visual diagram explaining how to pair them. You can use glue, but for the best results, a permanent bond, and high mechanical resistance, I recommend using a soldering iron or a 3D pen to carefully melt and weld the joints from the inside. To ensure a secure mechanical closure, as shown in the video, you can use eight 8x2 mm magnets—the mounting clips are already integrated into the helmet print. Maximum Freedom: separating the hinge from the main helmet structure not only ensures better mechanical strength for the project, but also leaves the choice up to you: you can install the mechanism for a functional opening, or simply glue/weld all parts together for a static build. If you like, check out also my version of MK2 helmet and MK3 helmet. All of this makes this mask a masterpiece! Happy printing! - GB
Tags
Diseñador
GioBu