
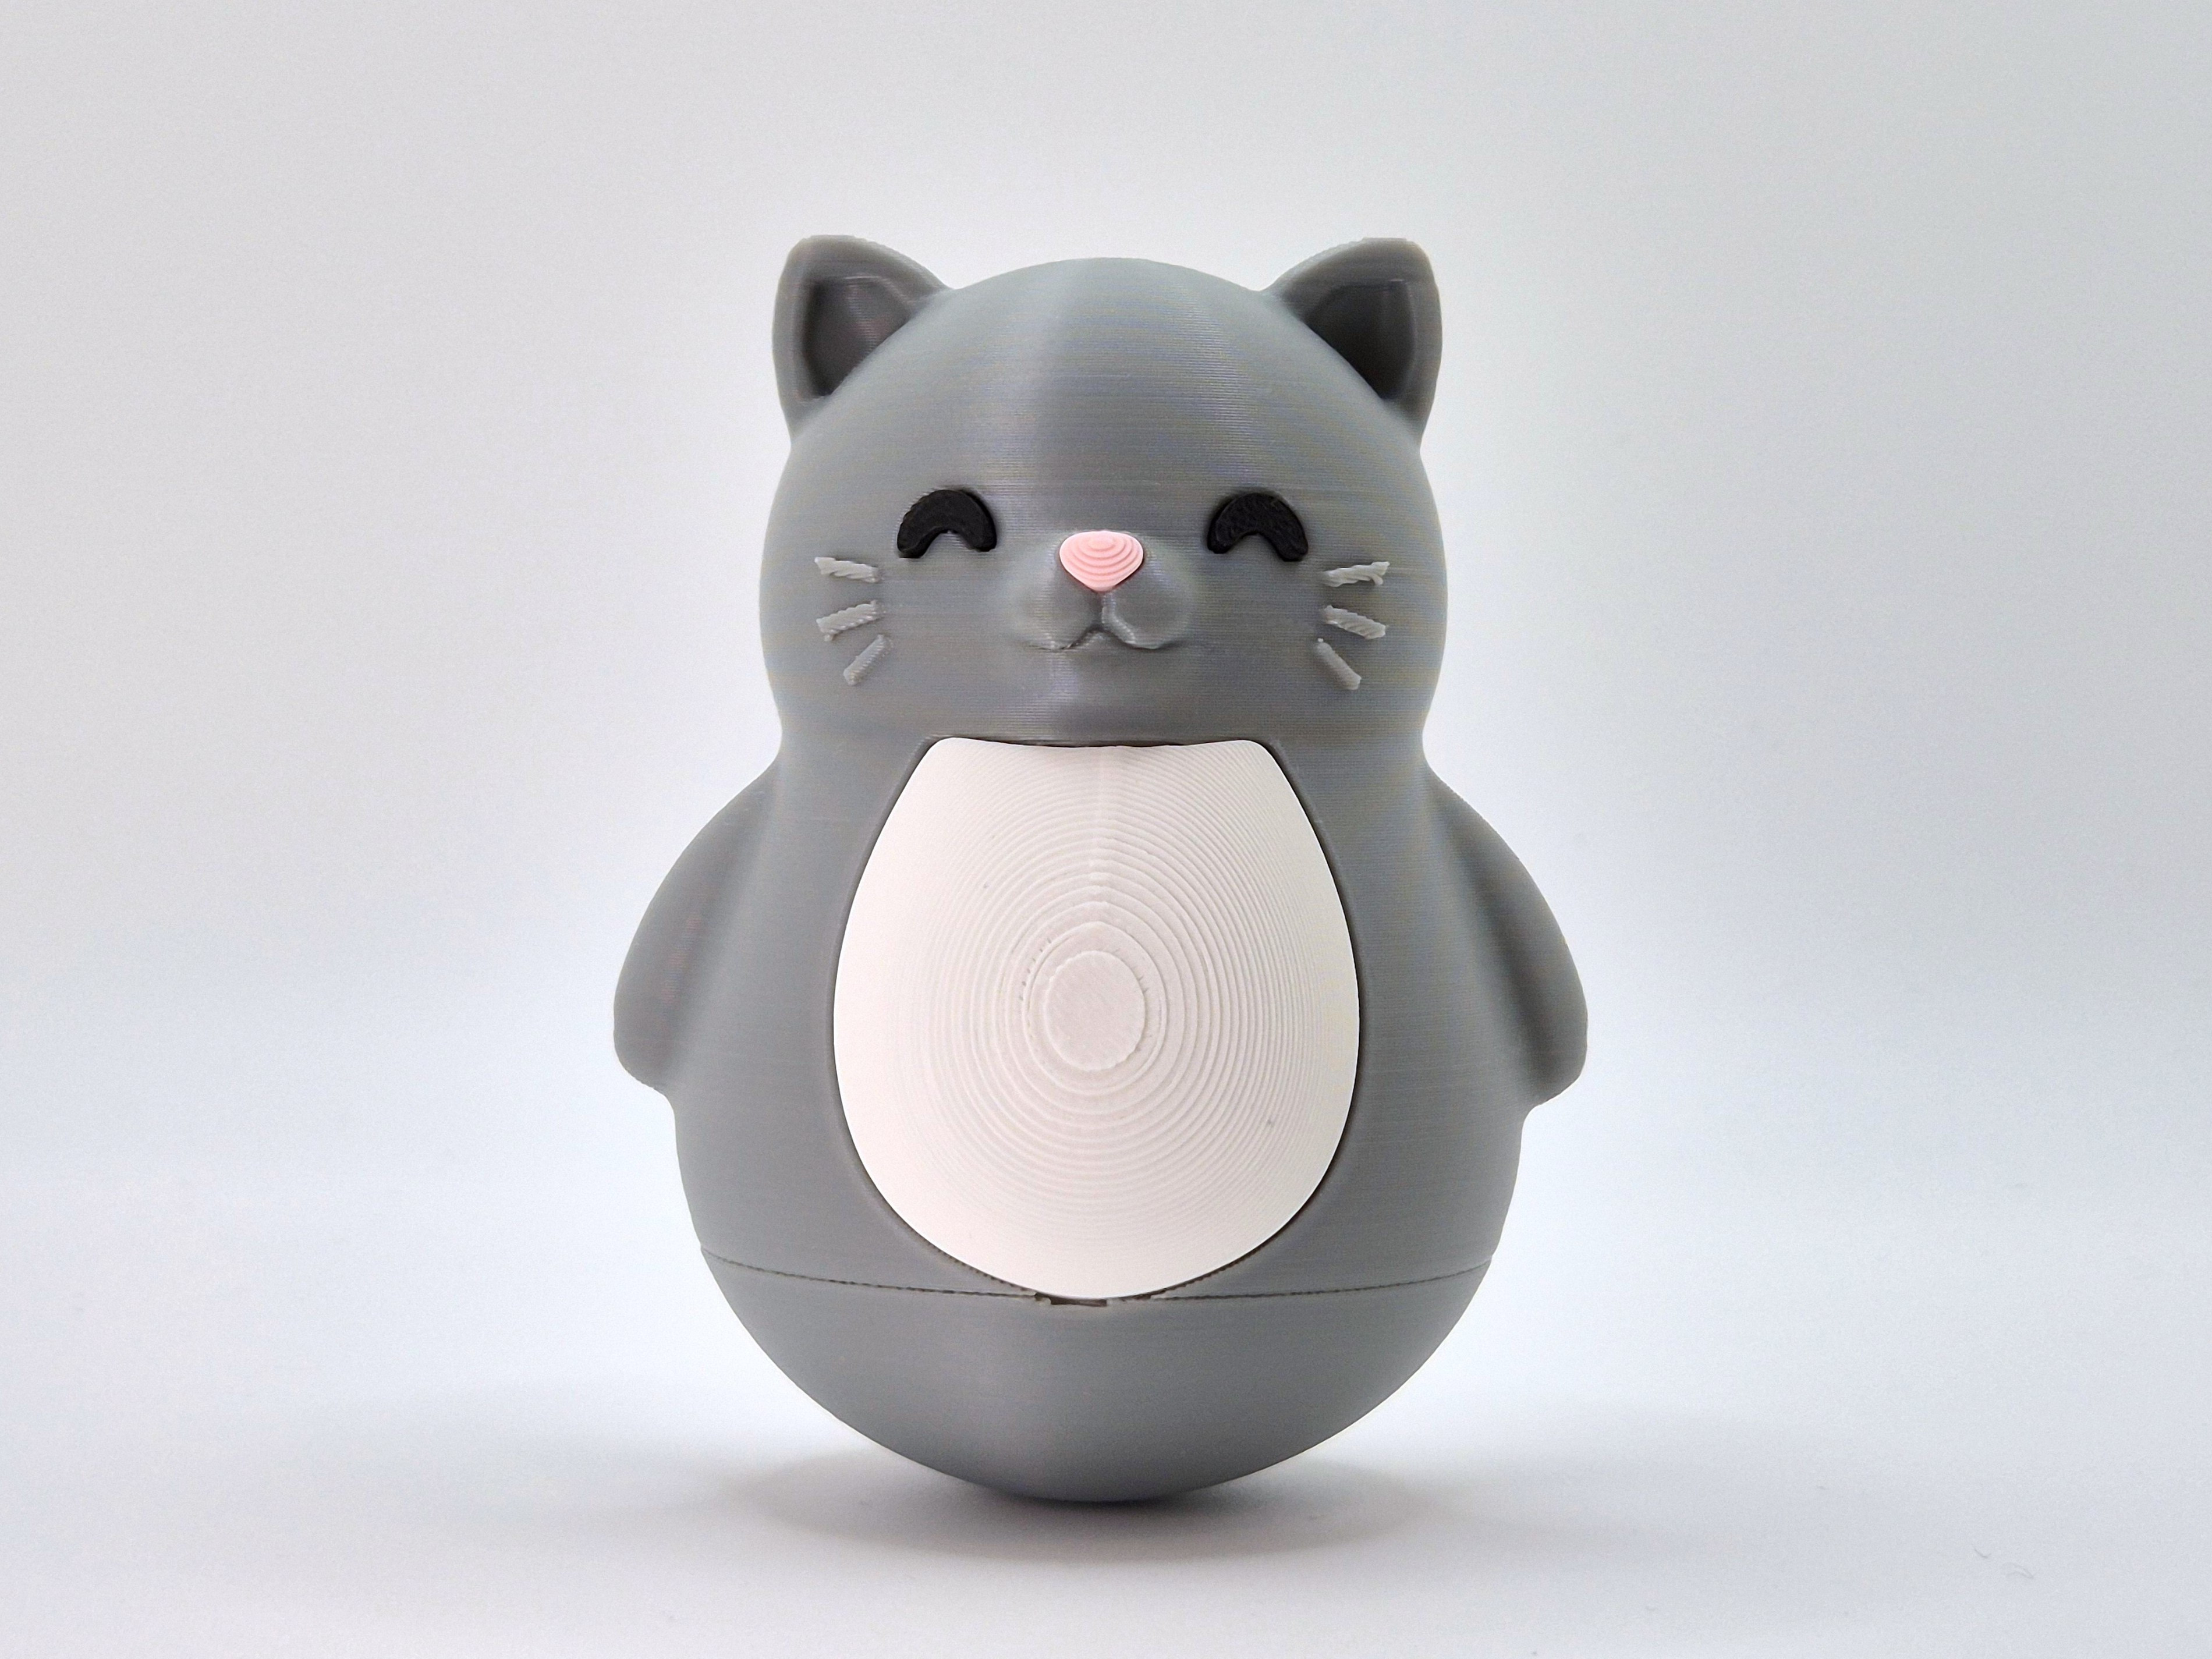
Wobbly Cat Fidget Toy – NO AMS
Peso
48g
Tiempo
1h 41m
Precio
Cotiza este producto por WhatsApp
Contáctanos y te damos el precio según color y acabado
Las dimensiones dependen del diseño. Confirmamos las medidas exactas por WhatsApp.
Descripción
Bring some purr-fectly balanced fun to your desk with this adorable Cat Roly-Poly Toy! 🐱 Designed as a self-righting wobble toy, this playful kitty tumbles, rocks, and spins for a delightfully long time before rolling right back up again. This model combines real physics with playful interaction, creating a fun, hands-on experience for all ages while encouraging curiosity and exploration! ⚙️ Technical Features & Design Physics-based Balance: The geometry and center of mass were meticulously optimized using advanced physics simulations. NO AMS Needed: A smart multipart design lets you print all parts separately, before assembling them in 5 simple steps. Smooth Belly: Check out the SMOOTH BELLY print profile for a cleaner look. This version prints the belly at an angle to minimize layer lines. The ONE PLATE versions include it too! Zero Hardware Required: No metal bearings, screws, or added weights – this little cat relies entirely on its 3D-printed structure and solid infill to self-right. 🛠️ Step-by-Step Assembly Guide The assembly process is straightforward and consists of 5 simple steps. For the best results, CA glue (superglue) is needed. Step 1: Clean the Prints Carefully remove all support material from the printed parts. Ensure all mating surfaces are clean and smooth for a flush fit. Step 2: Prepare the Base Apply a small amount of CA glue inside the hexagonal cutout of the bottom piece. Step 3: Install the Base Connector Insert the hexagonal connector into the base. Ensure it is fully seated, then apply a little more CA glue in a circular pattern around the base connector. Step 4: Assemble the Body Align the top half of the body with the base and slot them together. Make sure the seams match up properly at the back and hold firmly until the glue sets. Step 5: Add the Face & Belly Press the white belly panel into the large cutout of the body, then push the eyes and the nose into their slots on the face. All of these are friction fits, so no glue is needed. Your cat is now ready to wobble! 🤝 Proudly sponsored by PCBWay If you enjoyed printing this model, check out PCBWay for all your rapid prototyping and custom manufacturing needs: https://www.pcbway.com/rapid-prototyping/ Boost MeTo help me make more models like this!MembershipIf you want to sell physical prints of my models, you can get a commercial membership here. By clicking on "Join", you will see the different tiers available!
Tags
Diseñador
Rayxa