
Floating Beer Pong Rack – 6 Cup Pool Float
Peso
188g
Tiempo
4h 38m
Precio
Cotiza este producto por WhatsApp
Contáctanos y te damos el precio según color y acabado
Las dimensiones dependen del diseño. Confirmamos las medidas exactas por WhatsApp.
Descripción
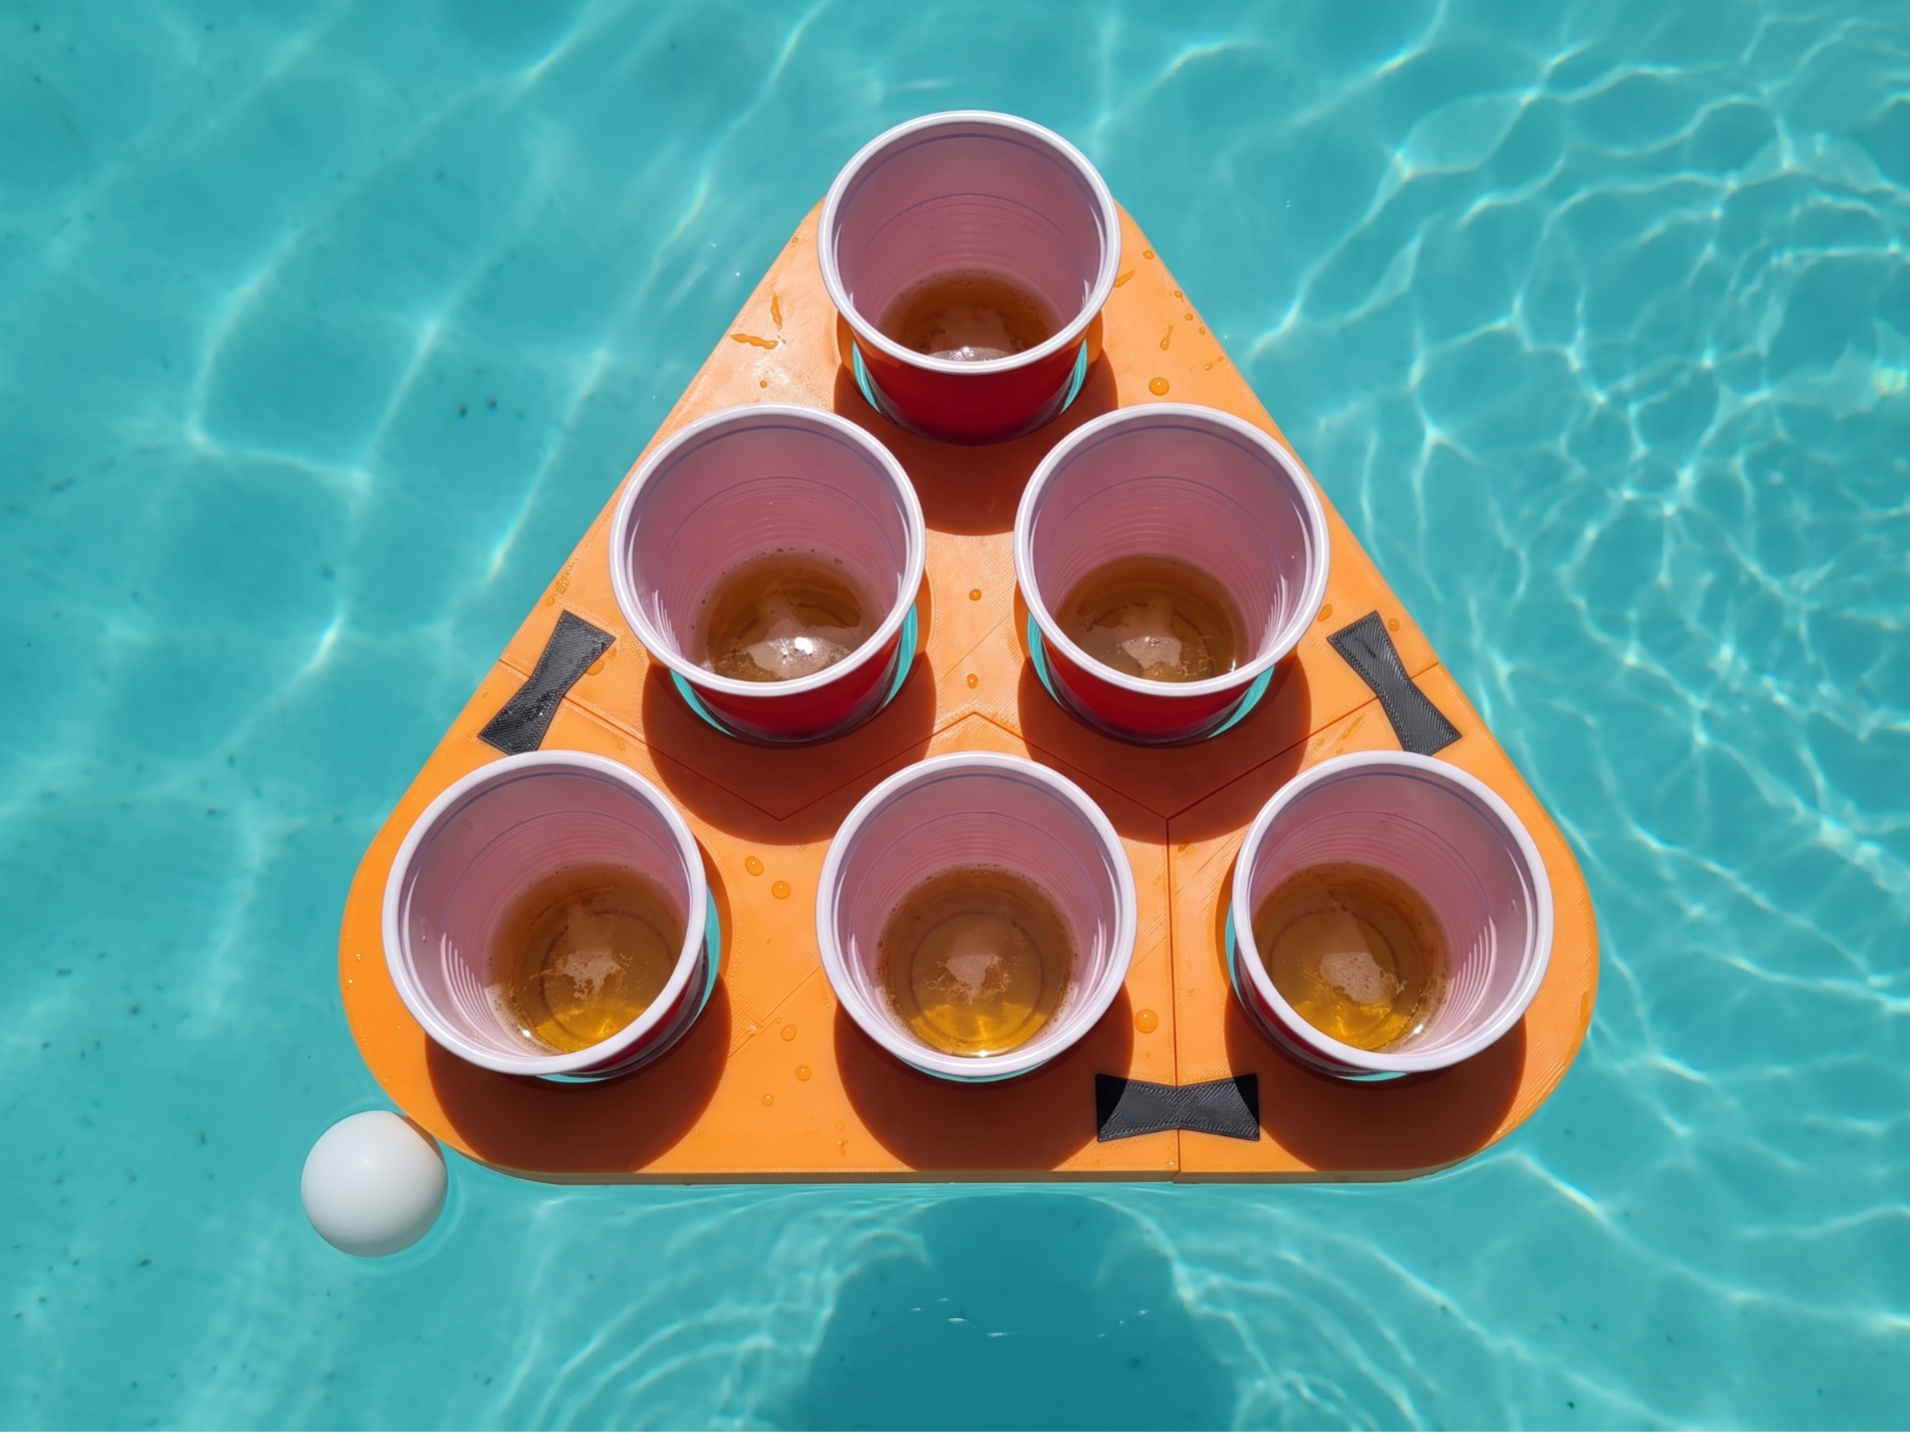
Take the beer pong table into the pool! Six cups drop straight through the deck and hang in the water, where they carry their own weight — which is why the raft only needs 18 mm of deck and 635 cm³ of sealed volume to do the job. Key Features Cups drop right through — the holes are open and tapered, so each cup wedges over its full depth instead of balancing on a rim Floats on its own — sealed by the print itself, no foam, no inflation, no air valve Support-free rack — nothing to remove on any of the three modules Splits into three modules — every part fits a 250 × 250 mm bed, and the set packs flat into a bag Bow-tie keys top and bottom — six per rack, so a seam can't hinge open and drop a module Three-colour, but no purge tower — one filament per plate, so there are zero filament changes and nothing gets wasted Specifications Assembled: 316.00 × 289.21 mm Deck thickness: 18 mm Cup holes: 6, conical Ø77.93 top → Ø72.94 bottom, 100 mm triangular pitch Fits: standard 16 oz / 473 ml party cups (Ø95 rim, Ø62 base) — a cup stands 63 mm proud of the deck and hangs 38 mm below it Parts: 9 per rack (3 modules + 6 keys), plus the ball, across 4 plates Ball: Ø40 mm, printed in one piece Filament: 186.4 g and 4 h 18 for the whole file — one complete rack plus one ball. The rack on its own is 179 g Displacement: 635 cm³ for the three modules together Dimensions are at 100% scale — resize in your slicer to fit your needs. Print Profiles Included Plate 1 — M1, the three-cup module: 79.4 g, 1 h 43 Plate 2 — M2 and M3 together: 86.7 g, 1 h 55 Plate 3 — six bow-tie keys: 12.9 g, 0 h 22 Plate 4 — the ball: 7.5 g, 0 h 17 Want a full game? Print plates 1 to 3 twice — that is two racks, 365 g all in. Recommended Print Settings Layer Height: 0.20 mm Material: PLA. The profiles use Bambu PLA Basic for the rack and the ball, PLA Matte for the keys Colors: orange #FF9016 for the rack, matte black for the keys, white for the ball — the black keys against the orange are what make the seams read as a design feature instead of a joint Infill: 5% gyroid Wall Loops: 2 Top Layers: 5 · Bottom Layers: 3 Brim: auto, 5 mm — the modules are big flat parts and the ball has almost no footprint Supports: off for plates 1–3. Turn tree support on for plate 4 — the ball is a full sphere and needs it Orientation: deck facing up, exactly as the files sit on the plate. The underside then prints as your first layer, and that is the best-sealed surface an FDM printer makes Don't drop below 5% infill. It costs almost nothing in weight, but at 0% the top layers have to bridge an open cavity, and that is where a leak starts Use Cases Pool and hot tub — the reason it exists Lake, dock or a slow river with the ball on a string On a table as an ordinary six-cup rack, no water needed Print two for a proper game, one at each end How full to fill the cups Fill to about a third. That is normal beer pong anyway, and it is the load the raft is sized for Half is the ceiling. Beyond that the deck comes level with the water Test your own print before the party. Float the single-cup module on its own for half an hour with a weight on it, then dry it and weigh it — if it gained weight, your profile isn't sealed. Put the walls on 3 and the bottom layers on 5 and print it again Rinse and dry it afterwards. This is PLA, so don't store it wet and don't leave it baking in the sun all summer Important Note for First Use The keys on plate 3 are a zero-clearance press fit — the key is exactly the size of its pocket, and it holds because a printed hole comes out a little undersized and a printed key a little oversized. On my printer that lands perfectly. If yours runs tight and a key won't seat, don't force it: the STL files also include the key at 0.04, 0.08 and 0.12 mm clearance per side. Print the looser one and keep that. And if you ever have to adjust one, sand the key — never the pocket, because that pocket is part of the hull that has to stay closed. Assembly Lay the three modules flat in their triangle — they butt together with 0.20 mm between the seam faces Turn the whole thing over and press three keys into the underside Flip it back and press the other three into the top Drop the cups in. They sink until they wedge and then sit at the right height on their own Taking it apart is the same in reverse — it goes flat into a bag 💼 Sell my physical prints? Get your Commercial License on Patreon ❤️ Support my work (€2): Get voting power & sneak peeks on Patreon ☕ One-time tip? Sponsor 100g ($2) of filament on Ko-fi
Tags
Diseñador
SimplySolid3D