
Wet Wipes Box – Clean Look & Easy to Use
Peso
386g
Tiempo
6h 47m
Precio
Cotiza este producto por WhatsApp
Contáctanos y te damos el precio según color y acabado
Las dimensiones dependen del diseño. Confirmamos las medidas exactas por WhatsApp.
Descripción
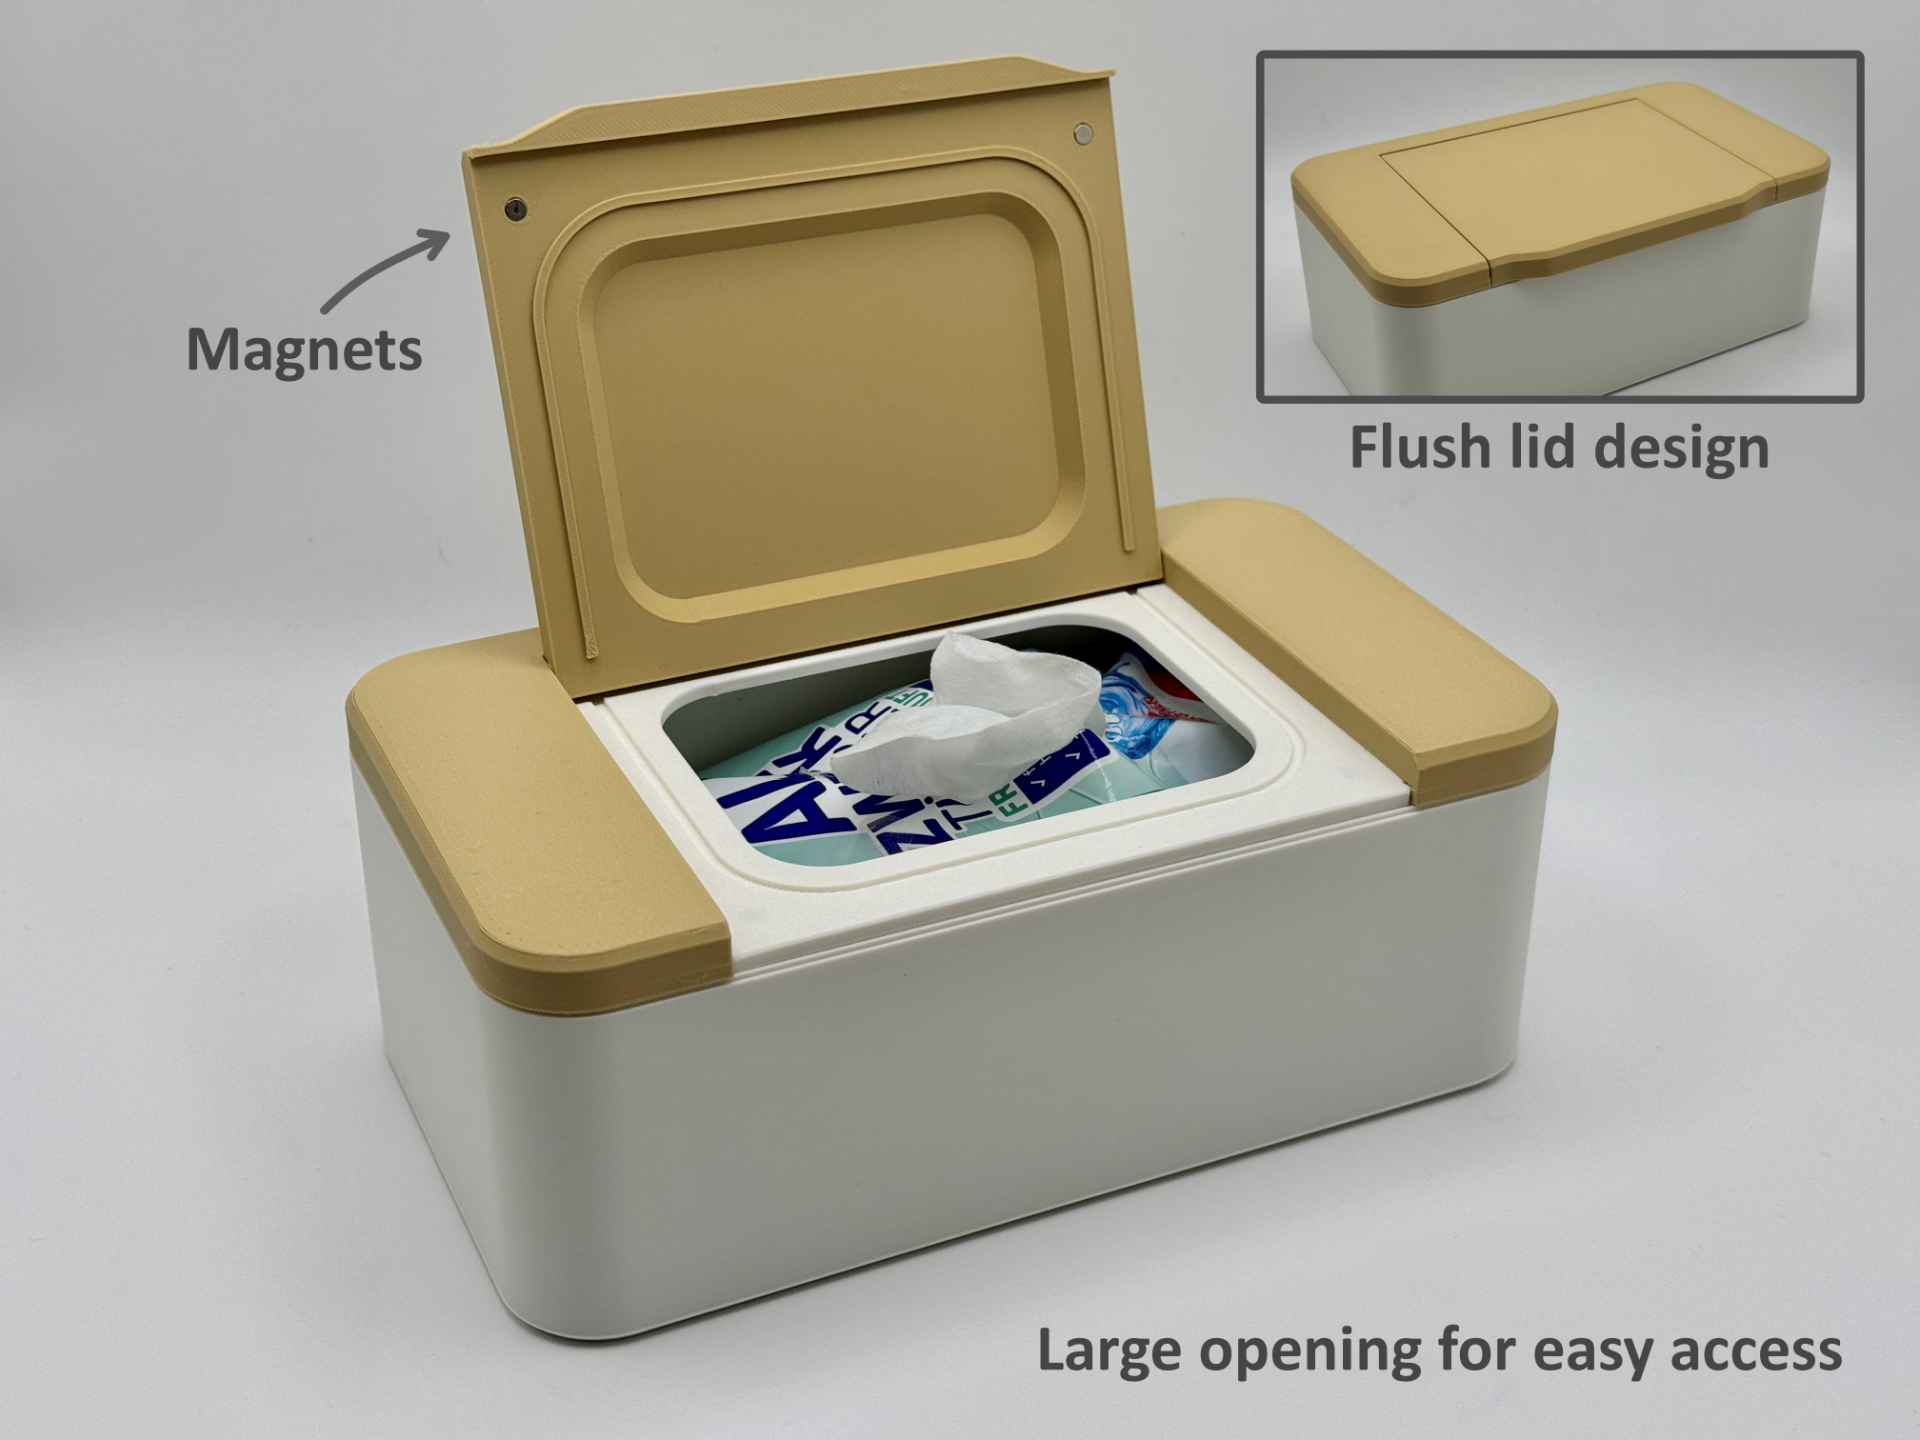
A simple and modern storage box designed specifically for wet wipes, with a focus on making everyday use as easy and convenient as possible. The design combines a flush-mounted lid flap, a large dispensing opening, and one-handed operation. The flush lid gives the box a clean, minimal look, while the large opening makes it easy to pull out a wipe without pushing the remaining wipes back inside. A glued-in sealing plate helps keep the wipes moist despite the large opening. Features Flush-mounted dispensing flap integrated into the lid Sealing plate for improved airtightness Large dispensing opening for easy and convenient access Designed for standard 80-count wet wipe packs One-handed operation Magnets provide a secure closure and a satisfying, premium feel Simple, clean two-color design Print in place hinge design Dimensions Internal dimensions: 200 × 110 × 67 mm The box is designed to accommodate standard 80-count wet wipe packs. Please check the dimensions of your specific pack before printing, as the packaging dimensions can vary slightly between brands. Assembly Part overview: Step 1: The hinge has tight tolerances. The first time you use it, press down a little harder until it moves smoothly up and down. Step 2: Press in both magnets. A screwdriver works well to make it easier to press them in. Depending on your preference, you can also insert the magnets at a later time. Magnet dimensions: Ø4mm x 2mm height Step 3: Check the area marked with the red arrows and the groove marked in green. These areas should be free of any residue because adhesive will be applied there. Once you have verified this, please apply adhesive completely into the groove marked in green. However, do not apply too much adhesive, as there is a risk that it will ooze out and cause the flap to become stuck as well: Step 4: After applying the adhesive, slide the sealing plate in from top to bottom and press it down firmly. Make sure the sealing plate is installed flush. After a few seconds, move the flap briefly to ensure that no adhesive has gotten on it. Should be look like this: Step 5: Add magnets to the flap. Pay attention to the poles. Step 6: Add the wet wipe box: Step 7: Add the bottom part. Make sure it is aligned correctly: Filament: You can use any kind of filament. In my case: Bambulab PLA Matte Print settings: The upper part with the flap has a filament change at layer 51! Please print the lower part and the sealing plate in the same color as the upper area (in this case white) of the upper part with flap. Upper part with flap: 4 walls Lower part: layer height: 0,24 All parts with painted brim ears at the edges to minimize warping.
Tags
Diseñador
mgm86