
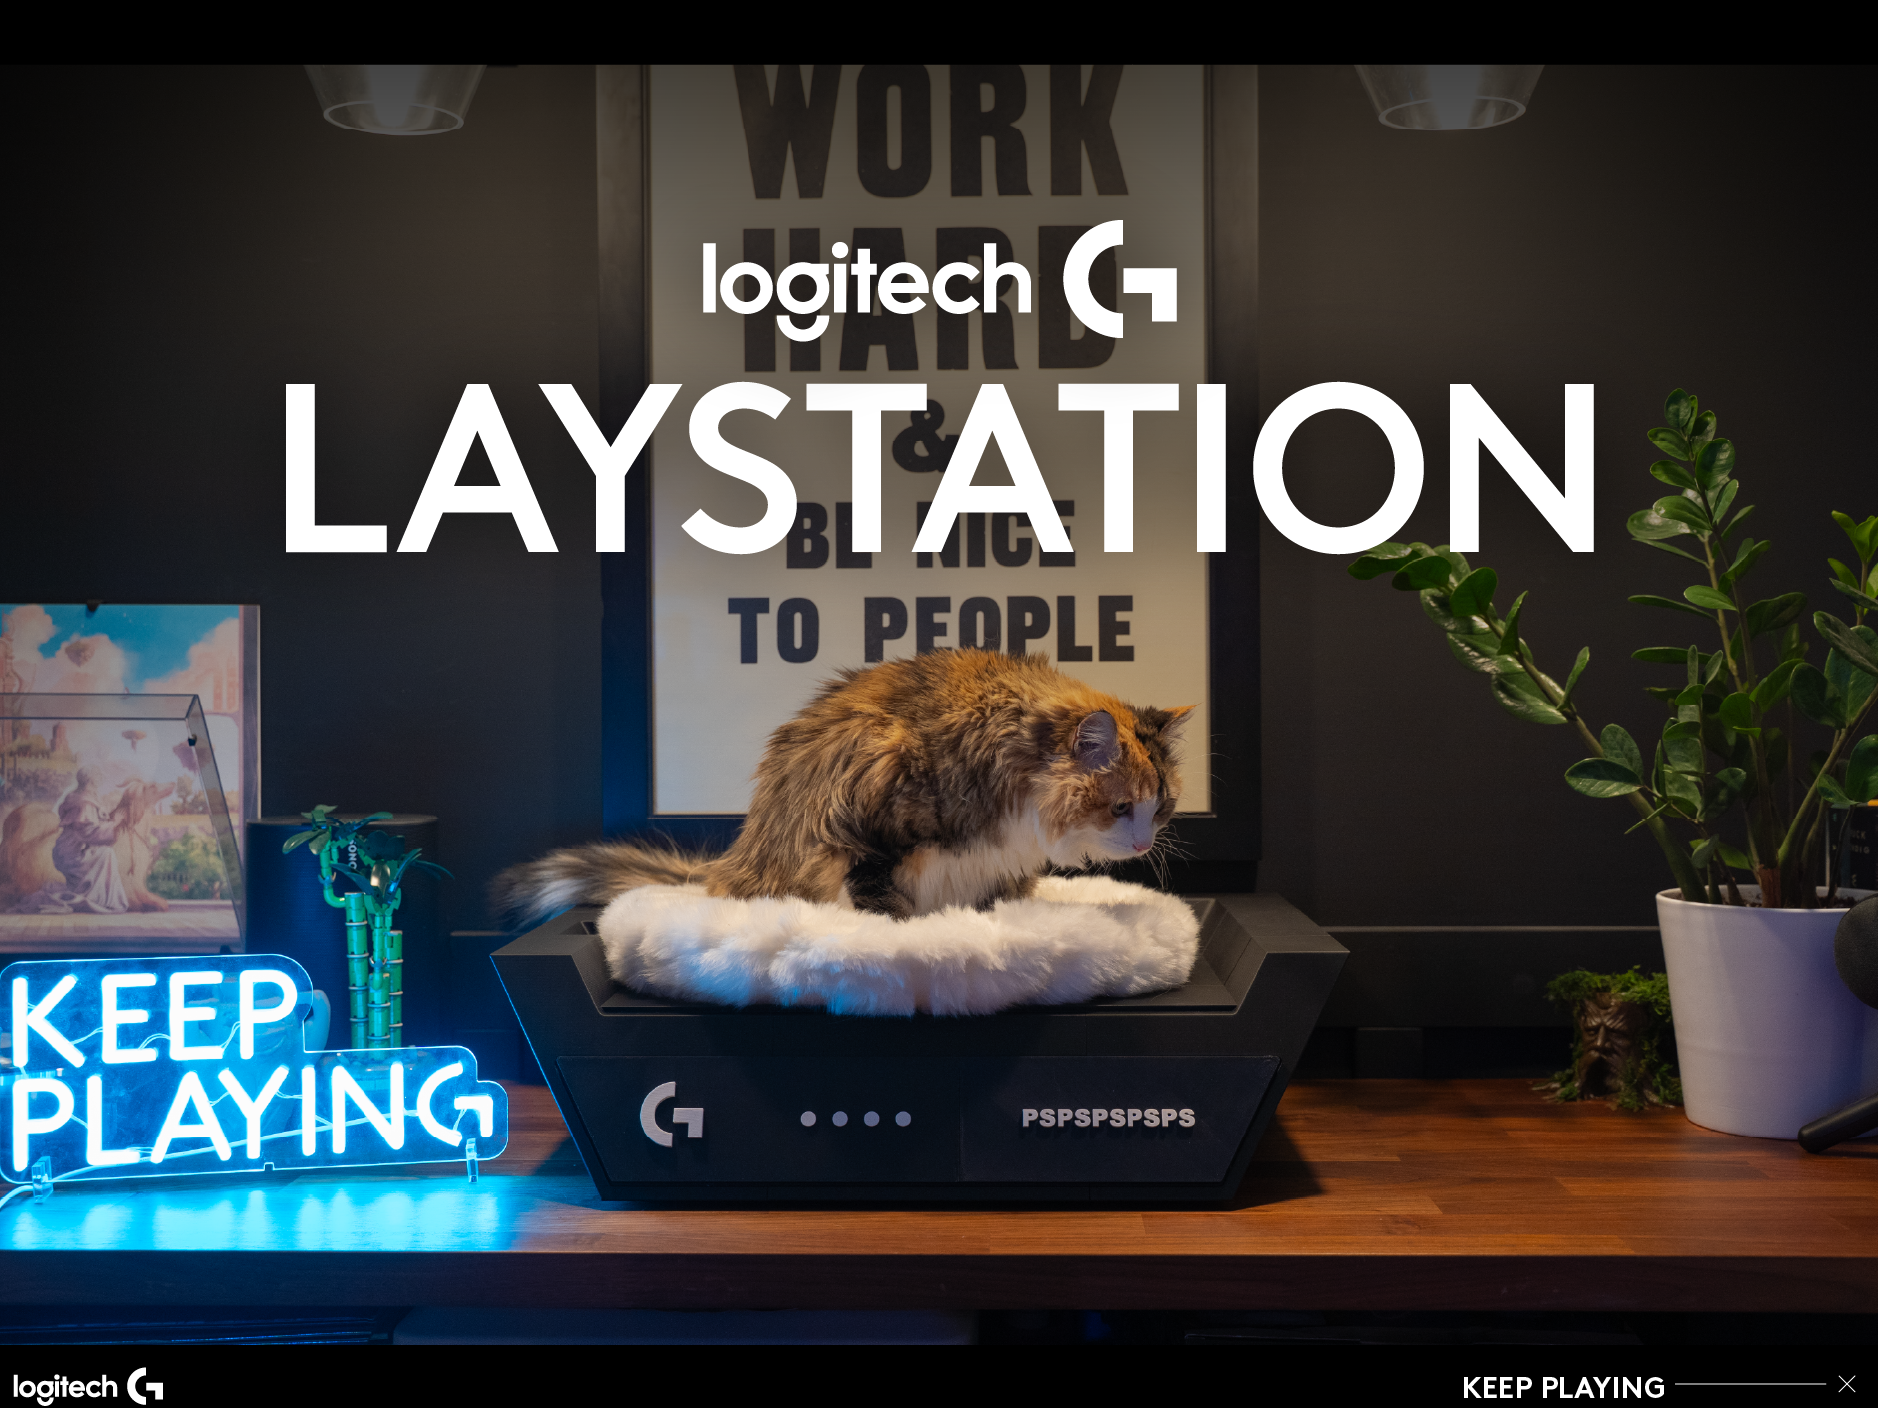
Logitech G LAYSTATION
Peso
5147g
Tiempo
77h 41m
Precio
Cotiza este producto por WhatsApp
Contáctanos y te damos el precio según color y acabado
Las dimensiones dependen del diseño. Confirmamos las medidas exactas por WhatsApp.
Descripción
Logitech G Laystation 1.0 The desktop buff your co-op has been waiting for! After internal research and testing, we’ve purrfected the 3D printable version of the LAYSTATION to ensure smooth printing and kitty-approved results. And to say thank you for consistently requesting that we make it real. This one’s for you. Download the free 3D print file now. All plans included below. PRINTING INSTRUCTIONS ------------------------------------------ There are two files for this print, the base and the front plate. Base MOST IMPORTANT - LOAD PROJECT INSIDE PRESET UNDER 0.6 NOZZLE (0.30mm Standard @BBL P2S 0.6 nozzle - Updated Support) LARGER IMAGE IN GALLERY SLIDER Printed with a 0.6 nozzle (can be printed with a 0.4, but will add significant time) LARGER IMAGE IN GALLERY SLIDER Eleven plates (optional feet plate) Custom support process preset built in (0.30mm Standard @BBL P2S 0.6 nozzle - Updated Support) Supports heavily tested and printed at a 20 degrees threshold angle to save time and filament. If you run into an issue update the threshold to 30 degrees. Plates and pieces labeled for easy assembly DO NOT ROTATE ON PLATE. Arranged so print lines match for clean visual and assembly. Front Plate Printed with a 0.4 nozzle Two plates Fully customizable type to personalize however you please! ASSEMBLY INSTRUCTIONS ------------------------------------------ We HIGHLY RECOMMEND you do a dry fit run before gluing to make sure everything is in the right place! Step One - The Base Assemble each row individually first, this makes for a super quick and easy assembly. Back row, middle row, then front row. Assembling randomly like a puzzle may make some connectors difficult to work with. MOST IMPORTANT - Make sure your middle row, top and bottom pieces are lined up properly before gluing. The connector plugs were all done in slicer, and the right and left side are not perfectly set. Left side goes into the notched side panel. See photo for reference placement. LARGER IMAGE IN GALLERY SLIDER Next assemble the rows together from back to front. Glue the inside edges for best support. Once dry, flip over and add the optional feet if wanted. Step Two - Front Plate May need to slightly trim and sand connectors for a cleaner fit. Step Three - Finishing Touches Attach the Front Plate to the base with your favorite super glue Add a pillow or blanket for your furry friend. Place their new home and ENJOY! FOR SAFETY -------------------- If you use a quick dry spray make sure you properly air out the piece before introducing it to your pet. FINAL NOTE -------------------- We hope you enjoy printing this as much as we enjoyed putting it together! This is new fun territory, and we're by no means experts. So, if you have any suggestions on how we can improve the model, lower filament costs, etc - please don't hesitate to reach out and we can look at releasing an updated model in the future!
Tags
Diseñador
Logitech G