
Pokemon Tamagotchi with Magsafe charging
Peso
34g
Tiempo
1h 40m
Precio
Cotiza este producto por WhatsApp
Contáctanos y te damos el precio según color y acabado
Las dimensiones dependen del diseño. Confirmamos las medidas exactas por WhatsApp.
Descripción
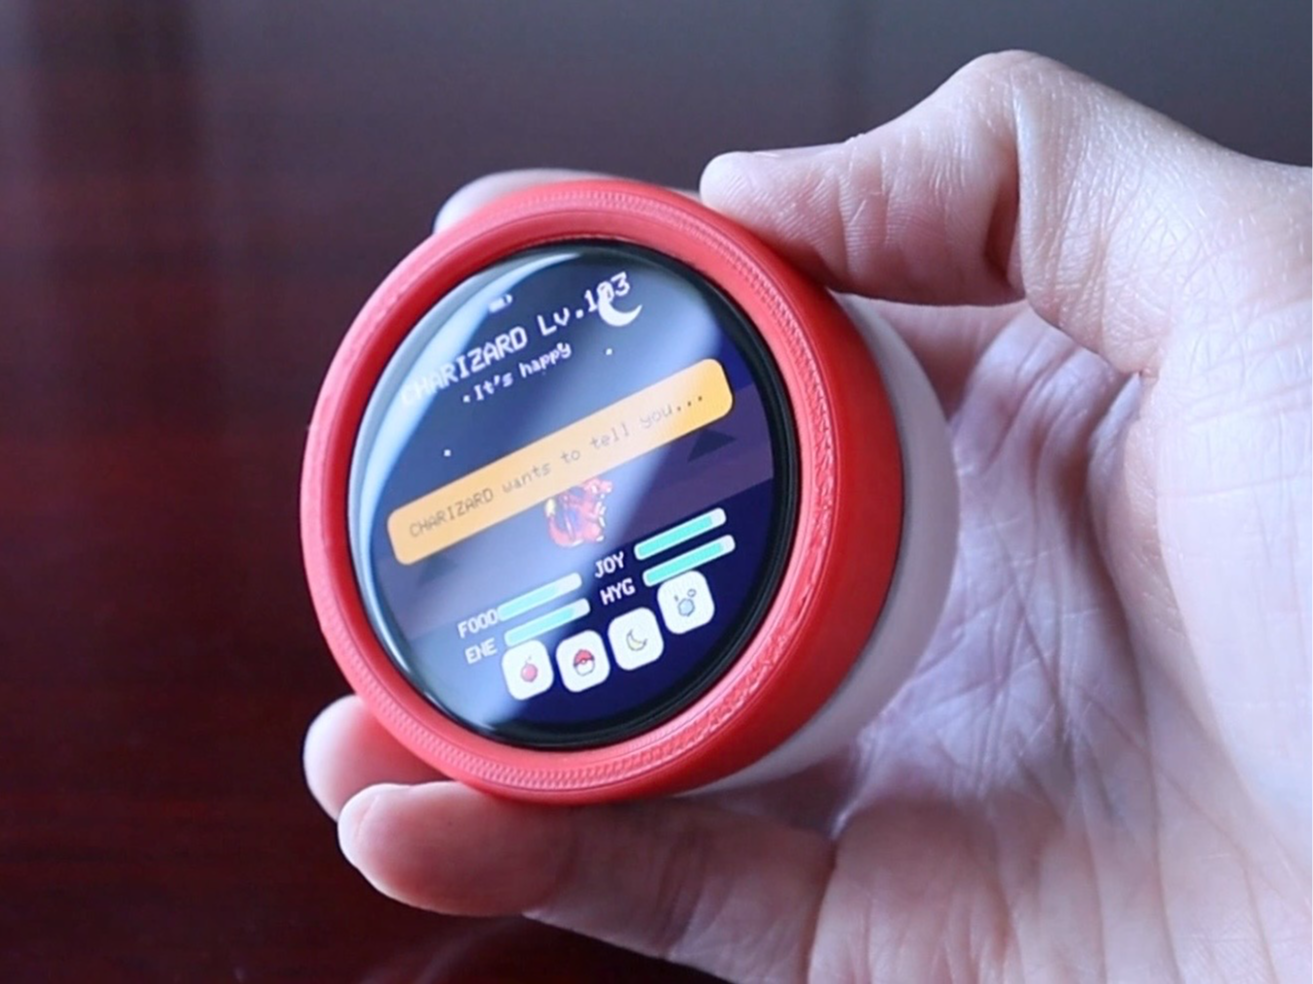
Build your own Pokemon Tamagotchi using ESP32-S3 1.75" Amoled Touch Screen display! Inspiration This project was inspired by the Pokeball Tamagotchi by Using the same screen, I have added Qi charging receiver module, so now you can charge this device wirelessly! Design I like compact stuff, so I redesigned the housing to only be as big as it needs to be while containing all the necessary components. Everything needed in this project is mostly plug-and-play. Software Quique | Home - MakerWorld did an amazing job with the game firmware and the installation process! Headover to https://socquique.github.io/TamaPoke/web/, plug in the ESP32-S3 to your computer with the microSD card, and follow the extremely simple instruction. Assembly Check the BOM below. Once you have everything needed, assembly should be a breeze. Phase 1: Insert Button into Casing 1, then slide on the screen with the MicroSD card side in first. Be careful and patient with the Button when inserting the screen. Secure the screen with three M2x6 screws. Phase 2: Use double-sided tape to secure the speaker in the dedicated slot. Tidy up the wires for both speaker and the Lipo battery. Plug in the Battery and the Speaker. (Ensure the + and - of the battery matches the label on the PCB of the screen!!) Secure Casing 2 onto Casing 1 using three M2 x 6 screws. Phase 3: Attach the Ferrite sheet to the back of the Qi charging coil, cut off the excess of the ferrite sheet. Carefully fold the Qi charging module over Retainer 2. Secure the Qi charging module with Retainer 1 using two M2 x 6 screws, then tighten the screws all the way against Casing 3. From the charging module, plug in the + into VBUS and - into GND on the PCB of the screen. (You may have to crimp Dupont male pins onto the loose wires) Phase 4: Align the 2 holes on the back of Casing 3 to the two holes of Casing 2. Secure it with two M2 x 6 screws (must be countersunk screws). Attach the magsafe ring to the recess area.
Tags
Diseñador
Jetto Hobby