
32oz Mason Jar Candy Dispenser Regular &Wide Mouth
Peso
382g
Tiempo
9h 40m
Precio
Cotiza este producto por WhatsApp
Contáctanos y te damos el precio según color y acabado
Las dimensiones dependen del diseño. Confirmamos las medidas exactas por WhatsApp.
Descripción
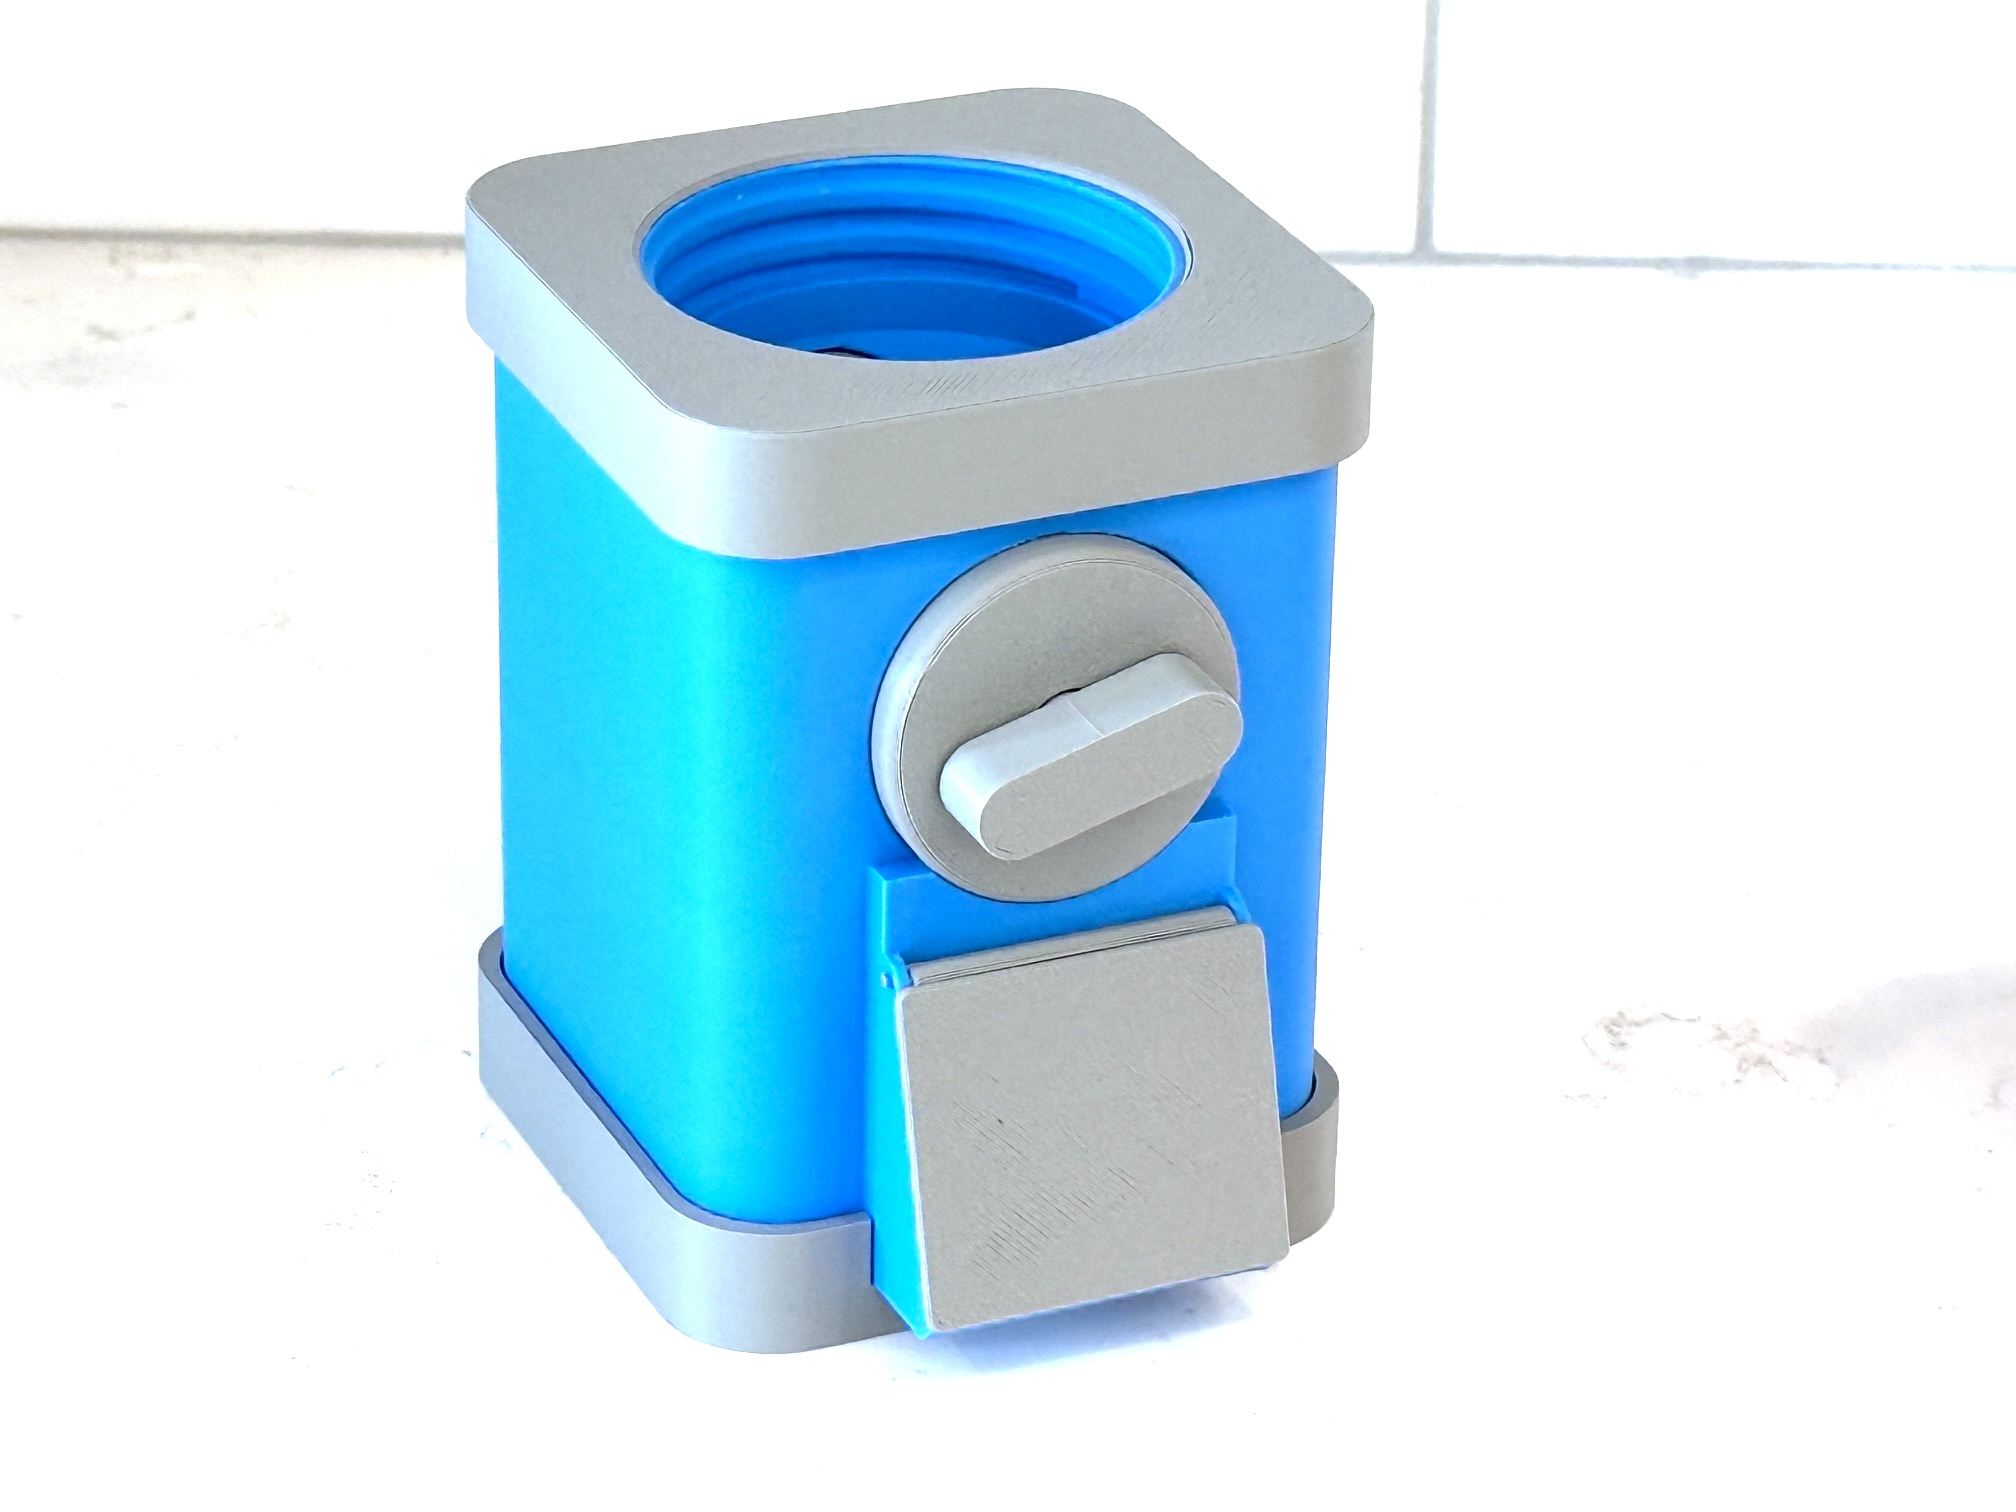
Candy dispenser sized for 32oz Mason Jars. Supports Regular and Wide mouth mason jars. Assembles easily, no glue. All pieces snap together. A 50mm piece of 3D printer filament used for the candy door hinge. Smaller candy dispenser for 16oz Mason Jars is also available. Candy Dispenser is available for: Regular Mouth 70mm (70-450) mason jar threading. Wide Mouth 86mm (86-460) mason jar threading. Works great with M&Ms and Skittles. Should work with other similar sized candy or larger candy when using the large candy drum. Models for 3 different sized candy drums are included (Small / Medium / Large) Small dispenses about 7-8 jelly beans Medium dispenses about 18-20 jelly beans Large dispenses about 28-30 jelly beans Print Instructions: Download Model. Choose between: Regular Mouth Candy Dispenser Wide Mouth Candy Dispenser Part List: (8 total parts) Plate 1 - Body Plate 2 - Top Decorative Cap Plate 3 - Bottom Decorative Cap Plate 4 - Front Plate and Candy Door Plate 5 - Knob Plate 6-8 - Candy Drum (Choose 1 size to print - Small / Medium / Large) ~50mm long piece of printer filament. Cut a piece from your 3D printer spool. This is used for the Door Hinge. Mason Jar Print Settings 0.4mm Nozzle Supports are enabled (used on Candy dispenser body & Candy Drum) Seam Position - Back (for Body / Top Cap / Bottom Cap) Assembly Instructions: 1. Print out all pieces and cut a piece of 3D Printer Filament for the door hinge. A piece of of 3D printer Filament is needed for the candy door hinge. 2. Firmly push caps onto top and bottom until firmly seated. 3. Assemble candy drum as shown. Slide knob into circle face plate. (Face plate orientation: Flat side faces out. Side with smaller circle faces the the drum) Insert knob prongs into the candy drum. Press firmly until fully seated. 5. Slide drum into the body of the candy dispenser. Push face plate into body, the face plate should snap into place. 5. Attach candy door. Start by cutting a piece of 3D printer filament to use for the hinge. About 50mm of filament is needed. Insert one end of the door into hole on the candy dispenser. Align the other side of the door. Slide hinge through the door. Trim excess filament. If filament hinge is loose. Put a bend in the middle of the filament. This will give it enough friction to stay in plce. 6. Attach jar. Pictured jar is a 32oz Wide Mouth Mason Jar. Notes: If you have problems with the knob breaking. Please print the knob that prints flat (Plate 9) Other versions of my Jar Candy Dispenser: 16-24 oz Mason Jar - Regular Mouth Link: Mason Jar Candy Dispenser 16-24oz Jam Jar with (4 Lug / Twist off) Link: Jam Jar Candy Dispenser
Tags
Diseñador
Organized Living