
Daredevil Noir | MULTIPART / NO GLUE / NO AMS
Peso
106g
Tiempo
9h 32m
Precio
Cotiza este producto por WhatsApp
Contáctanos y te damos el precio según color y acabado
Las dimensiones dependen del diseño. Confirmamos las medidas exactas por WhatsApp.
Descripción
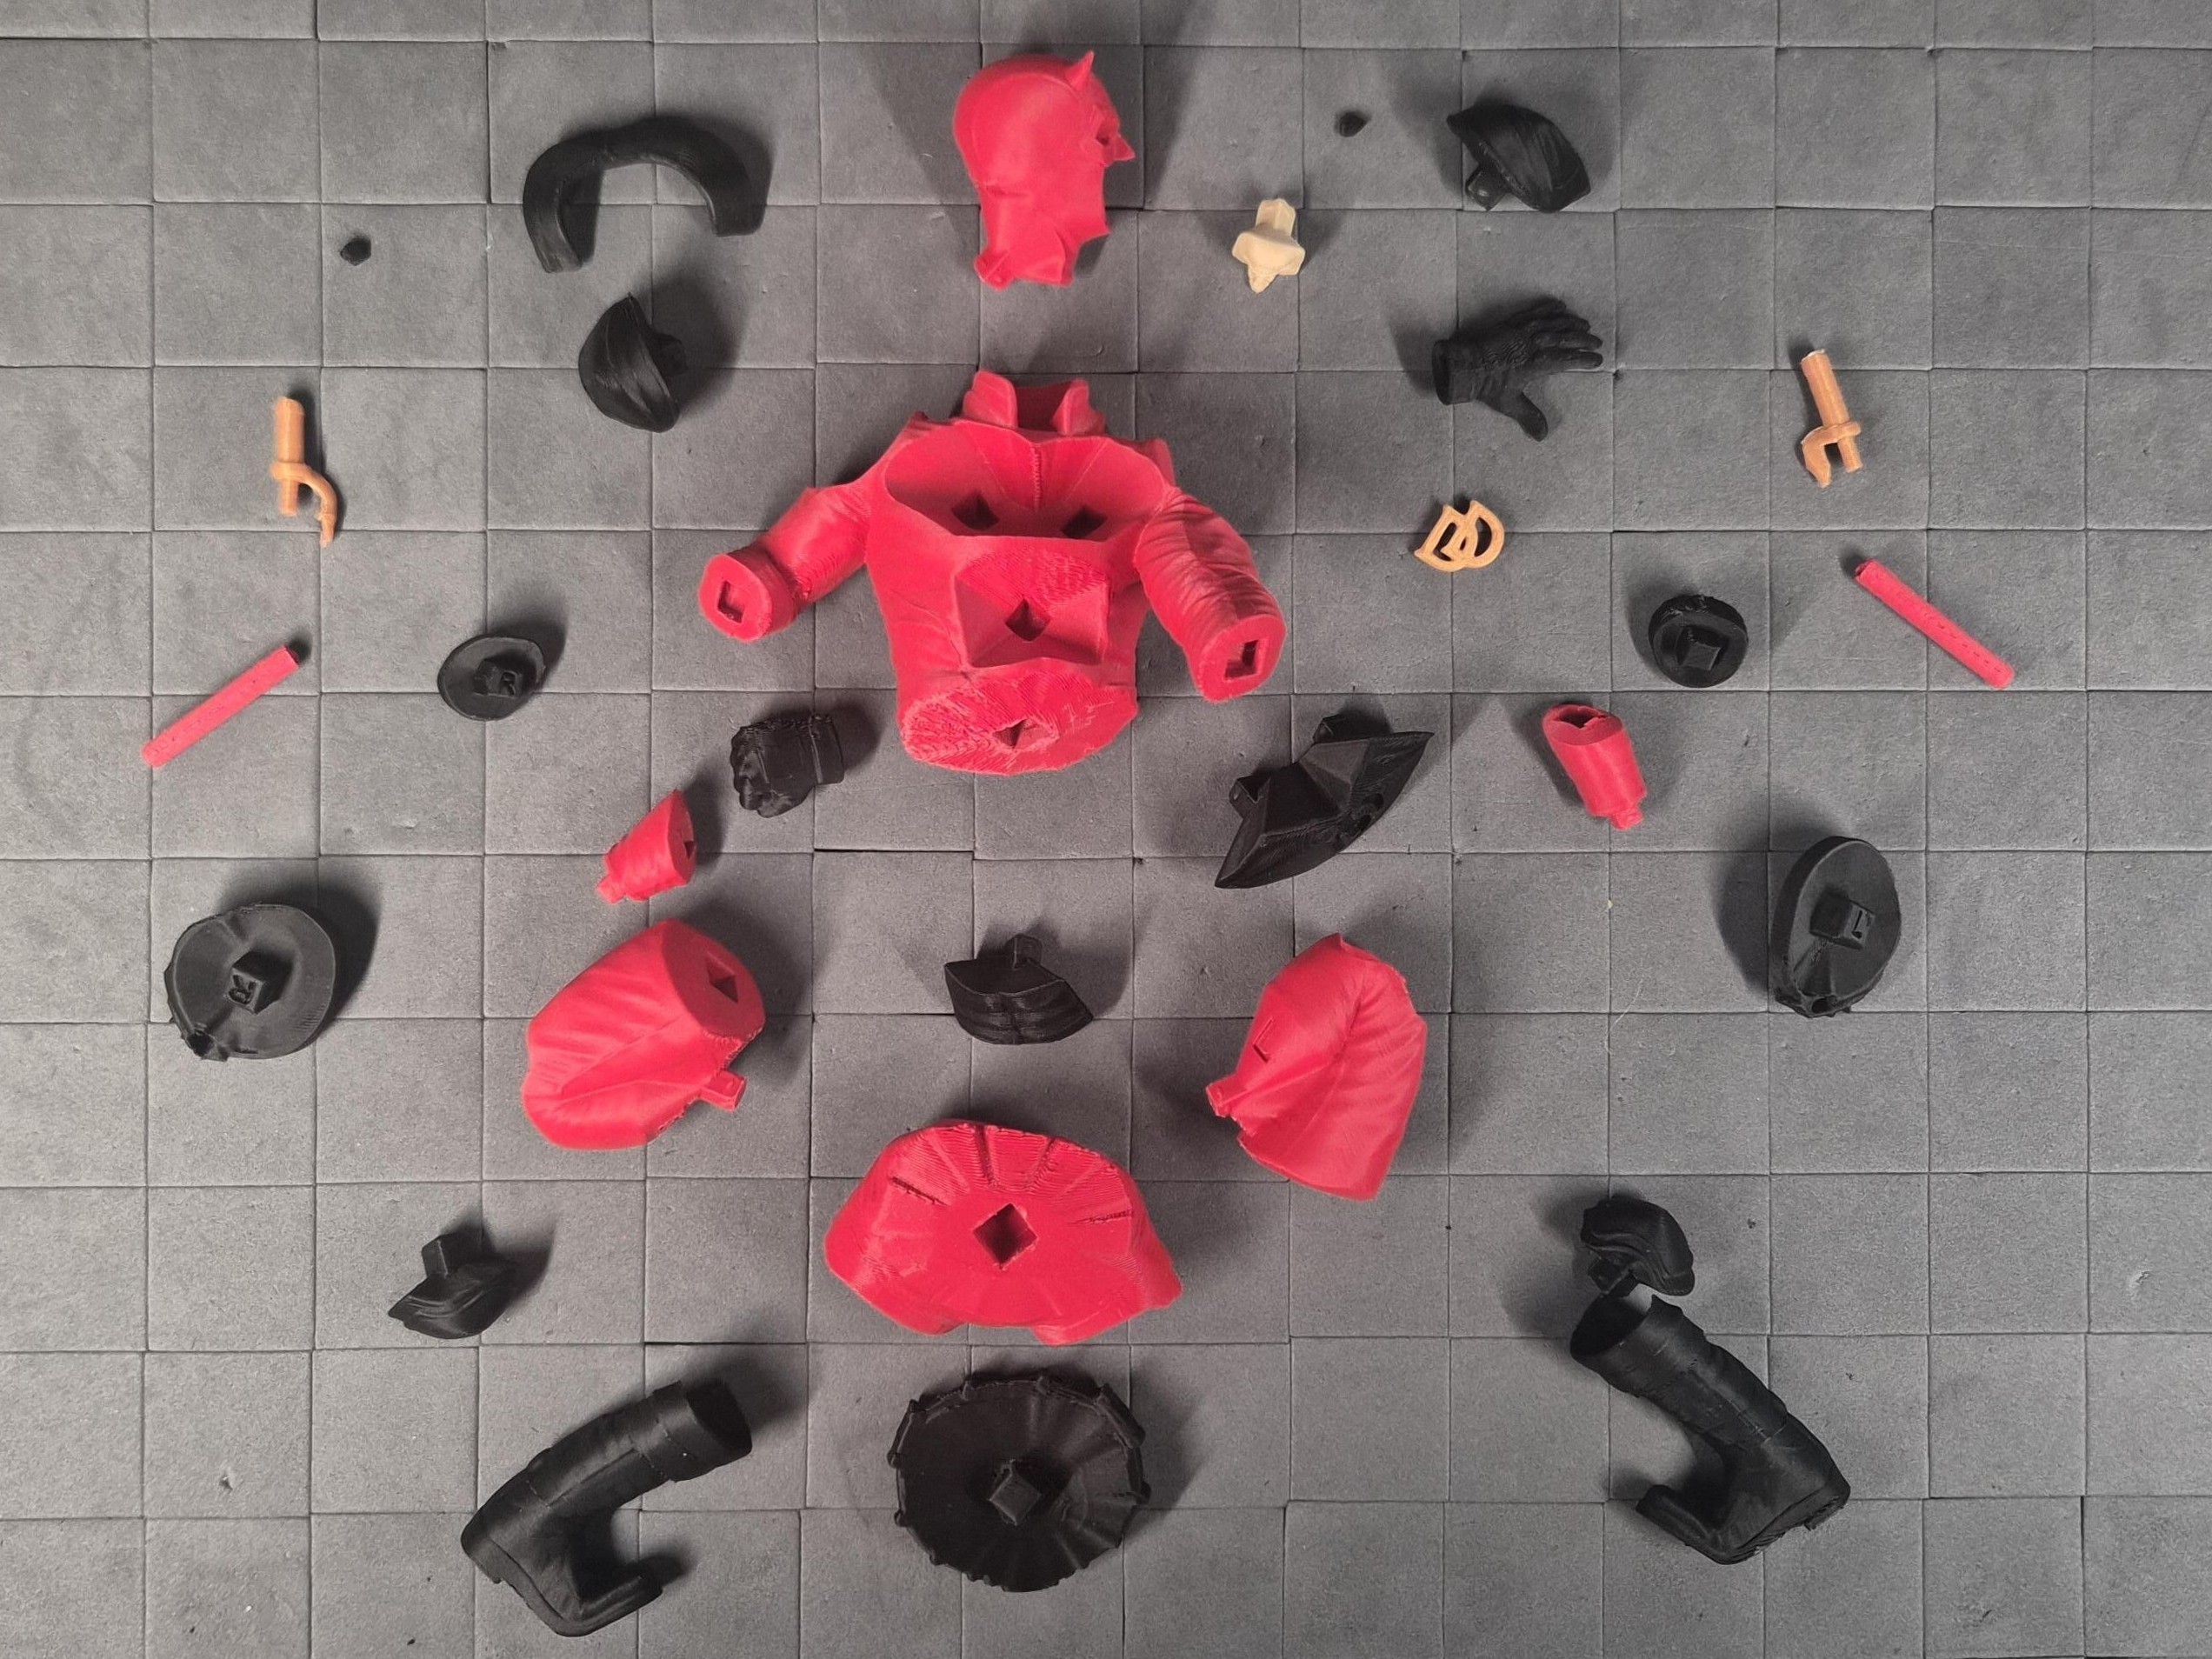
Daredevil Noir - The Perched Devil Crouched on the edge of the city, The Perched Devil keeps silent watch. With his horned mask, the iconic DD emblem on his chest, and one hand gripping the ledge, this Daredevil Noir captures the intense, hard-edged spirit of Hell’s Kitchen in high-detail 3D. This is the third character in my Noir Ledge series, following Spider Noir - The Perched Phantom and Batman Noir - The Perched Sentinel. Designed to pair perfectly with the other models in the collection… place them side by side on a shelf so their hands extend over the edge for a dramatic display. Photographed here alongside members of my signature Eagle collection, creating a powerful and atmospheric combination of noir heroes and majestic predators. Features a fully multipart design with easy snap-fit assembly, requiring no glue and no AMS. A perfect addition for any Daredevil fan, noir collector, or anyone building the full Noir Ledge series. Print profile 100% scale = From the bottom of the feet to the top of the head, the height is about 121 mm, which matches other Noir Ledge characters. Layer Height: 0.16 mm Walls: 2–3 Infill: 10–20% (uses lower end for large parts to save filament/time; higher end for small/functional parts and connectors to boost durability and prevent breakage during repeated assembly/disassembly) Speed: Small parts operate at a slower speed than other parts. Supports: Tree supports are automatically generated and manually painted on various parts to improve print reliability. Color Handling: Multipart design → no AMS required. Print plates separately in desired filaments. You can also rearrange the parts onto different plates if you want to mix the colors in a more unique way. Plates Scaling Advice Scaling Up: Larger sizes should work well but not extensively tested yet. The peg connectors are robust, but connections may need minor tolerance tweaks (e.g., slight peg sanding or scaling adjustment) if fit feels off after upsizing.When designing multipart models, bigger is usually better, but I started this series with Spider Noir and sculpted it a bit too small for the purpose. Still, even though this DD has lots of parts, I managed to make the assembly glueless in the usual @AlphaSculpt style with size that fits to this collection. Scaling up isn’t a bad idea, though I haven’t tested it yet. Scaling Down: Smaller sizes aren’t ideal since this is already quite small. You can request AMS version and I add option plates. Best Practice: Always scale all parts uniformly with the exact same percentage in Bambu Studio before slicing. Apply scaling globally to the entire project to keep peg/socket alignments perfect. Verification: After scaling, check the sliced preview in Bambu Studio to make sure supports are properly generated for overhangs and that small features don’t have thin walls. Keep in mind, some parts may not be printable if they’re too small. Assembly Instructions This multipart model is designed for effortless, glueless assembly! Snap everything together using the peg connectors. No glue required for a secure, satisfying fit. Preparation Carefully remove tree supports before assembly. Tree supports release most cleanly when cut between branches… snap them away without stressing surfaces. Peg Connections Almost all parts use the same snap-fit peg systemPegs are intentionally tight for rock-solid hold → align and then push firmly until you feel/hear the snap. If too tight → lightly trim peg domes (green). If slightly loose → a tiny drop of superglue fixes it instantly. Smaller pegs may feel less "clicky" than larger ones but still provide reliable strength. Orientation Note: Left (L) and Right (R) are labeled based on the character’s own perspective, not the viewer’s. For example, the character’s right eye is marked as R, even if it appears on the left side when viewed from the front. Part identification: Some parts have L or R letters embedded to help with identification. If you’re unsure how to assemble them, make sure the side with the letter is facing upwards. Spider Noir - The Perched Phantom | no AMS - Free 3D Print Model - MakerWorldBatman Noir - The Perched Sentinel | no AMS - Free 3D Print Model - MakerWorld
Tags
Diseñador
AlphaSculpt