
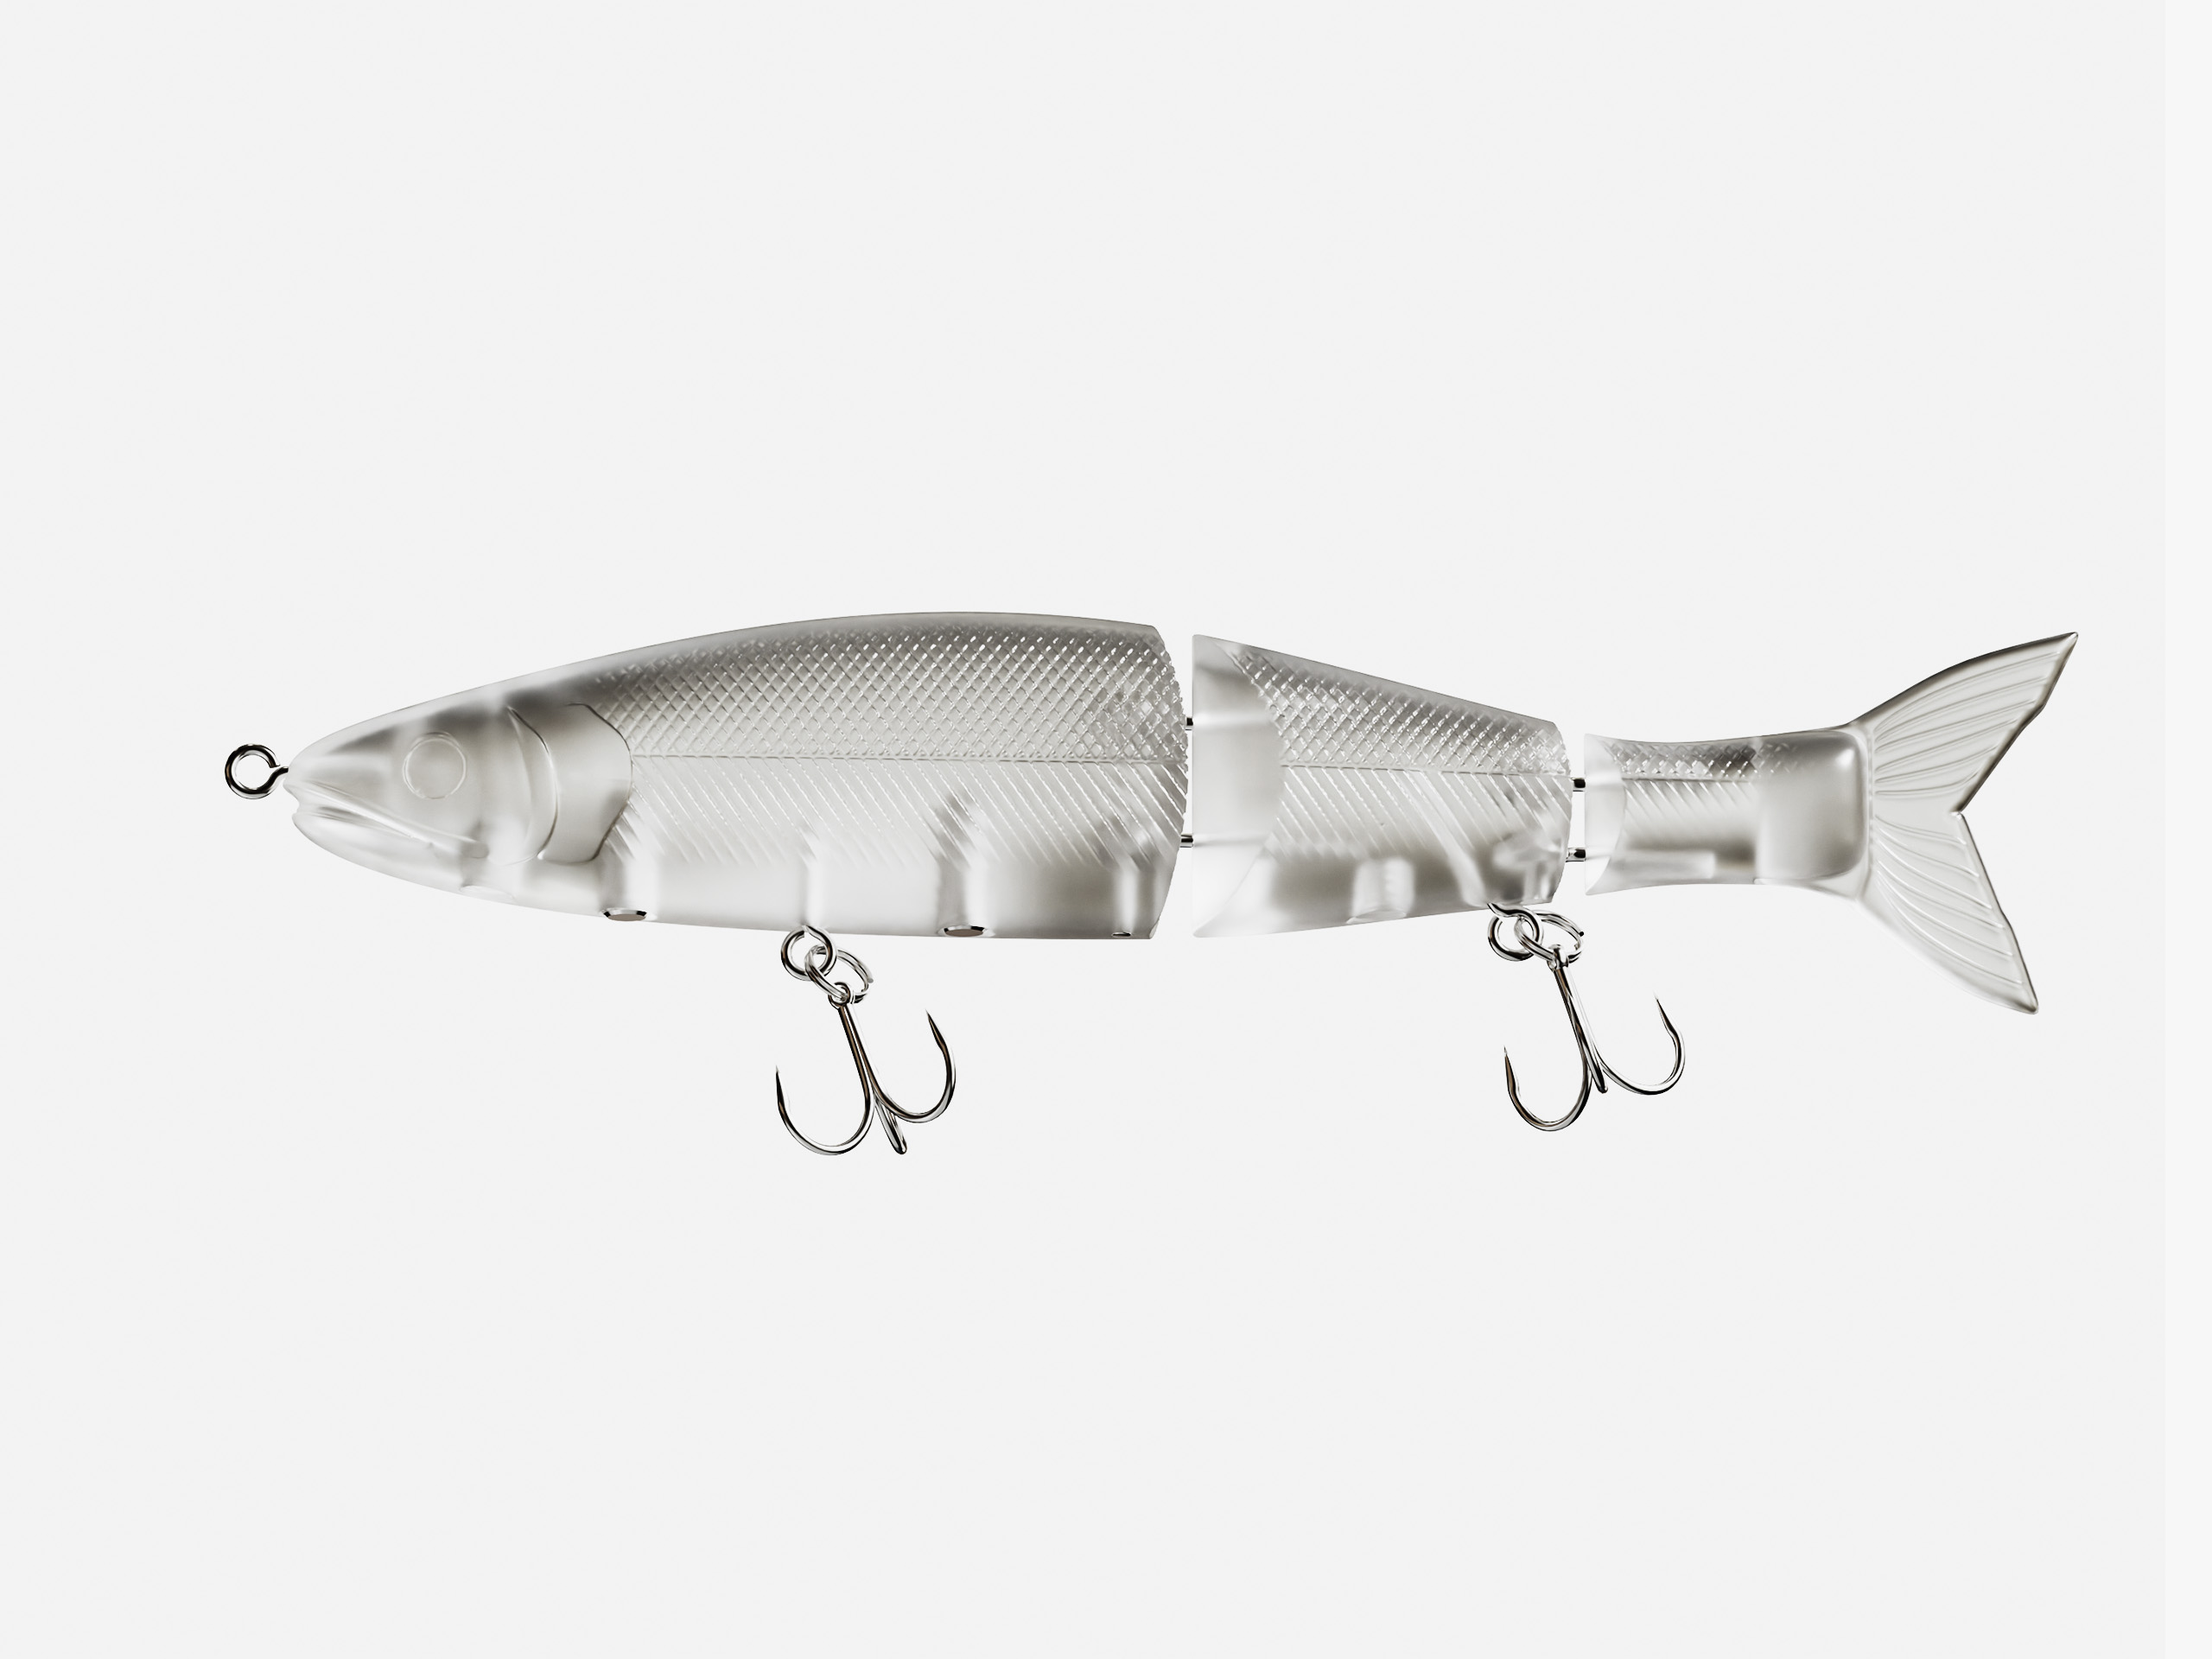
Glidebait v1 - Pike Fishing Lure
Peso
47g
Tiempo
4h 7m
Precio
Cotiza este producto por WhatsApp
Contáctanos y te damos el precio según color y acabado
Las dimensiones dependen del diseño. Confirmamos las medidas exactas por WhatsApp.
Descripción
Glidebait v1 (made for Pike fishing) Boost MeBe sure to get all the extra parts required for this lure build, such as eye screws and epoxy coating. Without these parts, you will not be able to properly assemble or use the lure. You can find a detailed instruction and full parts list below. This Glidebait is designed for pike fishing. It is a 3-part model designed to achieve an impressive action when twitching the lure through the water. The model also features pre-made holes on the bottom for drill-in weights, allowing you to adjust the balance of the lure to your preference. Be sure to alway stress-test the bait before fishing ! I designed this model together with my brother because big glidebaits can get quite expensive. So we wanted to create an affordable 3D-printed alternative that still delivers great performance in the water. The printed bait without any additional parts or coating weighs approximately 45 g. After assembly, the finished bait should weigh around 50–65 g, depending on the parts, coating, and additional weights you use. It is 18,4 x 3,5 x 2,2 cm in size. Parts List You will need the following parts for assembly: 5 cm of ~2 mm diameter steel wire 3x eye screws, 2 mm wire diameter, max. 16 mm length 4x eye screws, 2 mm wire diameter, max. 8 mm outer eye diameter, max. 16 mm length 2x treble hooks and split rings Coating epoxy Optional: 6 mm diameter drill-in weights (max. length : 12 mm) paint (airbrush recommended) lure eyes (6 mm) How to Build Choose the print profile on MakerWorld and open it in Bambu Studio. After opening it in Bambu Studio, you can optionally adjust the infill density if you want to add or reduce weight from the final build. Now print the Glidebait model. For assembly, start by drilling in the eye screws that connect the body pieces together. Be sure not to screw them in too far, as the body pieces need some free movement when connected. For the next step, prepare your 2 mm steel wire and insert it while the pieces are connected. Apply a small amount of super glue to keep everything securely in place. After that, you can drill in the bottom and front screws for the hooks and line, as well as the optional drill-in weights if you want to use them. The build is now already functional, but I strongly recommend applying an epoxy coating before using it. The epoxy protects the bait from damage and prevents water from getting inside. It also gives the bait a cool glossy finish and helps seal and secure all the parts in place. Prepare your bait with paint or any other finish you want to use, then apply the epoxy coating as the next step. Once the epoxy has fully cured, the bait is finished and you can equip your hooks and start fishing. Reminder: Only use decent-quality metal parts that can withstand the pulling forces of large fish. Be sure to thoroughly stress-test the assembled bait before fishing to ensure all components are securely attached and to guarantee a safe and responsible fishing experience..
Tags
Diseñador
Hartware