
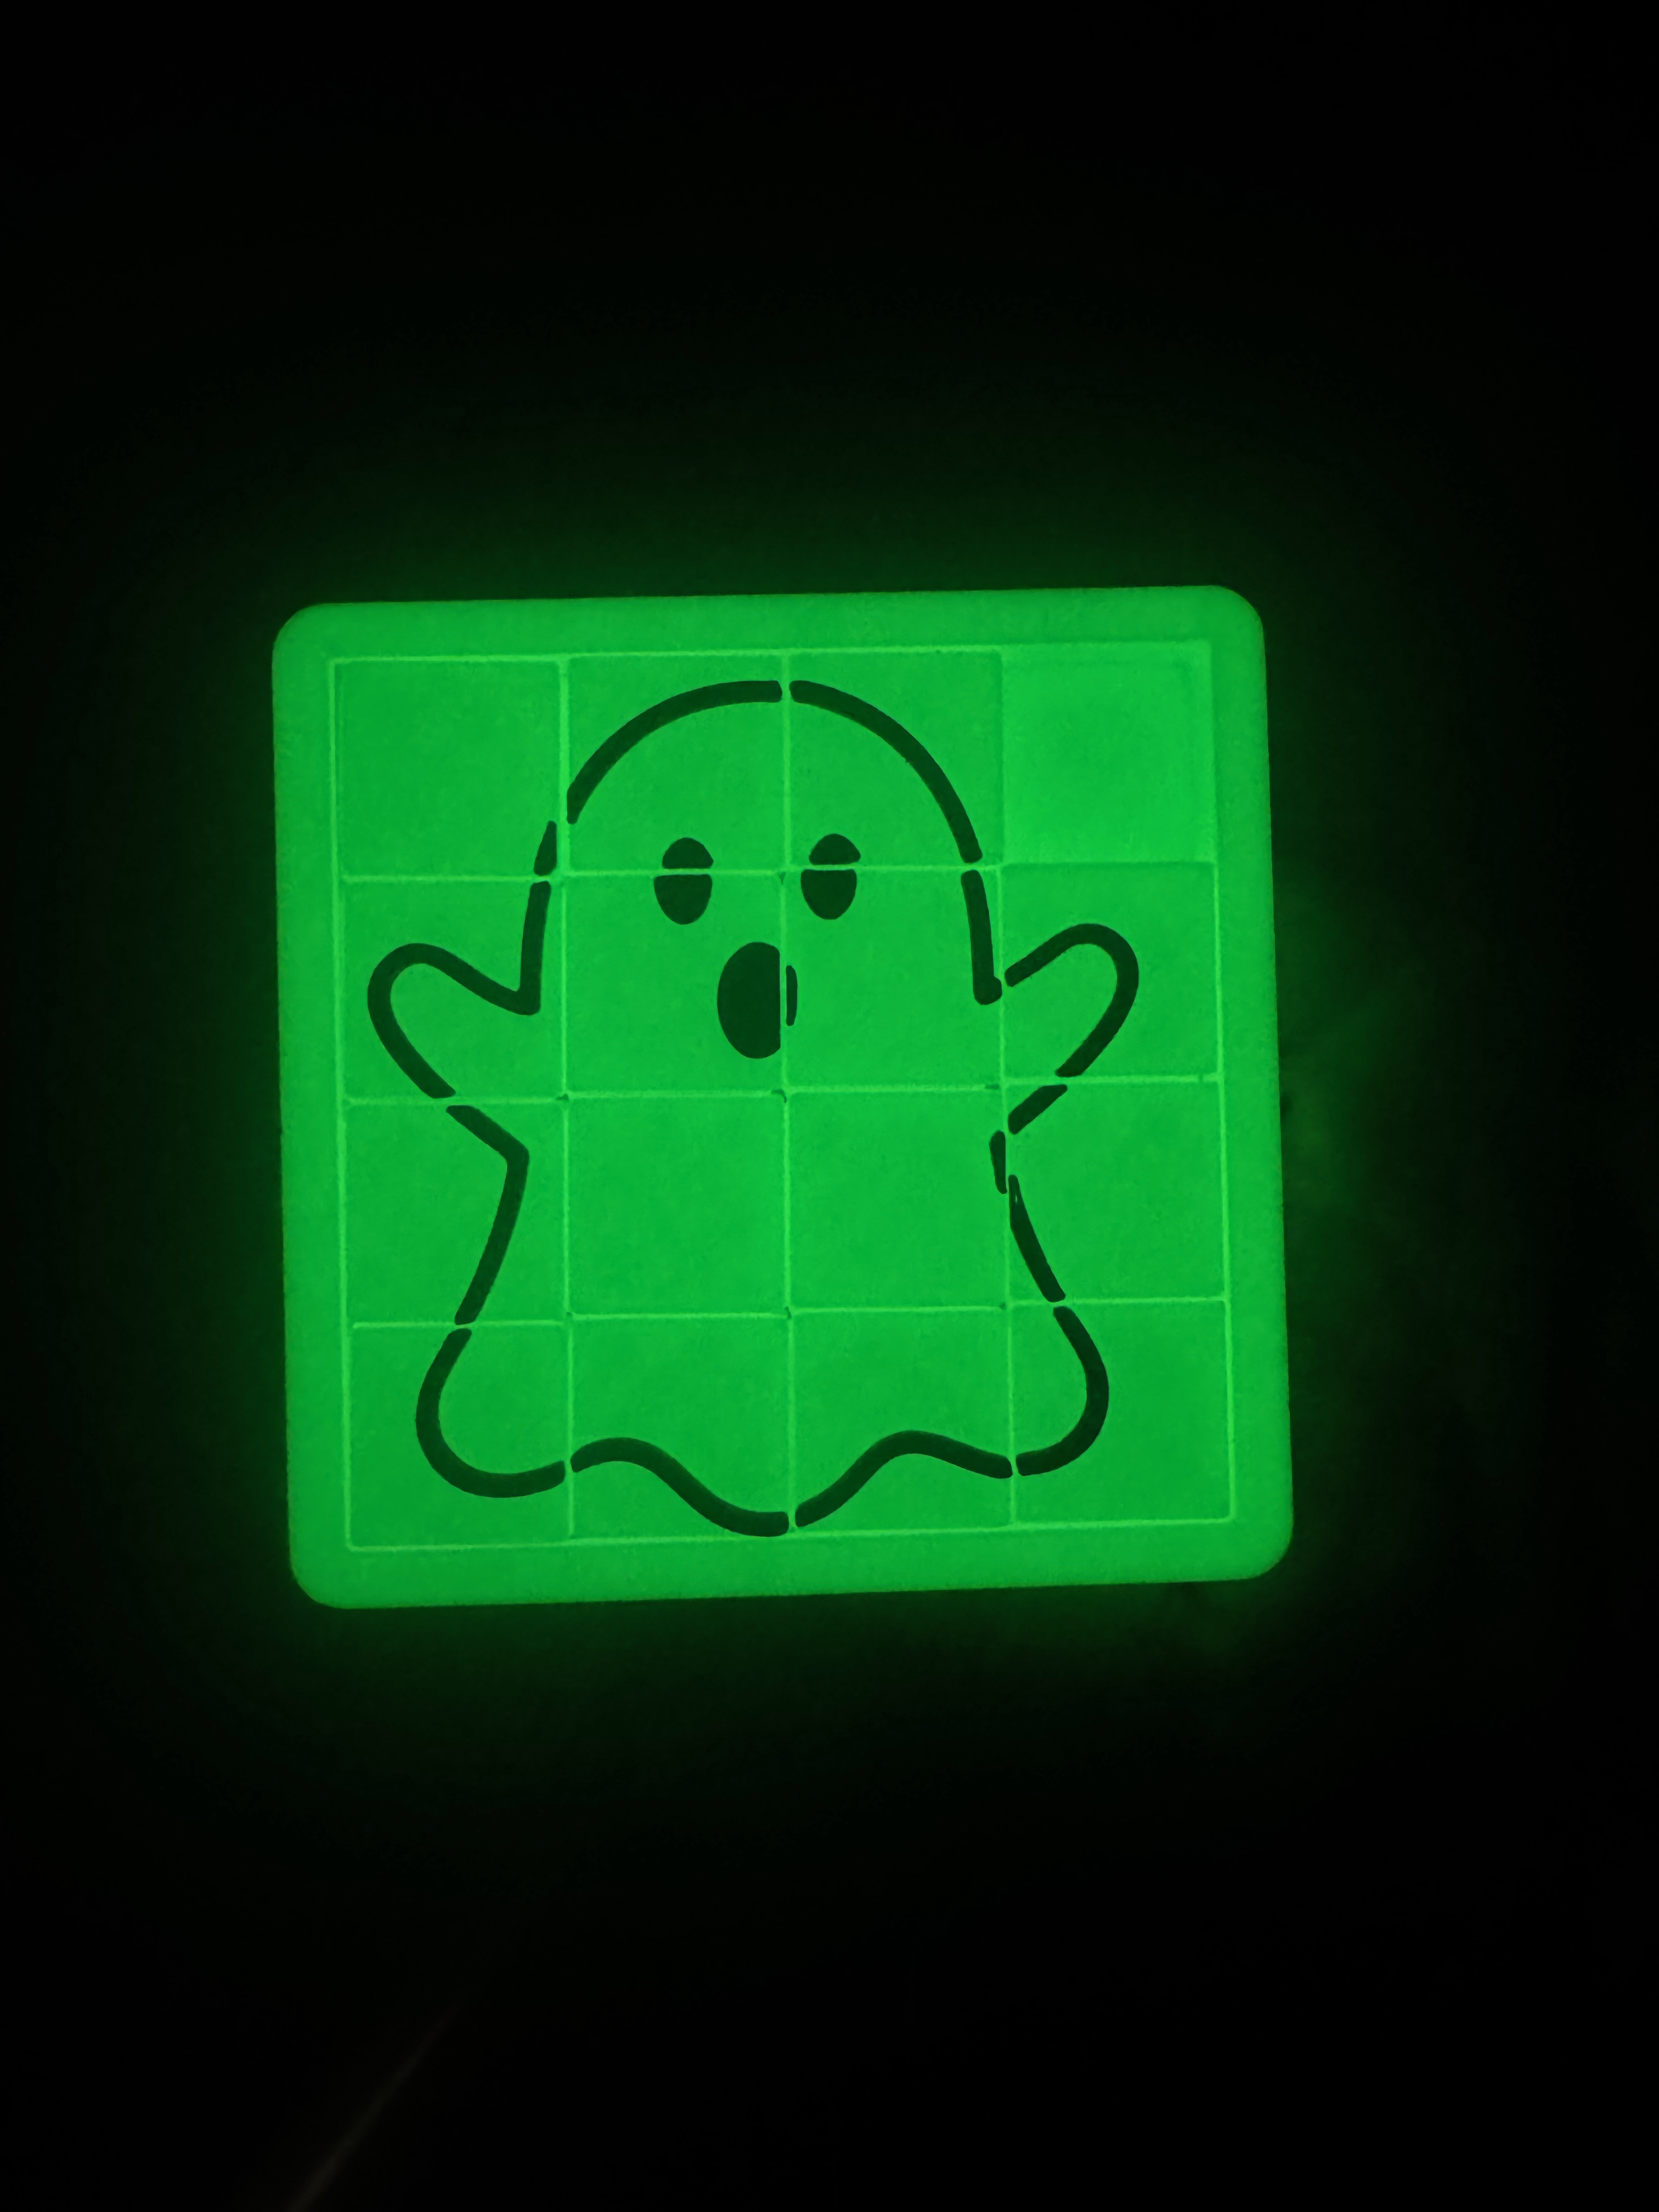
Custom fidget slide puzzle maker - add your image
Peso
54g
Tiempo
1h 30m
Precio
Cotiza este producto por WhatsApp
Contáctanos y te damos el precio según color y acabado
Las dimensiones dependen del diseño. Confirmamos las medidas exactas por WhatsApp.
Descripción
Custom Print-in-Place Sliding Puzzle Maker IMPORTANT UPDATE: The original model code version had a compatibility issue with MakerWorld’s Manifold renderer which could cause the sliding rail/groove geometry to be lost in generated models. This has now been fixed. If you generated or downloaded a custom version before 14th August 2026, please regenerate it using the latest model. Many apologies for those who tried the early version This is a fully parametric, print-in-place sliding puzzle generator that uses the Makerworld Parametric Model Generator to create an infinite range of customized sliding puzzles. Add your own artwork and make puzzles in custom sizes from 3x3 to 6x6. Read the instructions below and then click the ‘Customise’ button above to get started. Instead of downloading one fixed puzzle design, you can easily create your own version with your own artwork. The puzzle is generated as a complete print in place working mechanism. The tiles use interlocking rails and grooves so that they remain captured inside the frame while still being able to slide. Your uploaded SVG image is divided automatically across the complete tile grid. (If an part of your image is over the empty square of the puzzle, it will be left out). Using the MakerWorld Parametric Model Maker “Parametric model” sounds much more complicated than it is! The design work is already done. You simply change a few options in the MakerWorld Customiser, upload your own SVG image, generate the model and it’s then ready to download and print. What the settings mean SettingWhat it doesGrid sizeSets the number of rows and columns in the puzzle. SVG fileThe artwork placed across the puzzle tiles. This must be an SVG file, not a PNG, JPG, BMP or other bitmap image.SVG sizeTells the model the scaling for the square SVG so that the artwork can be scaled and positioned correctly.SVG extrusion heightControls how far the SVG artwork is raised above the tile surface. A larger value gives a more pronounced raised design. 1.5-2mm works best. Tile gapControls the visible/physical spacing between neighbouring tiles. This is one of the settings that can be adjusted if your printer produces parts slightly tighter or looser than expected.Joint clearanceControls the clearance between the interlocking tile rails and grooves. Too little clearance may make the puzzle stiff or fused; too much will make the tiles feel unnecessarily loose.Generate backplateTurns the optional matching backplate on or off. When enabled, the puzzle is generated with matching corner holes and the backplate is generated with locating pins.Backplate pin toleranceControls the difference between the backplate pin diameter and its matching hole. This compensates for differences between printers. A useful adjustment range is approximately 0.1–0.3 mm.Important: the SVG artwork must be square. The generator divides the image into an equal square grid. A non-square source image will not map to the puzzle in the intended way. About tolerances 3D printers do not all produce models in exactly the same way. Material, nozzle, layer height, calibration and even individual machines can change how tightly two printed parts fit together. The clearance settings are therefore there to let you tune the model rather than forcing one fixed tolerance on every printer. If a test print is too tight, increase the relevant clearance slightly. If it is noticeably loose, reduce it slightly. Small changes are normally all that are required. For the optional backplate pins, the intended user adjustment range is approximately 0.1–0.3 mm. Creating custom SVG images SVG is not the same thing as PNG, JPG or BMP. The puzzle generator requires an SVG (Scalable Vector Graphics) file. Simply renaming a PNG to .svg will not convert it. If you already have a suitable square SVG, you can upload it directly. If your artwork is a PNG or another bitmap image, the free Inkscape application can convert suitable artwork into vector paths and save the result as an SVG. Simple, high-contrast artwork usually converts most cleanly. Line drawings, silhouettes, logos and cartoon-style graphics are particularly straightforward. PNG to SVG with Inkscape Open Inkscape and import your PNG image. Keep the image square, or prepare it on a square canvas before conversion. [Inkscape 1 — imported PNG image] Select the bitmap and use Path → Trace Bitmap. For simple black-and-white artwork, a Single scan / Brightness cutoff trace is a good starting point. Adjust the threshold until the preview captures the parts of the image you want, then click Apply (bottom right). [Inkscape 2 — Path → Trace Bitmap and the Trace Bitmap panel] The trace creates a new vector object directly over the original bitmap. Drag the new traced object to one side. You should then be able to see that the original bitmap is still underneath. [Inkscape 3 — traced vector dragged aside, revealing the original bitmap] Delete the original bitmap. Move the traced vector artwork back into position and save the document as an SVG. The file you upload to MakerWorld should contain the vector artwork, not the original embedded bitmap. Before saving, it is worth checking that the artwork is positioned correctly within a square page/canvas. The square boundary is important because the puzzle generator divides that area into equal tile-sized sections. Colouring the finished puzzle The generated model can be printed in a single colour, but the raised SVG artwork also makes colour changes surprisingly easy. There are two useful approaches. Option A — Simple layer colour change The simplest method is to print the puzzle body and artwork in different colours by changing filament at the layer where the raised SVG begins. You do not need an AMS for this method. Slice the model normally in Bambu Studio. Open the Preview after slicing. Move the layer slider to the point where the raised SVG artwork begins. Add a filament change at that layer. When the printer reaches the change, swap to the second filament colour and continue the print.* *If you have an AMS, the next colour will be loaded automatically. Everything below the change is printed in the first colour and the raised artwork above it is printed in the second. This is a quick way to produce a very clear two-colour result. [Bambu Studio Preview — filament change inserted at the SVG layer] Option B — Detailed colouring with Bambu Studio Paint For a more elaborate result, use Bambu Studio's painting tools on the generated model. Individual regions of the raised artwork can be assigned different filaments, allowing multi-colour characters and designs to be created across the moving tiles. This takes longer than a simple layer change because the different areas need to be selected and painted, but it can produce a much more striking finished puzzle. Edge detection and fill tools can make the job considerably quicker on artwork with clear boundaries. Generate the customised puzzle and open the resulting model in Bambu Studio. Set up the filaments/colours you intend to use. Open the Color Painting tool. Use fill / edge detection to assign colours to the raised SVG areas. Check the model carefully from several angles before slicing to make sure the intended regions have been coloured. Slice the plate and inspect the Preview before printing. [Bambu Studio — detailed multi-colour painting of a generated puzzle] A few useful tips Start with a simple 3×3 puzzle when testing a new printer, material or clearance setting. Use bold, clean SVG artwork for your custom designs. Very fine details may be smaller than the printer can reproduce cleanly. Always use a square SVG source. If the tiles are too tight, adjust the clearance rather than scaling the finished model in the slicer; scaling would also alter the mechanical clearances. For multi-colour designs, always inspect the sliced Preview. It is much easier to spot an incorrectly coloured region before the print starts. Thanks for downloading my custom sliding puzzle maker! - Please do post pictures of your makes, am really interested to see what folks come up with.
Tags
Diseñador
DaveJaVu