
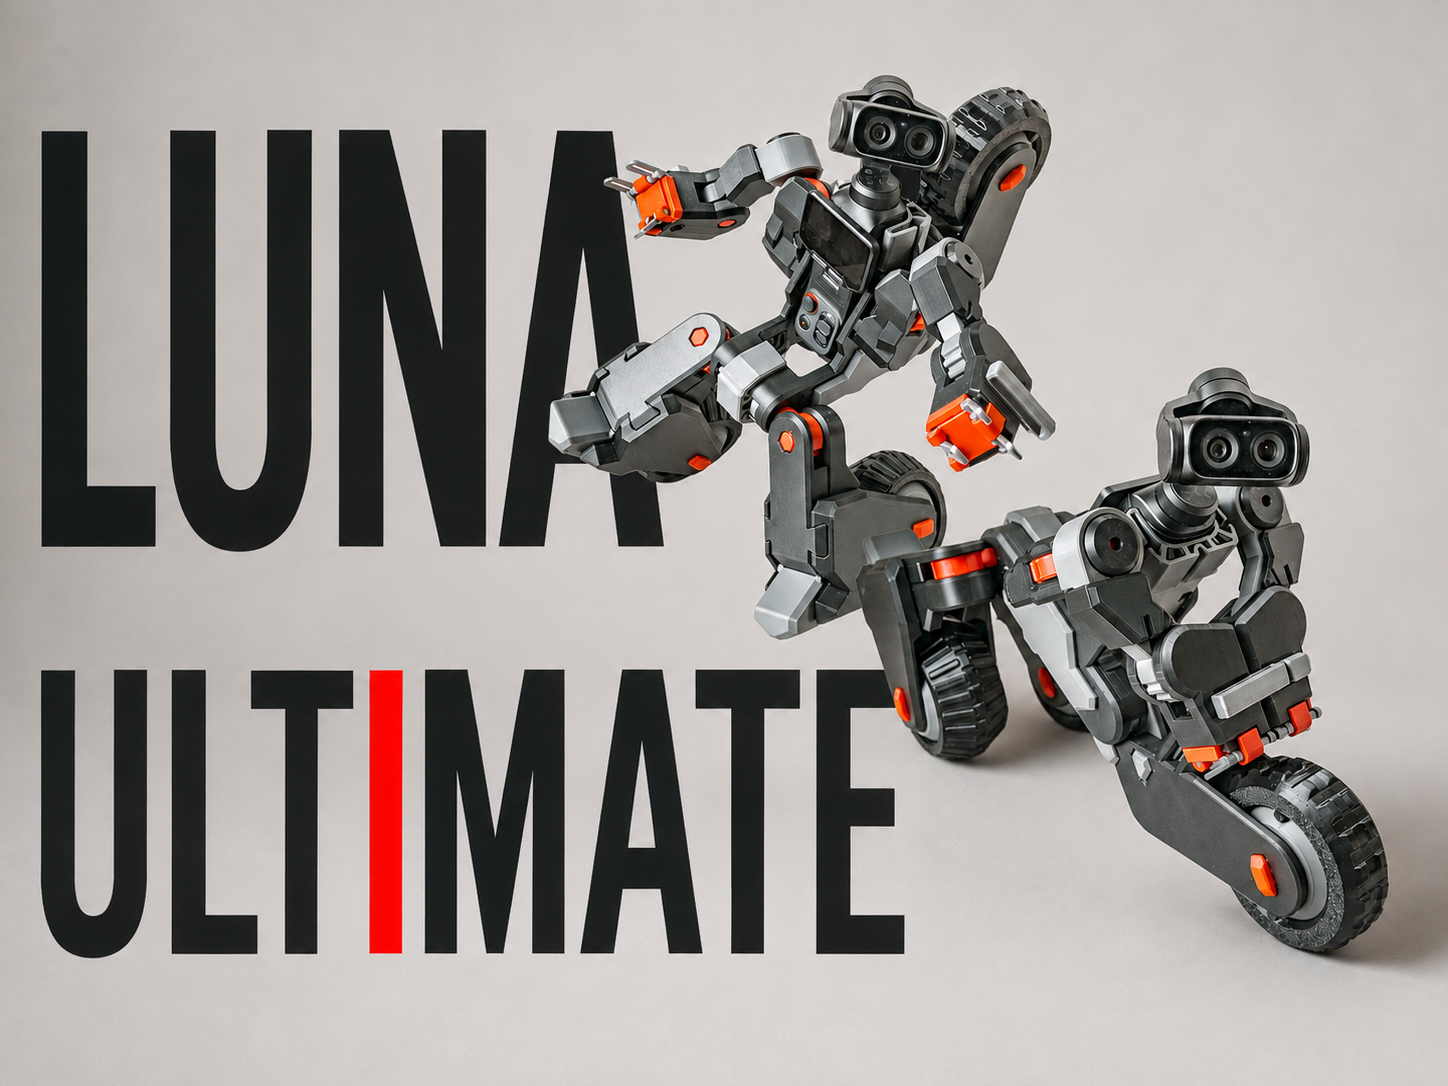
Luna Ultimate: "Transform Bold."
Peso
619g
Tiempo
19h 48m
Precio
Cotiza este producto por WhatsApp
Contáctanos y te damos el precio según color y acabado
Las dimensiones dependen del diseño. Confirmamos las medidas exactas por WhatsApp.
Descripción
⚠️ Please Read Before Starting! You can find the assembly instructions in the attached PDF file. Also, please refer to the bottom of this description for tips on how to mount/unmount the Luna Ultra and how to transform the model! The Luna Ultumate! This is a Giant Mech Body designed for the Luna Ultra. Featuring full-body spring ratchet joints, it is also sufficiently sturdy as a stand. Plus, it easily transforms into a Bike Mode, allowing you to roll the wheels and play with it! This model can be attached to the Luna Ultra while the '1/4 Thread Handle' or 'Battery Handle' is equipped. You can also mount the 'Mic Pro Transmitter' directly onto its arm. By default, no AMS, glue, or supports are required for printing and assembly. However, if any non-moving parts feel loose during assembly, applying a little glue is recommended. Please note that PLA Matte and PLA Silk are not recommended for this build. While the tires can be printed in standard PLA without any issues, printing them in TPU will give you much better performance! Mounting Instructions: When mounting the Luna Ultra, first remove its wind guard. Please refer to the attached photo to identify the exact connection points before attaching it. Depending on the filament material and your print settings, the fit of the mount may be too tight or too loose. I highly recommend test-fitting this specific part to your Luna Ultra before fully assembling the mech body. Detaching Instructions: When detaching the Luna Ultra, please refer to the attached photo. Push the protruding tabs of the mount outward and carefully remove the Luna Ultra. How to Transform Luna Ultimate into Bike Mode! 1. The connector for the sub-wheels on the back articulates to 4 different angles. For transformation, please refer to the photo and move it exactly 3 clicks. 2. Maintain the default standing angle of the legs and simply fold them straight back. 3. Fold the fingers, move the elbows to match the angle shown in the photo, and then rotate both arms backward. 4. Articulate the shoulder joints to bring both arms together, and insert the tab (decoration) on the left arm into the slot (empty space) on the right arm. Then, adjust the arm position as shown in the photo. Bike Mode Transformation Complete! + Tip: Adjusting the legs by just one click can slightly change the style and center of gravity! Boost MeYour boost helps create more works.
Tags
Diseñador
6D Creation