
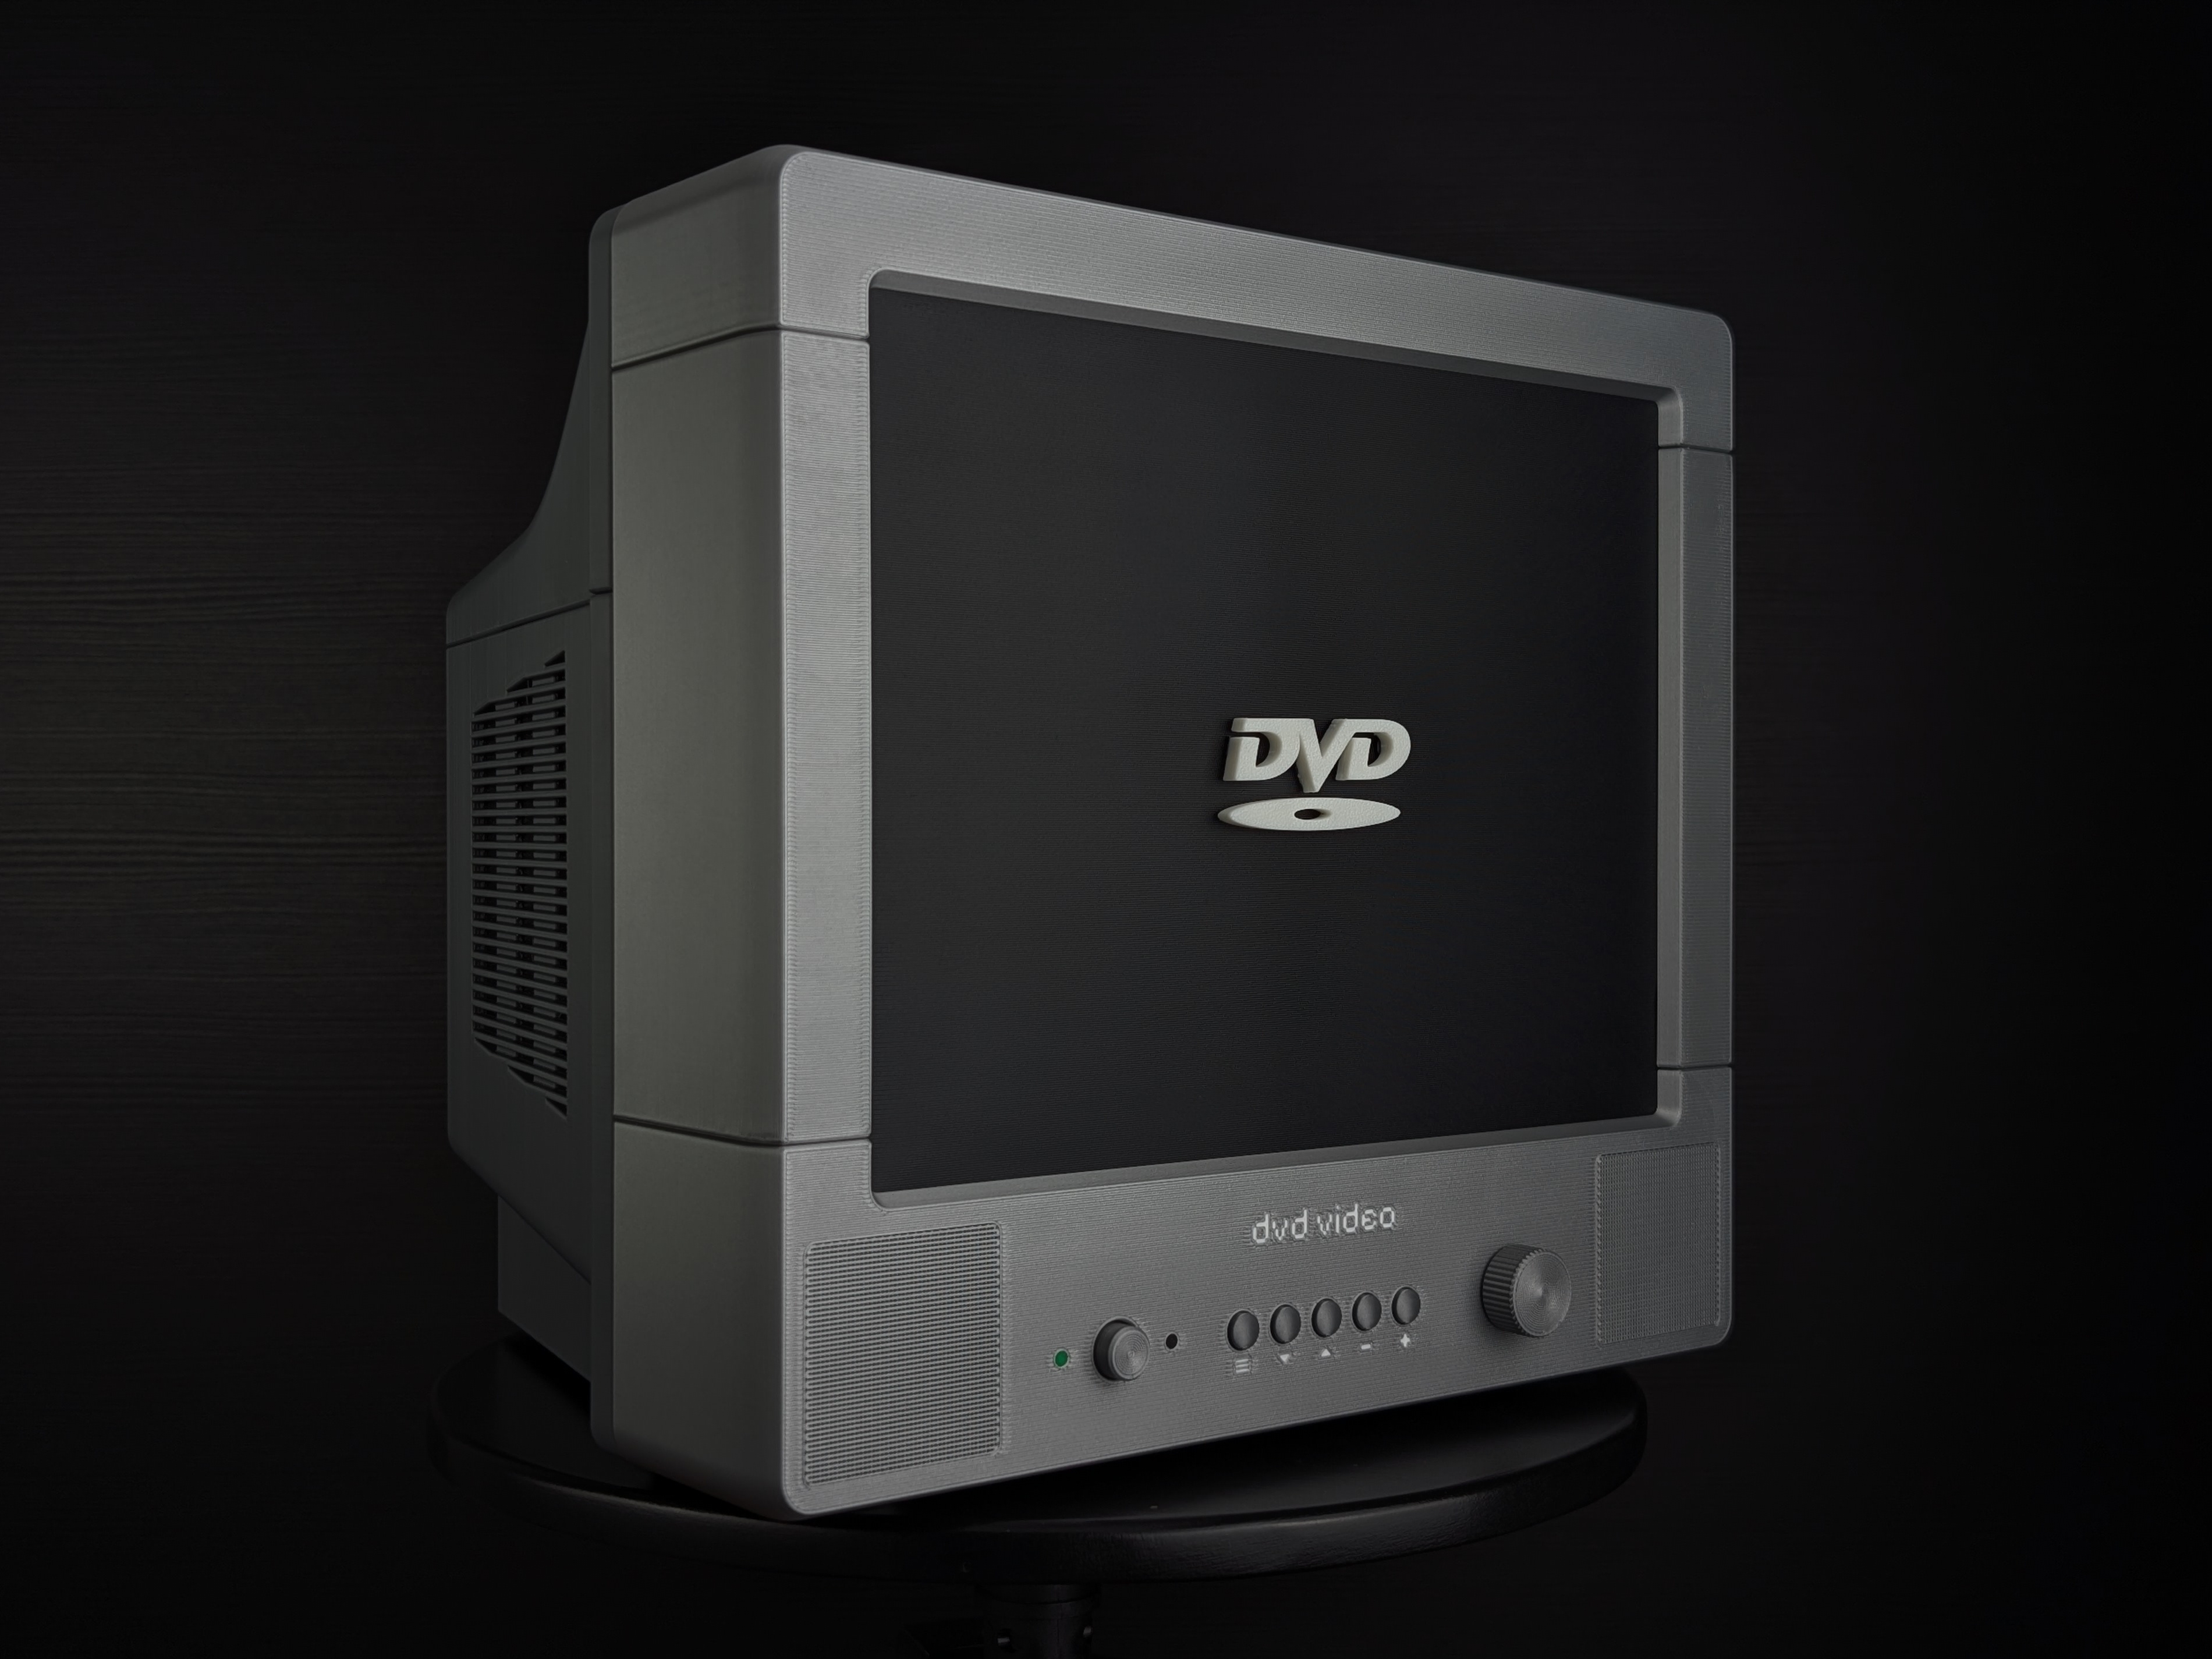
DVD Video - Mechanical Bouncing Logo - Retro TV
Peso
1155g
Tiempo
33h 56m
Precio
Cotiza este producto por WhatsApp
Contáctanos y te damos el precio según color y acabado
Las dimensiones dependen del diseño. Confirmamos las medidas exactas por WhatsApp.
Descripción
DVD Video Bouncing Logo Screensaver You know what it is But if you don’t, here’s a quick history lesson: the DVD Video screensaver is a very well known DVD screensaver present on DVD players in the late 90’s and early 2000’s as a way to prevent CRT display burn-in. It eventually evolved into a cultural phenomenon and nostalgia inducing meme, even after society moved on from DVD players. People would wait for the logo to hit the corner, and when it did, everyone celebrated! What is this model, though? It’s a functional physical recreation of the logo bounce, complete with a simple, yet recognisable retro TV design, working buttons, and a mechanism that runs behind the screen to make it all work. Basically, it’s just a mock retro TV that runs the DVD logo around. Wait, how big is this thing? It’s dimensions are comparable to a real 11 inch CRT TV! Around 280mm wide, 260mm tall, and 235mm deep. How does it work? It uses 2 DC motors, magnets, some bearings, and a rack and pinion gear mechanism to make it switch directions when it hits a wall (or a corner!) The X-track sits horizontally and moves the Y-track left-right, using the track’s geometry and magnets to pull the pivoted motor to each direction. The track is constrained and aligned by bearings on the top and bottom. The top-down movement is controlled by the carriage on the Y-track, also sitting on bearings, with the same switching mechanism as the X-track. Move both tracks at the same time, and it moves diagonally, which is the objective here. This whole mechanism is powered by the Power Distribution Board, so 5V. You just need a common 5V USB port. If this mechanism seems familiar, it’s because many 3D printers use a similar system to move the printer’s extruder. It’s like the DVD Logo is the nozzle, moving around the X-Y. Here’s a picture of the inside for reference: Why did you make this, and who is this for? Does it ever hit the corner? I made it for fun! This is for anyone who likes stuff that’s just a little bit weird, maybe you’re a fan of the DVD logo, you’re looking for a fun build, or you just want to support me as a creator. And yes, it hits the corner, if you wait enough. Things to know before printing (please read) THIS BUILD IS EXPENSIVE! - 1.1Kg of filament, and around €50 in hardware and electronics (if bought from Maker’s Supply), although the only item I didn’t find elsewhere were the DC motors with the connector, which makes this whole build… …absolutely SOLDER-LESS, and prints with NO SUPPORTS whatsoever. Glue or double-sided tape is required to attach the feet. Everything else has either a bolt, screw, slides, or press-fits. Despite the number of parts, I consider this a BEGINNER-LEVEL build. It doesn’t require soldering or specialized mechanical skills, you just need to be comfortable with following the assembly instructions :D Printing's split between 8 to 11 plates, depending on printer size (medium or large). Unfortunately no A1 mini support :( It takes more than a day of non-stop printing, at around 35 hours total; Highly suggest using one of the print profiles, there are many parts with custom settings, modifiers, orientation, and other stuff that would make creating a profile from scratch very tedious and prone to differences from the intended result, and even potential print failures. Everything is properly oriented and ready to print if you setup the correct filaments; Multiple types of filaments and colors needed: at the very least PLA and PETG, with TPU being recommended for the feet. The BOM has the recommended filaments used. AMS is required for 1 part only: the bottom bezel part Smooth plate is required for the screen and front enclosure, due to aesthetic reasons. Every other component can be printed on any plate. I used the Engineering and Textured PEI plates; STL’s are available to download, though they were exported directly from Fusion, and thus, not oriented to print directly; The Bill of Materials lists every hardware and electronics parts I used specifically in this, and the assembly guide lists the part count in detail; Noise - If you’re using the listed motors, the actual running noise is lower than 2 people speaking at normal levels, BUT when the mechanism switches direction (which is often), there’s an audible thump from the gear hitting the track and the magnets meshing. And since the inside is an open space, it can echo a fair amount. To combat this, I recommend lining the inside with foam, which is mentioned in the assembly guide where you can see what I did to reduce the echo; During testing and prototyping, all parts were printed at least once in both an H2S and a P1S. Tools needed: Some type of parallel pliers to insert the magnets easier, the hole tolerances are very tight so you don’t need glue; Screwdriver, and respective bits for the screws 10mm hex wrench (or the same pliers mentioned above, you’ll only use this once) Assembly guide To spare the description from the 41 page assembly guide, I uploaded it on the documentation section below. You should be able to download the PDF and follow the instructions. Recommended filaments: PLA Basic Silver, for the front bezel PLA Matte Nardo Gray, for the shell, giving it a classic two-tone TV design PLA Matte Ivory White, for the DVD Logo and bezel labels PLA Bambu Green for the power LED PLA Black for the mock IR Blaster PETG Black for the screen TPU for the feet (I used 95A) Color of choice for the mechanism Bill of Materials: These are the actual parts on my build electronics:2x n20 25rpm dc worm motor bundle1x potentiometer 1x locking button switch 1x power distribution board 1x ph2.0 to usb-a cable 2x 100mm sh1.0 wire pair 1x 5v LED 1x dual sh1.0 adapter 4x 200mm sh1.0 wire pair hardware:9x 623 bearings 16x m3 nuts 39x washers 6x0.5mm 5x M3x25 button head 6x M3x20 button head 6x M3x12 button head 16x BT3x14 self-tapping socket head 6x BT2x6 self-tapping socket head 12x 5x3 magnets 20x 3x2 magnets (or 40x 3x1 magnets if bought from Maker’s Supply) misc:PTFE mouse skates - just a random amazon pack of round mouse slides, I guess any will do Final notes If you think anything is missing, is too hard to comprehend, explained poorly by me, or just want to say something about the project, feel free to drop a comment or send me a message and I’ll try to address it as best as I can! What’s next for this project? Probably nothing, except for small fixes or quality-of-life updates. This project started as a fun mechanical challenge that evolved into a way bigger project idea, that was later reduced back to a “small” project after realizing that all the ideas I have for this would take way longer to make and could mean never releasing this. I started this in early january, and I actually posted a teaser back in february, when this was running at the absolute minimum. It's august now… Some of the ideas I had, in no particular order: mock dvd disc motorized drawer curved screen mod screen edge lighting large version (H2/A2L+ plates only) battery pack adapter custom logo designs Changelog 2026/08/06 - Version 1.0 Release :D
Tags
Diseñador
hugo.workshop