
Locking Pill Box | The Capsuleer v4L
Peso
173g
Tiempo
12h 43m
Precio
Cotiza este producto por WhatsApp
Contáctanos y te damos el precio según color y acabado
Las dimensiones dependen del diseño. Confirmamos las medidas exactas por WhatsApp.
Descripción
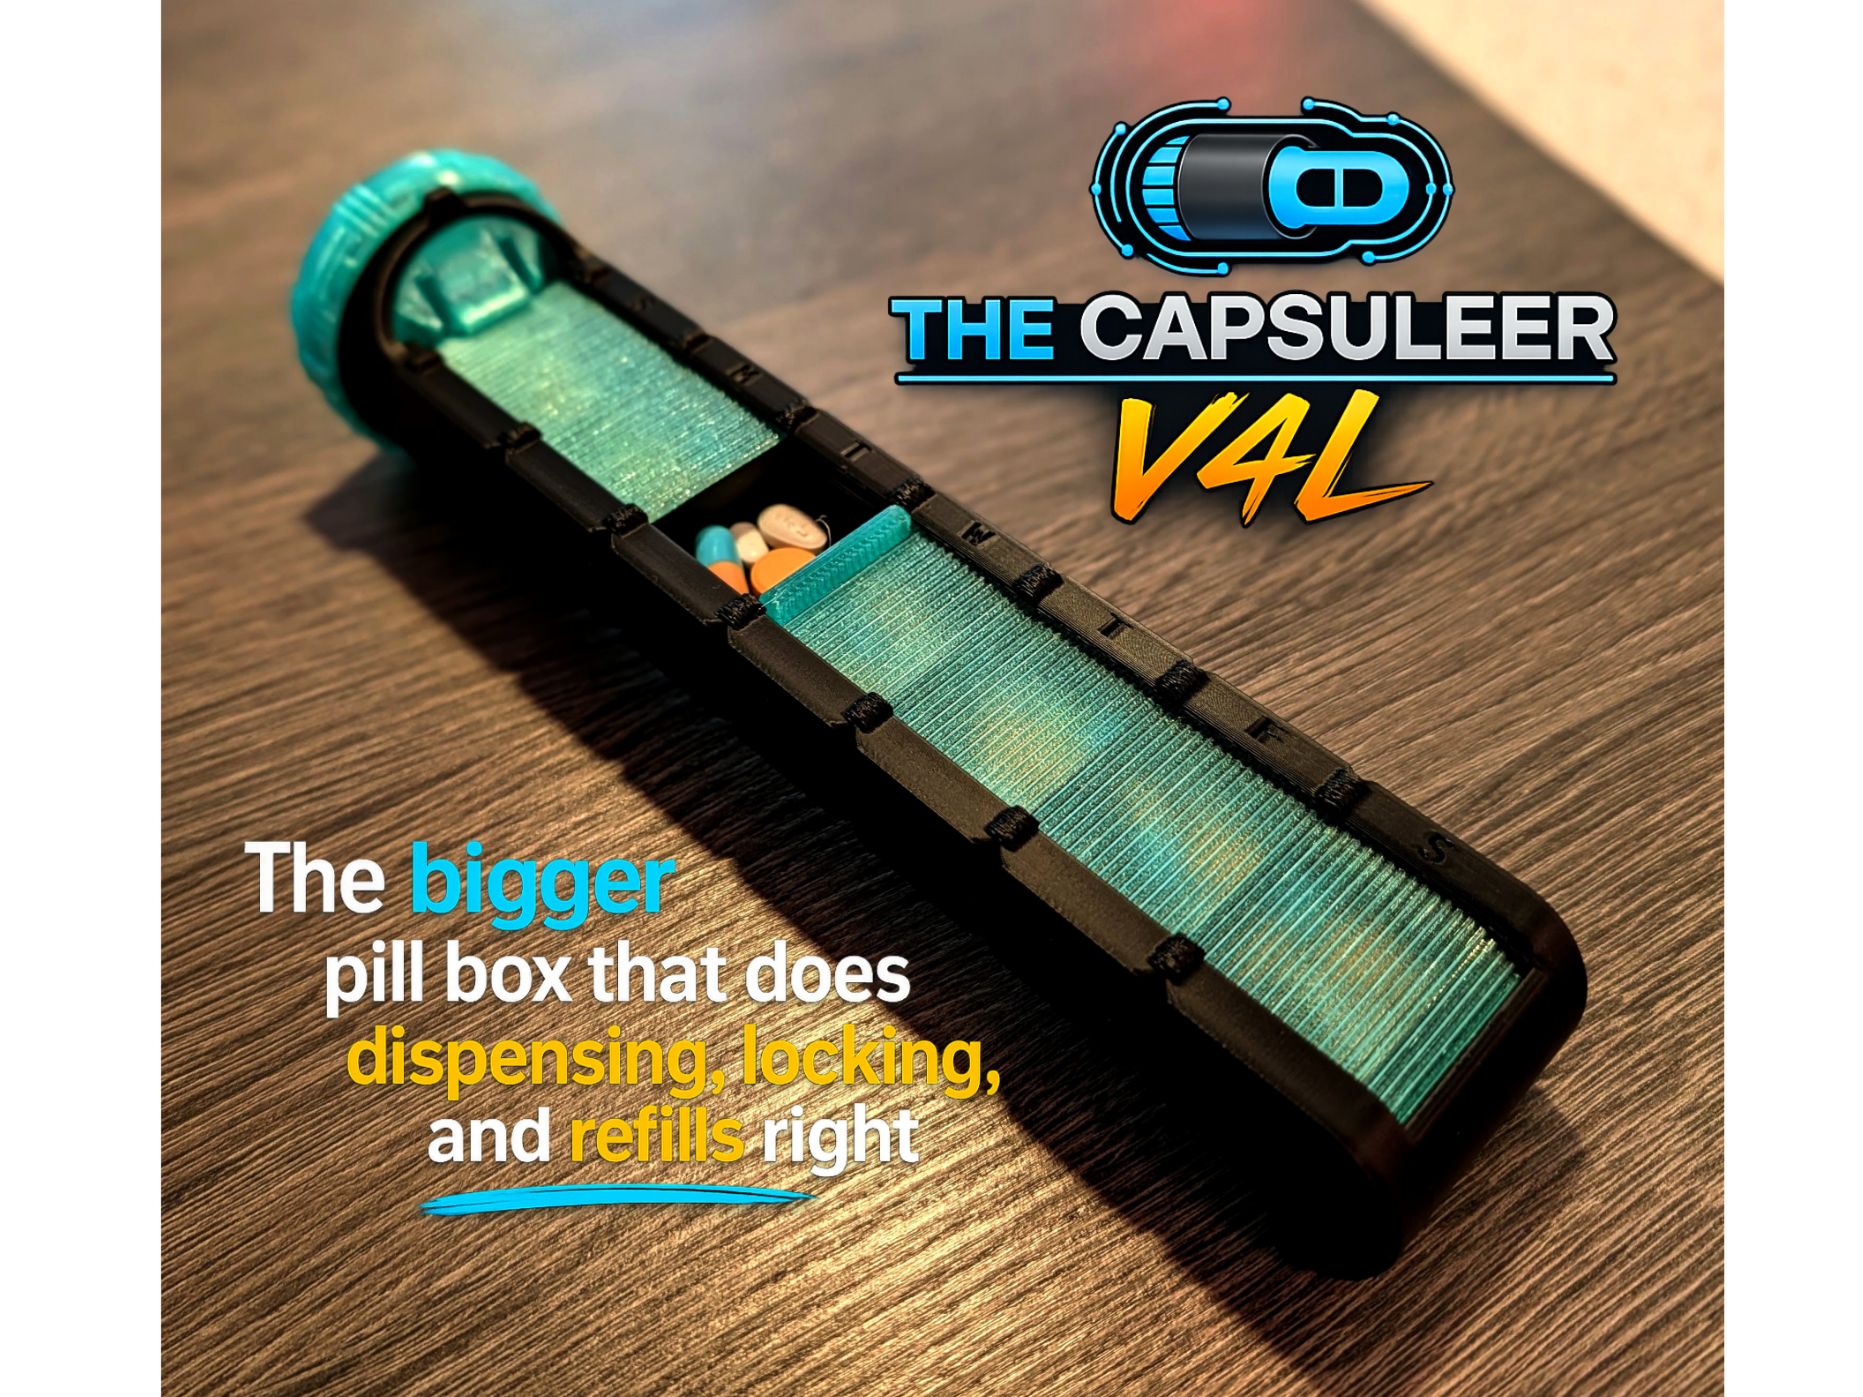
I heard you. Out of all the feedback I've received across every Capsuleer release, one request came up more than any other: “Can you make the bins bigger?” My answer was always the same: No. Not because I didn't want to, but because the size of the bins is directly tied to the size of the cover, and the cover had already stretched to the limits of a standard build plate. Then I bought a bigger printer. Today, my answer is yes. But I didn't simply make the bins larger. I revisited the design and trimmed away bulk wherever I could. The dial is noticeably shorter, the side walls are slimmer, and I even borrowed a few design cues from the recent Capsuleer x2. The result? Approximately 60% larger compartments without making the Capsuleer feel 60% larger in your hand. Of course, bigger bins require a bigger cover, and a bigger cover requires a bigger build plate. So, if you want to go big, you'll need a larger printer for the Full version, but the Mini version still fits on smaller build plates. The Capsuleer is a seriously awesome pill box that money can't buy; it locks, isolates pills, and makes refills super easy! Choose Your Capsuleer VersionBest Forv4L The flagship. Bigger bins, refined design, and the best overall experience for anyone with a larger printer.v3 The favorite for standard-sized printers.x2 For AM/PM routines or two-week storage.What's New? Bigger bins! Approximately 60% larger than v3, making the Capsuleer more friendly for larger vitamins and supplements. Bigger where it matters. Smaller where it counts. The overall model is larger, but the dial is roughly 30% shorter, the side walls are 13% thinner, and several other refinements help keep everything feeling surprisingly sleek. Built for bigger printers. The Full version now requires a larger build plate. Think of it as the price of admission for substantially larger compartments. (The Mini version still plays nicely with smaller printers.) Refined design. Borrowed several design cues from the Capsuleer x2 to reduce bulk while keeping everything sturdy, comfortable, and easy to use. Features Bigger – Approximately 60% larger compartments mean more room for bulky vitamins, supplements, and larger pills. Smart – The cover is specifically designed to make dispensing a single compartment easy, while also sliding completely out of the way for effortless refills. For best results, empty the entire contents of one compartment into your hand. Secure – Lockable, because nobody wants their pills decorating the inside of their toiletries bag. Grippy – Awesome custom knurling on the dial is seriously awesome, and so are the grip notches on the sides and bottom. Stylish – Classy see-through tambour roller cover. Custom – Days of the week are added in the slicer instead of the model, making customization quick and easy. Dual-sized – Available in Full and Mini versions with 7 or 4 compartments. (Individual compartments are approximately 24×33×13mm.) Fun – Designed to print beautifully in two colors with no AMS required. Unique – Because who else makes a lockable, flashlight-shaped pill box with isolated compartments, effortless refills, and a satisfyingly snappy rotary dial? Important Printing Notes Bambu Studio may report open edges on the bin. This warning can safely be ignored and does not affect printing or functionality. If I eventually track down the source of the warning, I'll happily upload an updated profile. If you're experiencing warping near the rounded end of the model, start by giving your build plate an extra-thorough cleaning. If that doesn't solve it, your build plate may simply be reaching retirement. I tried more than a dozen different fixes before replacing mine, and the problem immediately disappeared. Lesson learned. For the cover, patience pays off. Allow the build plate to cool completely before removing it, then take care not to flex the cover excessively while lifting it. Skipping either step can lead to warping, brittleness, or a generally sad Capsuleer experience. Because the cover is intentionally thin and flexible, first-layer quality is extremely important. A clean build plate makes all the difference. If your recent prints have shown bulging or wavy first layers, I strongly recommend resolving those issues before printing the cover. I recommend printing the cover in PETG. PLA will work, but PETG offers the durability and flexibility this part was designed around. When printing in PETG, make sure it's thoroughly dry. PETG loves absorbing moisture from the air, and wet PETG is one of the quickest ways to end up with a cover that doesn't flex well, and then we'll all be sad. To reduce friction from seams, layer lines, and supports, the included print profile contains carefully tuned modifiers, orientations, bridge directions, infill directions, and other settings. For the best experience, I strongly recommend printing the model exactly as provided. For best results, remove all support material within two hours of printing. The cover and dial both have a short break-in period and will become noticeably smoother after a few days of use. This design contains several closely-fitting moving parts. If your printer isn't producing dimensionally accurate prints, movement may initially feel tighter than intended. If you're printing from OrcaSlicer, be sure to set Support Style = Tree Hybrid and Solid Infill Direction = 0 before slicing. These are the most important settings for compatibility, but others might need to be changed as well. Assembly Print the desired bin, cover, and dial. Remove all support material from the bin. If printing the Full version, also remove the brim ears from the end. Pay special attention to the dial area and ensure every bit of support has been removed. Gently rub a crayon along every edge of the cover—the sides, front, and back. It sounds ridiculous, but it dramatically improves how smoothly the cover slides and is well worth the 30 seconds it takes. (No crayon? Borrow one from your neighbor's kid. Just, maybe ask first.) Carefully insert the cover from the top of the bin, starting with the end opposite its handle, and make sure it's upright. Slide the cover back and forth a few times to begin the break-in process. Don't worry if it feels a little snug at first—it becomes noticeably smoother after a few days of use. Slide the cover fully inside the bin so it does not protrude into the dial area. Press the dial firmly onto the front of the bin. The tolerances are intentionally tight, so a little force may be required. Rotate the dial through its full range several times to begin its break-in period. Turn the dial to the single thick horizontal line (Refill mode) and align it with the protrusion on top of the bin. Although the dial should snap into position, proper alignment is important—if it isn't fully aligned, the cover may be difficult or impossible to slide. Slide the cover open to expose all compartments. Part of the cover will temporarily extend out the bottom of the dial—this is completely normal. Fill the compartments. Close the cover completely, making sure the handle sits flush with the side protrusion at the front of the bin and does not protrude into the dial area. Turn the dial to the single vertical line (Dispense mode) and align it with the top protrusion. Slide the cover to the desired day. Gently pour the contents into your hand. At the end of the week, close the cover completely and repeat Steps 9–13 to refill. To lock the Capsuleer, close the cover fully and rotate the dial to the double vertical lines.
Tags
Diseñador
Bink3D