
Iron Man MK2 Helmet | A1 Mini & All Printers
Peso
562g
Tiempo
22h 37m
Precio
Cotiza este producto por WhatsApp
Contáctanos y te damos el precio según color y acabado
Las dimensiones dependen del diseño. Confirmamos las medidas exactas por WhatsApp.
Descripción
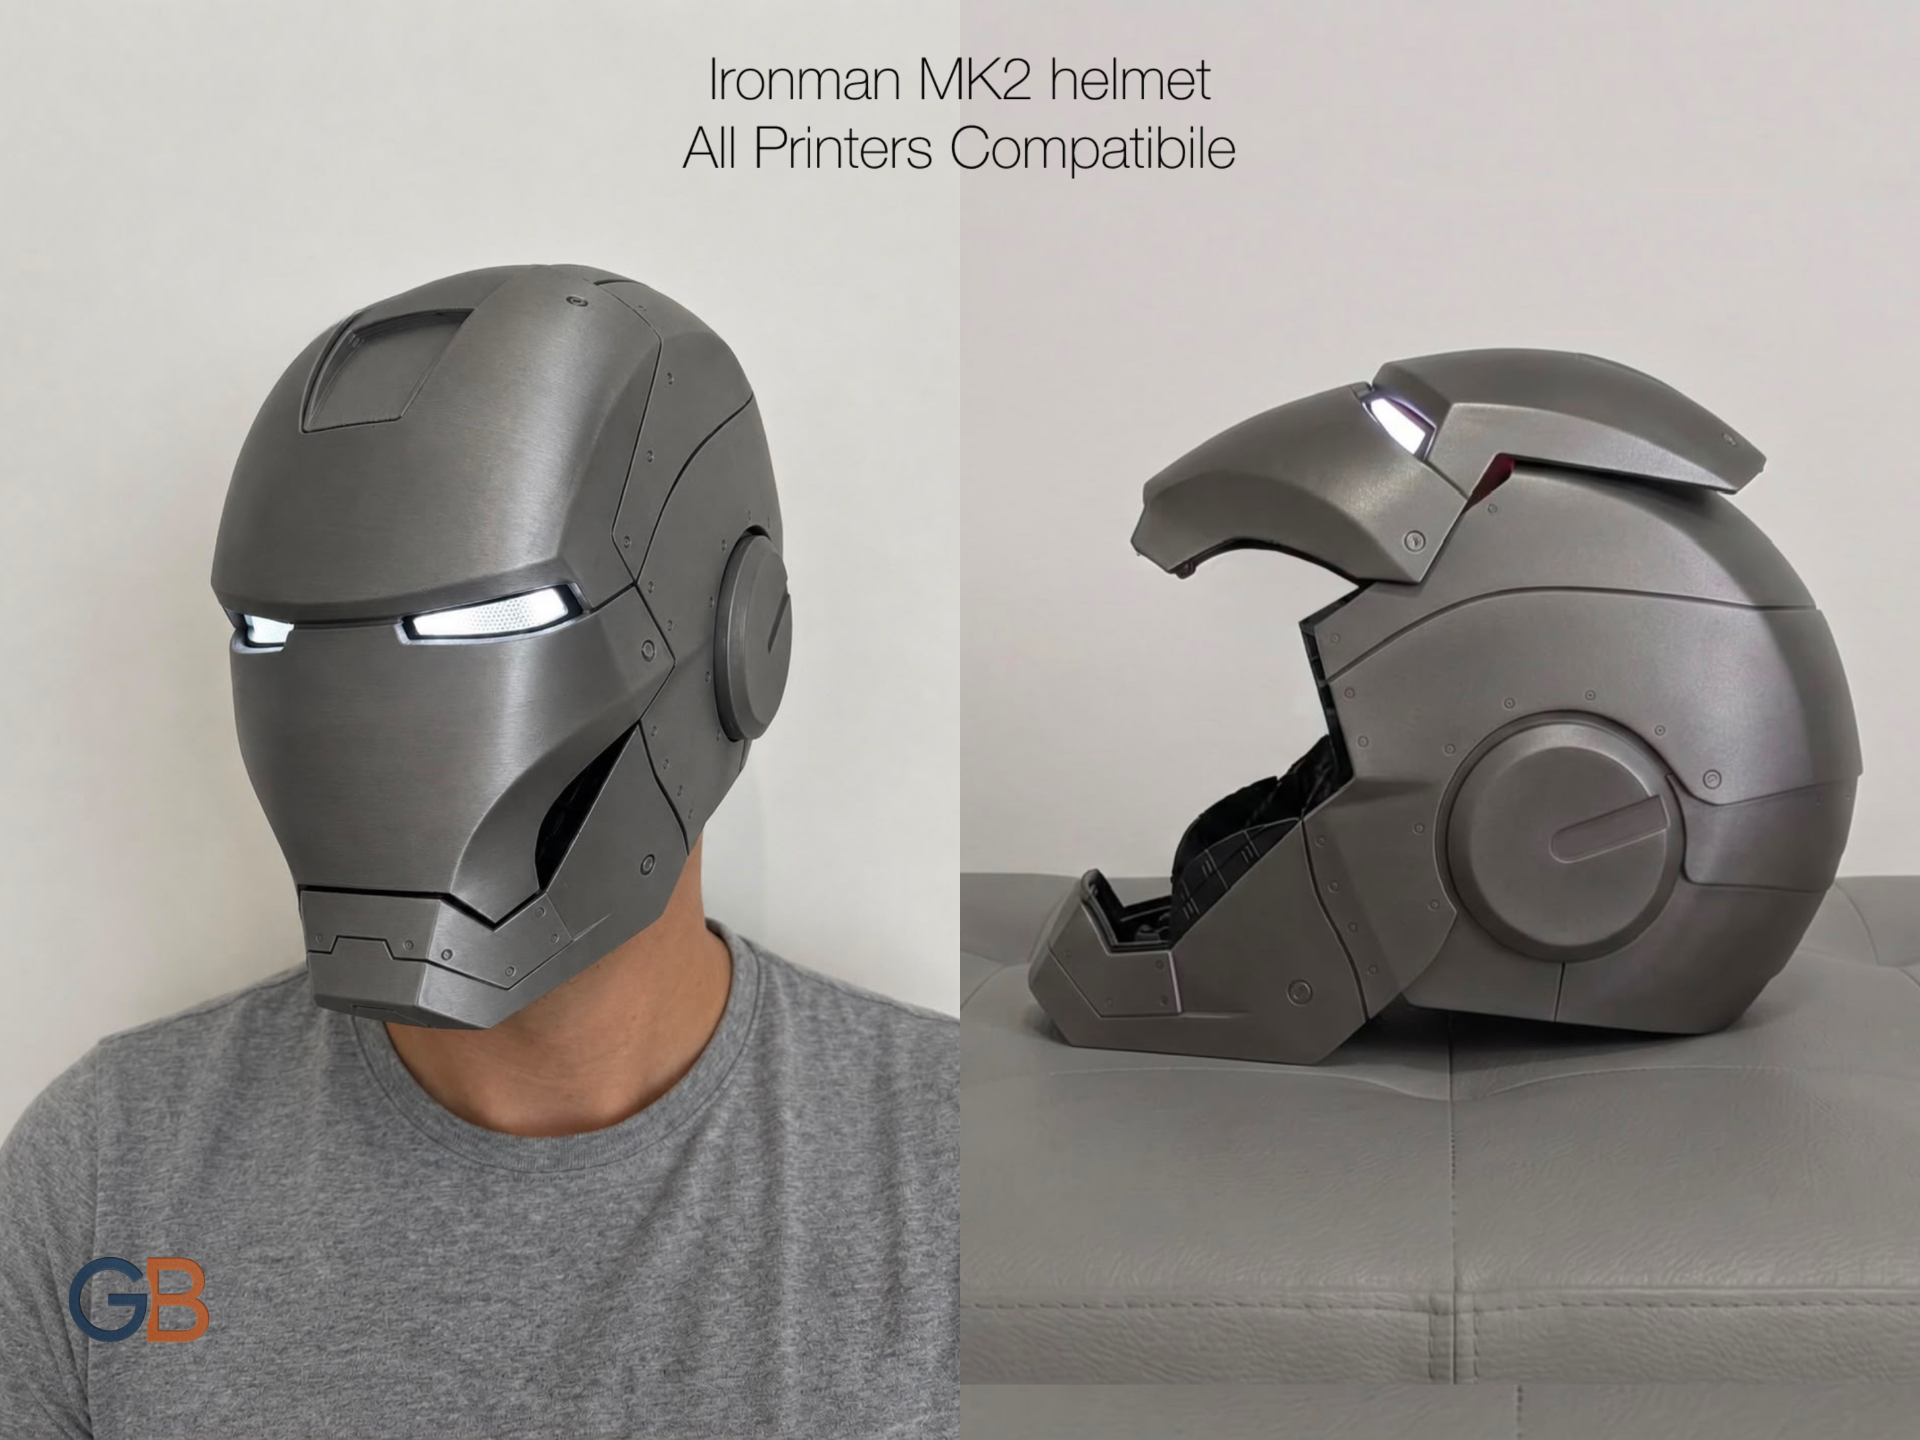
Wearable Iron Man MK2 helmet, fully optimized for printing on all 3D printers, including the A1 Mini. Stop wasting your time and start printing this masterpiece! Boost MeBoost me if you want more and more masks suited for all printers! The model dimensions are designed based on what I consider the international standard: Budwin's Sizing Head No. 3, whom I deeply thank for making it available and making everyone's life easier. Main Features & Smart Cutting No Harsh Cuts: The cuts follow the helmet's design lines, making the joints invisible from the outside for a clean look. No Circling: Dividing the model into pieces eliminates the "stair-stepping" effect on the dome typical of single-piece prints, ensuring a smooth surface with no sanding needed. Easy Printing: Splitting the project reduces individual print session times and the risk of failures, making it accessible to anyone with any printer. Multi-Color Without AMS: The black and gold parts are separated from the main body, allowing you to print them directly with the correct color filament even without an automatic material system. Improved Ergonomics and Fit: The back section has been modified for a complete design, the ears have been hollowed out to increase width, and the eyes are perforated to ensure visibility. Custom Display Stand: you can use this fantastic stand custom-made for this helmet to display it at its best. Disclaimer: Some of the images shown have been modified using AI. 💡 Printing Tip You can use the default settings, but for the best results, I highly recommend making a small temperature adjustment. The flawless finish you see in my photos is actually due to printing the materials at lower temperatures than the defaults that are set automatically. I printed in Bambu PLA Basic at 205°C instead of 220°C. ⚙️Magnetic Mechanics (No Electronics!) By following the video instructions and watching the uploaded GIFs, you can achieve a fully functional mechanical opening without the need for complex circuits. The GIFs are from my other MK3 project, but the assembly process is identical. Magnetic Back: The first GIF shows you how to implement a magnetic closure that improves fit when wearing the helmet. On plate number 9, you will find the clips for 8x2 magnets needed to close the back of the mask.Magnetic Faceplate: The second GIF shows you how to implement magnets that allow the mask to open and lock onto the upper section. High-quality magnets are recommended for a stronger hold. On plates number 10 and 11, you will find the clips for 8x2 magnets needed for this purpose. Hidden Magnet Clips: The front and back clips have a different design. The front ones are specifically engineered to completely hide the magnets from view; however, they require a stronger magnet grip, so feel free to use the clips from plate 9 for both purposes. However, you still need Plate 10 because it has the taller clips used to keep the faceplate open! Maximum Freedom: By separating the magnet holders from the main structure of the helmet, the final choice is up to you: you can use this magnetic system, implement your own motorized electronic mechanisms, or simply weld all the pieces together. 🔨Assembly Guide The pieces must be joined after printing. Among the uploaded photos, you will also find a visual diagram explaining how to pair them. You can use glue, but for the best results, a permanent bond, and high mechanical resistance, I recommend using a soldering iron or a 3D pen to carefully melt and weld the joints from the inside. I welded the entire helmet myself without any problems, as you can see for yourself from the photos of the finished project! Pro-tip: I recommend starting by joining the top and back-top pieces. Since they are the largest parts, they are the trickiest, join them by gently pressing the two parts together to ensure there is no gap. All of this makes this mask a masterpiece! Happy printing! - GB
Tags
Diseñador
GioBu