
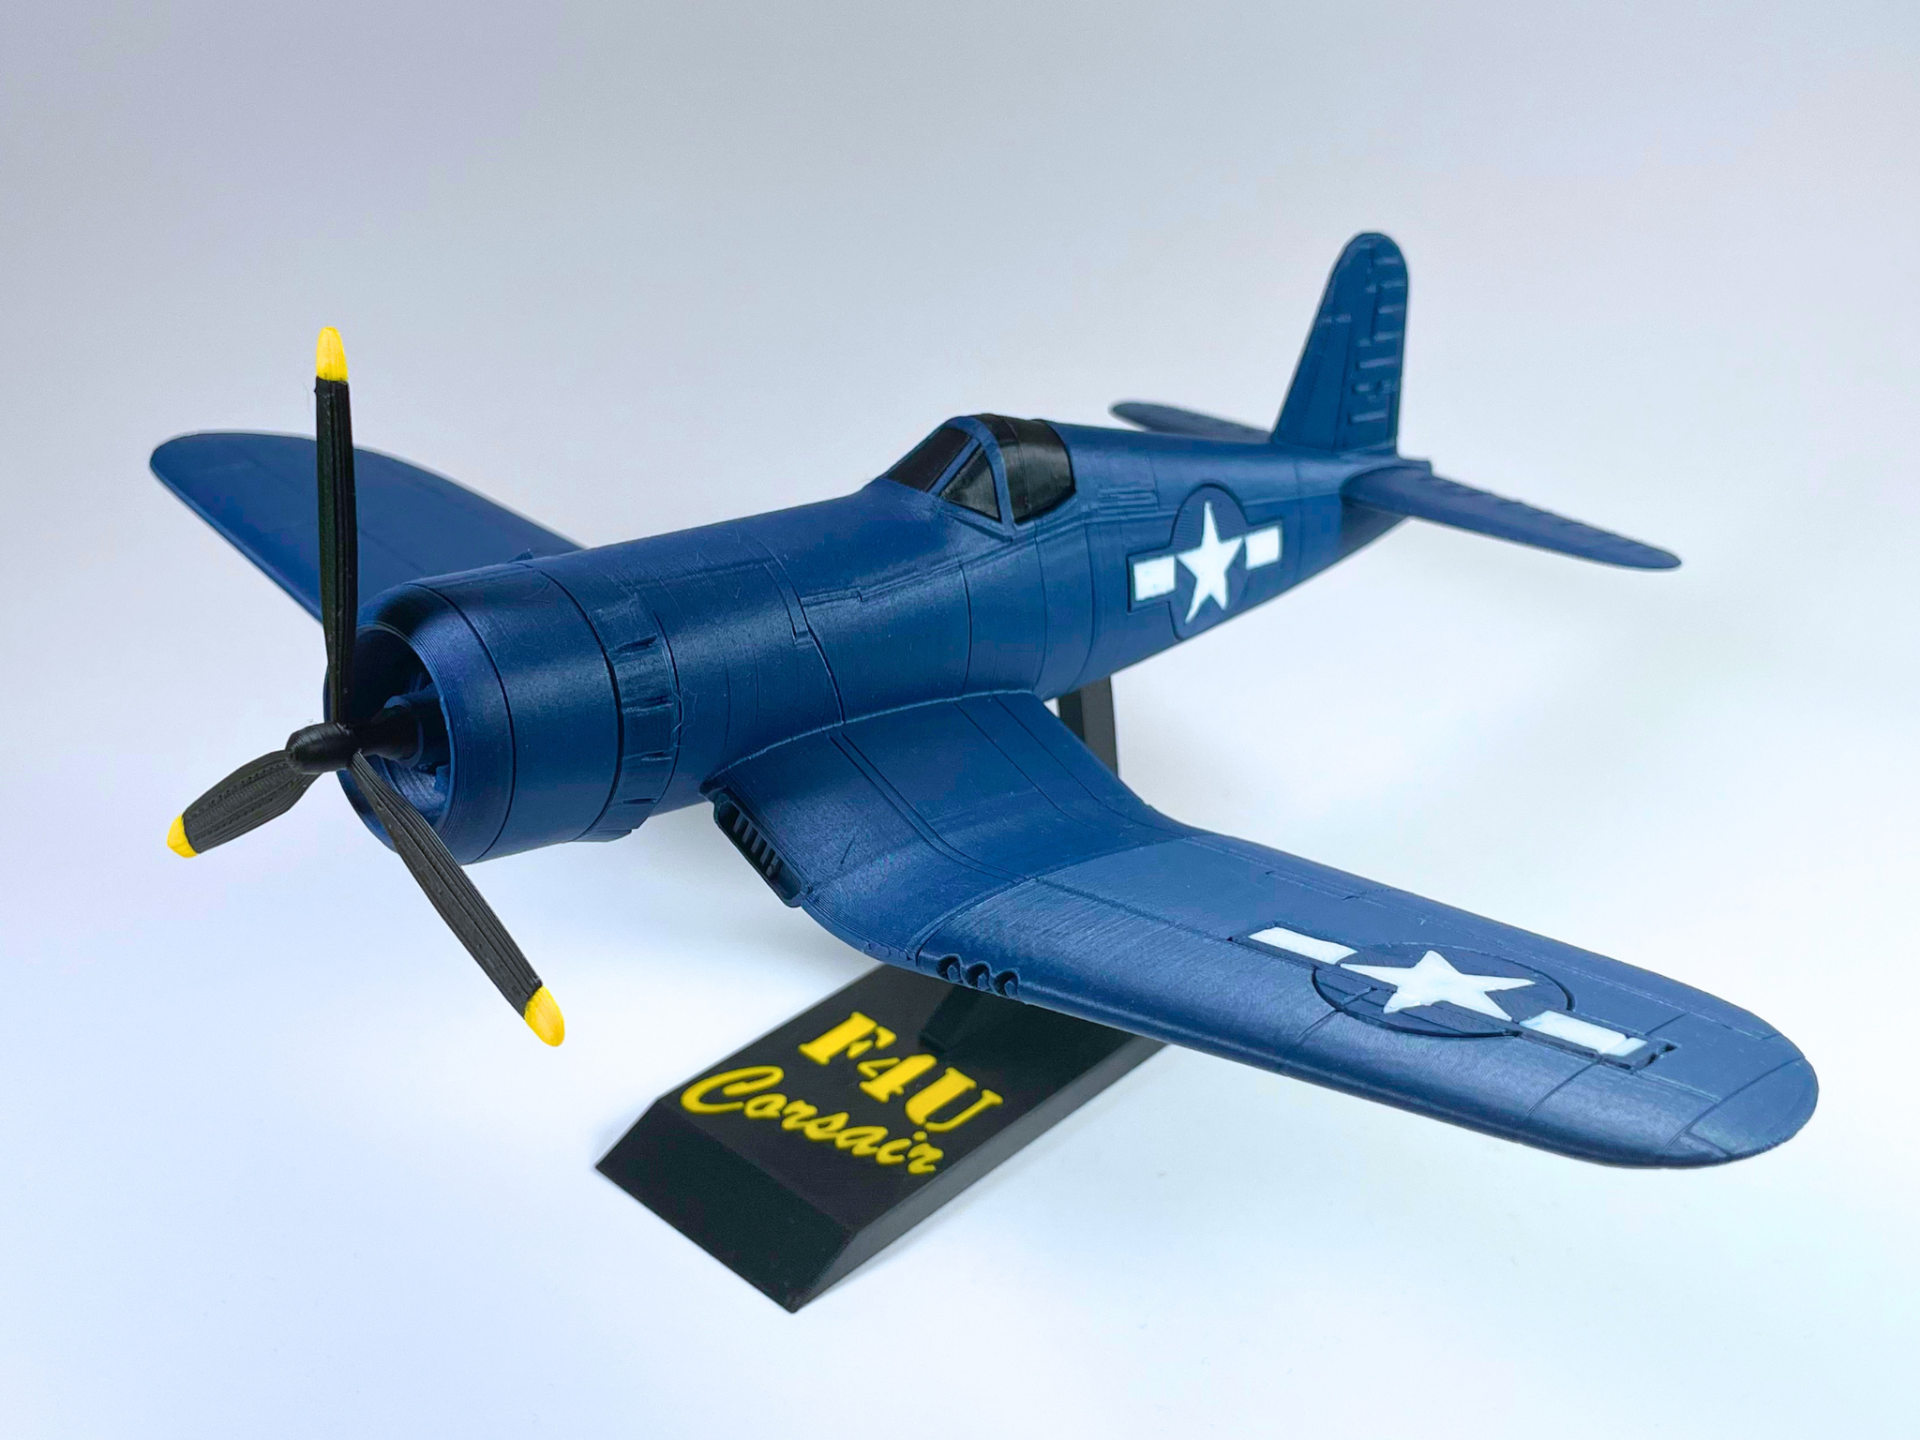
F4U Corsair - 1:48 Scale
Peso
210g
Tiempo
13h 30m
Precio
Cotiza este producto por WhatsApp
Contáctanos y te damos el precio según color y acabado
Las dimensiones dependen del diseño. Confirmamos las medidas exactas por WhatsApp.
Descripción
This model features 3 display versions: A) “Flying” on stand, B) Landed with wings extended, and C) Landed with wings folded. Notes: During the assembly process, use glue as necessary. Be careful removing the propeller, and try not to bend the blades, as they can break if handled carelessly. Additionally, DO NOT print landing gear legs with Matte PLA. It will break. Print it with regular PLA. Keep in mind that if you scale up the model, the tolerances will become looser, and vice versa if scaled down. Assembly is relatively straightforward, if you are unsure about a step, please refer to the images above for guidance. Connect the fuselage to the tail section using either of the cross shaped connectors (They are identical). Depending on how the tolerances turned out on your print, you may need glue. Use the other cross shaped connector to connect the cowling to the front of the fuselage. Note that two cowlings are included in the profile. This is intentional to permit displaying the model with the cowling flaps either open or closed. Use whichever you prefer. For Extended Wings: Insert the wing connectors into the wing section and the fuselage, ensuring the arrow indicating front is pointing the correct direction. For Folded Wings: Insert the shorter rectangle into the slot on the fuselage, and ensure the longer rectangle angles forward. This allows the wings to be folded more realistically. Note that the folded-wing connectors are distinct between the left and right sides. (The extended connectors are identical) Connect the horizontal stabilizers to the long rectangular connector, using the hole directly under the tail to connect it to the rest of the plane. If you have trouble getting the connector to slot all the way into the stabilizers, insert and remove the tail connector into each side of the stabilizer separately before connecting them both together to the fuselage. Insert the Propeller Shaft into the hole inside the cowling. Connect the Propeller to the end of the Propeller Shaft. Either assemble the stand, or assemble the landing gear. Gently pop the tires into the landing gear, and avoid excessive force. For inserting or removing the tail gear into the fuselage, needlenose pliers are recommended, as the part can be easily damaged, and I found the easiest way to handle it is with pliers. Finally, insert the roundels, using the panel lines to line them up (note that all 4 are different), and Enjoy the model!
Tags
Diseñador
Airplanes3D