
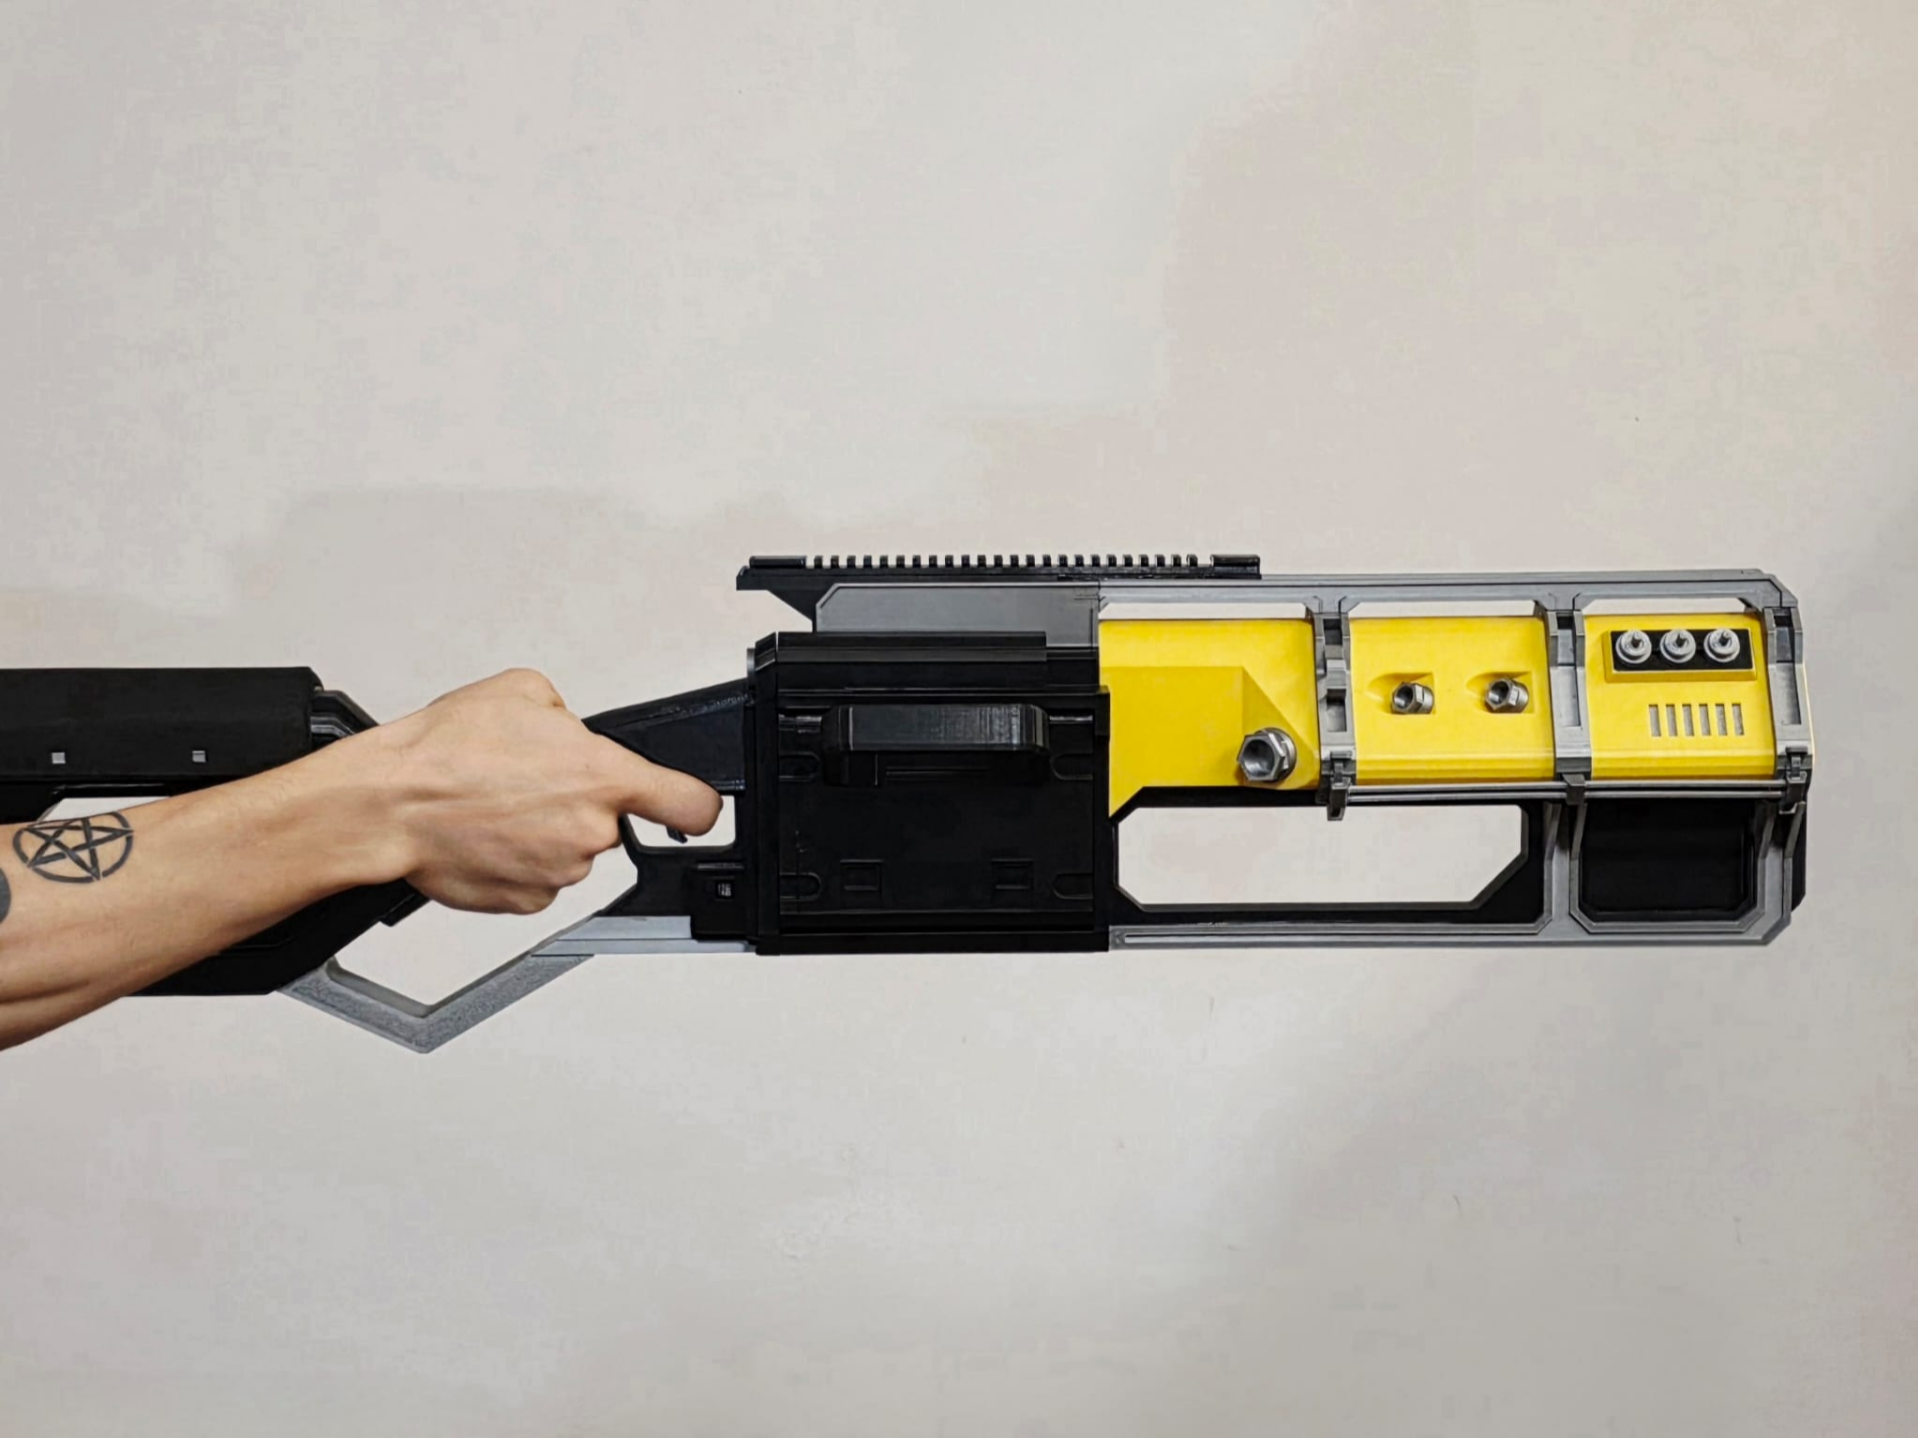
Helldivers 2 LAS-16 Sickle - Functional
Peso
2027g
Tiempo
57h 33m
Precio
Cotiza este producto por WhatsApp
Contáctanos y te damos el precio según color y acabado
Las dimensiones dependen del diseño. Confirmamos las medidas exactas por WhatsApp.
Descripción
My version of the Sickle, with a squishy trigger and moving battery latch. EXCLUSIVE FOR BAMBU SOFTWARE! (read the description to see why) This is a passion project that I considered not uploading for this reason alone, but I ultimately reconsidered tonight and decided to do so, because the only other options as for making this prop are either limited in nature or simply have too steep of a price tag for me, which is why I also decided to ensure this stays free forever. A lot of work and many, many sleepless nights went into making it possible. Boost MeIf you wish to encourage me to keep making durable and functional props, hit me up with a boost! I thoroughly appreciate it!READ ME! It looks difficult to assemble but it's really not. I have named each and every single part as for what it is and where it goes, plus arranged the plates in such a way to be as straight-forward as possible. If you ever feel stuck (although I doubt it), read the name each object has and refer to the blown up view in the pics as the set of instructions. I recommend printing this out of PET-G or higher-strength materials. Use PLA at your own risk but I'd advise you to steer clear of it! Remember to add the tubes and the foil (look for a mylar blanket) to make it 1:1 as in-game! For the trigger, I designed it around the spring off a pen. Seriously; don't bother. Go grab the cheapest pen from a store and you got the spring; cut it short with some pliers if it's too compressed in there. Trust it; I designed it with that in mind. As for the magazine release/ battery latch, simply super glue 4 4x2 magnets. The set opening limit is purely mechanical; I measured it to fit perfectly and match the in-game opening angle, so don't force it or you'll break something. As for closing, slap it back and it'll stay in place no matter how you handle it. I've pulled it straight from the game files and I have done my outmost best to maintain the accuracy. I did everything I could in Blender and MeshMixer, but I ultimately had to do much of the fixing, cutting and putting together directly in slicer due to the impossibility of some parts. With that said, some negatives I put in there are MANDATORY for the build to work. I cannot guarantee it will work on any software other than Bambu Slicer, but you can download and check. DO NOT ATTEMPT to print it without the negative parts added to each piece of the prop. Also, DO NOT attempt to modify any of the structural parts. I have taken the time to make sure everything aligns absolutely flawlessly in the slicer. However! As you can see from my photos, I was a bit too hasty with the glue and some parts didn't seal shut while I assembled mine. Please take your time while assembling yours, make sure everything connects perfectly before you apply glue; lightly sand or cut around the edges if your printer has high tolerances and you'll be all good, you beautiful, democracy-spreading thing you are. Disclosure: My P1S has a 0.15mm tolerance. That was enough to require me to lightly use an exacto knife at the edges of the connectors (ribs) in order for them to slide in without too much friction. You will either have to do that or scale the ribs (*NOT THE CONTROL RIB*) down to 99% or so. I pre-scaled them to account for a 0.05 tolerance if you have a high-end Bambu printer, but if you're like me, with a slightly worn P1S, downscale them by 1% (or, wherever you see a .95mm at the end, edit it to .85 or so, but don't go too low because you want a certain level of tightness). This is meant for cosplay, meaning it isn't just an exhibition prop, but meant to be handled. Not only that, but it's a functional prop made in such a way that I meant for it to be handled ROUGHLY. This time, I will not include a lite version that's solely for display. However! As I previously mentioned, do not force the magazine latch to open more than what it's meant to. The side bars are pretty fragile, unlike the rest of the weapon that can handle a heck of a lot of abuse (yes, per usual with my props, I'd not have posted this unless it's survived a drop test on the floor, face-down and then flat on the side; at this point it's become a tradition for me to drop-test what I make). It doesn't feel exactly as strong as the MG-34 I previously made, nor does it have as great of an ergonomy (it's substantially front-heavy). CUSTOMIZATION OPTIONS! If you wish to add EVA Foam as cushioning material for the buttpad and the cheek pad, I have added a separate print profile that allows just that: the parts as mere plates for you to glue (contact cement) directly on them. It also contains a version of the receiver without the letter grooves, which allows for spray painting instead. The lens and trigger group are available in a separate print profile because they required different layer heights and settings. I have also uploaded a separate print profile for a minimalistic display stand that integrates the gun's features onto itself. Feel free to make your own but DO NOT modify it or I am going to find yo… I MEAAAN don't, because they work on the same principle as the rest of the files, including negatives and are required to keep the dimensional accuracy. Now, Helldiver, it seems you know everything you need to know in order to go on your quest for spreading managed democracy wielding this as your primary of choice.
Tags
Diseñador
Laken