
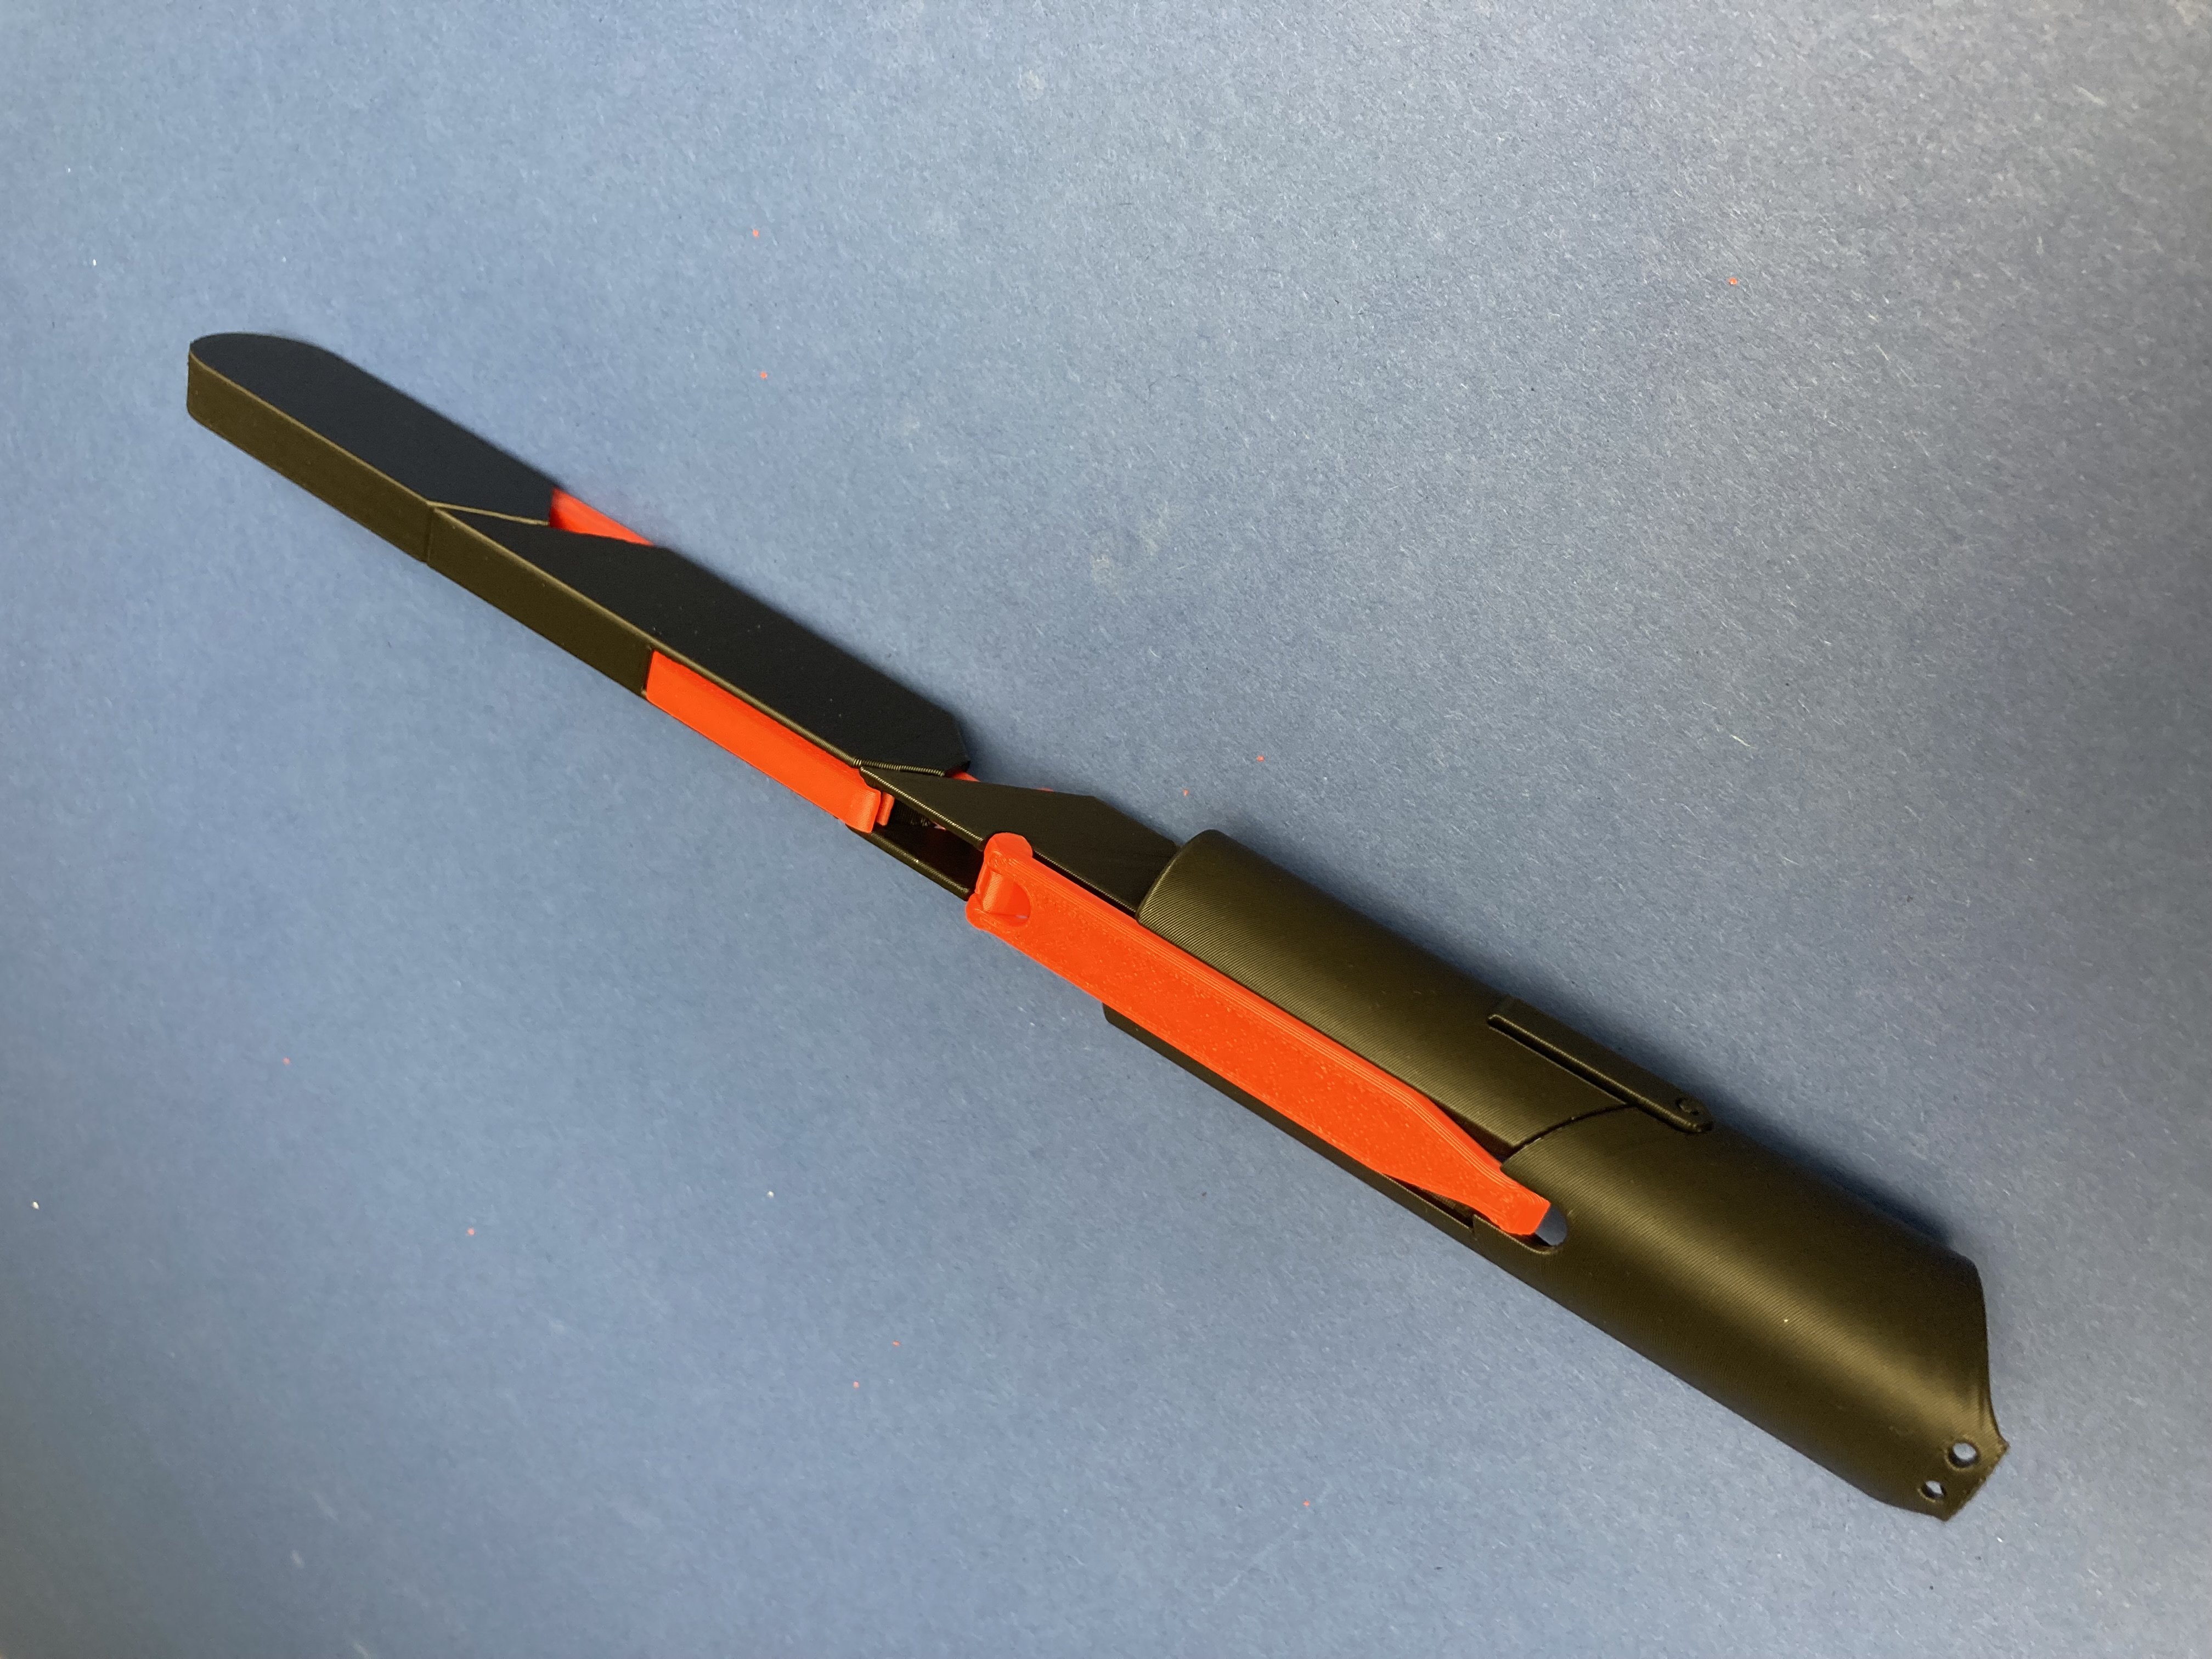
Parametric Articulated Finger Extensions
Peso
32g
Tiempo
2h 1m
Precio
Cotiza este producto por WhatsApp
Contáctanos y te damos el precio según color y acabado
Las dimensiones dependen del diseño. Confirmamos las medidas exactas por WhatsApp.
Descripción
IMPORTANT Learning from the frequently asked questions on my previous model, I'll start a FAQ block on the very bottom of this description. This is not a difficult project, but it is still somewhat complex. I ask everyone to first watch the mechanism animation on the bottom, go have a high level understanding of what we are building. Then watch the assembly demonstration video, to see how the parts fit together. Then take measurements, read the parameters and experiment. For experimentation, I recommend starting with the “complete” render mode with XRAY on. Always check all the points of contact between parts to ensure there is sufficient range of motion. Once you are satisfied, turn off XRAY, turn on SUPPORTS, and switch to ‘print’ render mode. If you run into any issues, please first check the FAQ section, maybe I already answered it there. If not, feel free to raise your questions/concerns in a comment, and I'll try to reply in a timely manner. Thank you! Assembly Demonstration Measurement Demonstration Parameters FINGER TYPE THUMB If enabled, the finger extension will have 2 phalanges, if disabled, the finger will have 3 phalanges. BODY MEASUREMENTS BASE_LENGTH The measured BASE_LENGTH distance, as demonstrated above. BASE_WIDTH The measured BASE_WIDTH distance, as demonstrated above. BASE_THICKNESS The measured BASE_THICKNESS distance, as demonstrated above. TIP_LENGTH The measured TIP_LENGTH distance, as demonstrated above. TIP_LENGTH The measured TIP_LENGTH distance, as demonstrated above. TIP_LENGTH The measured TIP_LENGTH distance, as demonstrated above. BASIC CUSTOMIZATION MIDDLE_LENGTH The desired length of the middle phalanx. DISTAL_LENGTH The desired length of the distal phalanx. (for thumbs as well) INNER_PART_WIDTH The width of the components inside the mechanism. (gears, shafts) ADVANCED CUSTOMIZATION WALL_THICKNESS The thickness of all walls, including the hinge wall around pins, where applicable. PIN_DIAMETER The diameter of connector pins. PIN_OPENING_NARROW_WIDTH_MULTIPLIER The width of the pin hole openings' narrow part as a percentage of the PIN_DIAMETER. The wider it is, the easier to press in the pin, but also the less resistance to keep it in the hole. CLEARANCE The distance between parts. (e.g. if the gear is 5mm wide, and the clearance is 0.4mm, then the gear-space will be 5.4mm wide) HOLE_CLEARANCE How much bigger should the pin-holes be than the pins. (e.g. if the pin's diameter is 2mm, and the clearance is 0.2mm, then the pin-hole has a diameter of 2.2mm) SUPPORT_CLEARANCE The distance between the support and the part it supports. If it is too small, the support will fuse with the part, and not break off easily, if it is too large, the support will not help the part, and the part will sag. It is wise to set the support clearance in relation to the layer height. Since by default I'll use .2mm layers, that is the default of this) RENDERING RENDER_MODE Different views of the model.complete: shows you the finger as it is supposed to be assembled print: arranges the parts ready for printing others: individual parts can be rendered in isolation SHOW_SUPPORT If enabled, the supports are added to the model, if disabled, then not. If you have trouble printing the supports accurately, feel free to disable this, and autogenerate supports by the slicer. XRAY Chops off half of the parts, so you can better see the inner mechanisms. Mostly useful while you are just designing the parts, and want to confirm that every part connects to the rest correctly. Maker’s Note I’m a hobby modeler, and I'm trying to enter MakerWorld contests with designs that push me beyond my limits. This is my biggest project so far, and it took many weekends of modeling, printing, testing, breaking parts, and going back to the drawing board. (I have an ever increasing pile of failed prototypes) My long-term goal was to create a free, easy-to-print and easy-to-assemble parametric generator that lets anyone generate a set of toy fingers fitted to their own hand, and as promised, here it is! (perhaps you have found this model through my first prototype) Background I first came across this type of finger extension in this Adam Savage video. It immediately looked like something that would be incredibly fun to build and wear… Then I looked at the price tag :D (after spending so much time on this, I fully understand the pricing. Gary's fingers are truly a work of art both aesthetically and mechanically) That sent me down the rabbit hole of researching how I could make my own. While looking through existing projects and mechanisms, I found the work of Dragonator, whose notes were invaluable during the development process. A big shoutout to him. Seeing his amazing model, I’m sure he is one of the few who understand both the pain of designing a mechanism like this and the joy of finally putting it on for the first time and feeling the fingers move with your hand. I have already shared my prototype on MakerWorld, and now sharing the fully parametric version. Design Considerations Thin Frame I've got some constructive feedback on the first attempt's cylindrical design. In this version, I kept the mechanism profile as low as possible, to allow you to create decorative skins around it to your liking. (Let me know in the comments if you want cutters or examples, but most parts are simple rectangles) Easy to Replace Parts The parts are designed to be easy to replace and change. (e.g. different fingertip designs) Parametric Dimensions In order to best fit all finger sizes and preferences, I allow users to change a wide range of parameters through MakerWorld's Parametric Model Maker. Not only the finger sleeve, but the whole model is driven through parameters, including the gears. Low Profile Shaft One thing I struggled a lot with is how to keep the controller shaft as low to the body as possible both at the two end states, and during the movement. With a few tradeoffs, I think I well achieved both. Easy Assembly While I believe my snap-in mechanism was elegant and simple, it still took time and preparation to use filament hinges. In this version, I simplified assembly even further, so all hinges are already printed into the model. You just print and assemble. Designed Support I built support into the model itself. (depending on your printer accuracy, they might fuse. in this case you have the ability to individually remove the problematic support pieces and replace them with auto generated support) How the Mechanism Works The finger sections are linked together so that movement from your real finger is transferred through the control shafts to the extended segments. The animation below shows the movement more clearly than I could explain it in text. Boost MeIf you like my work, please consider supporting it with a like, a print profile, photos of your build, or constructive feedback. And of course, boosts are always welcome and greatly appreciated. FAQ Q: Your model is so amazing, can I give you multiple boosts? A: Yes, you can. Thanks. Final Note If you happened to have a failed print, please don't be mad. If it makes you feel a little better, I burnt through this many failed prototypes, to be able to create a good generator for you :)
Tags
Diseñador
ShugyoPrint