
Vortex Cannon
Peso
478g
Tiempo
12h 19m
Precio
Cotiza este producto por WhatsApp
Contáctanos y te damos el precio según color y acabado
Las dimensiones dependen del diseño. Confirmamos las medidas exactas por WhatsApp.
Descripción
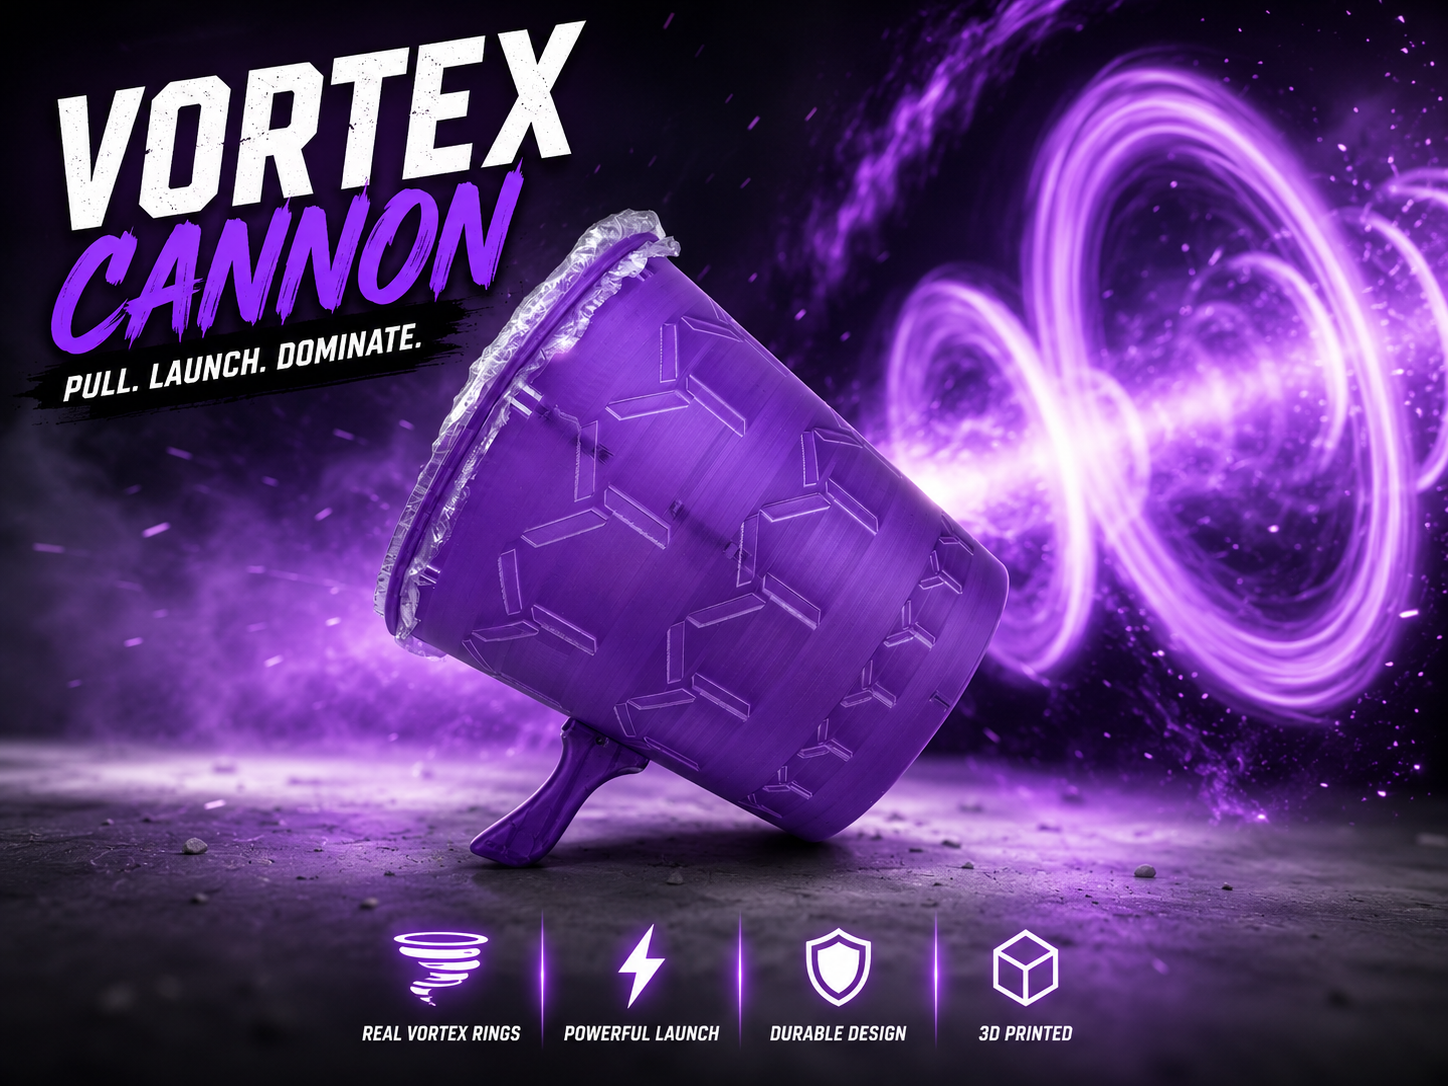
Vortex Cannon Growing up, one of the funniest things to mess around with was an airzooka, so I figured it was time to make one you could print yourself. Just pull it back and let it fly to launch satisfying vortex rings across the room. And if you really want to catch someone off guard... let's just say it pairs suspiciously well with a tiny spritz of fart spray from a safe distance. 😄 It's easy to print, simple to assemble, and guaranteed to get a few laughs. Happy printing! VORTEX CANNON Assembly Guide Before You Begin You'll Need: All printed parts 3 plastic shopping bags (or 1 standard kitchen trash bag) 2 rubber bands (cut into straight strips) STEP 1 – Lay Out the Parts Lay out all printed parts and verify that nothing is missing before beginning assembly. STEP 2 – Prepare the Rubber Bands Cut two rubber bands so they become straight elastic strips. STEP 3 – Install the Elastic Bands Place the center retention clamp in position. Tie one elastic strip to each pair of opposing interior mounting tabs while routing both bands through the center retention clamp. Pull the bands tight before tying the knots. STEP 4 – Verify Band Installation The elastic bands should: Be centered across the opening Pass through the center retention clamp Have equal tension on both sides STEP 5 – Install the Bags Place three shopping bags (or one trash bag) over the rear opening of the cannon. Leave enough material hanging over the edge to be captured by the retention ring. STEP 6 – Install the Retention Ring Important: Install the ring from underneath and slide it upward toward the top of the cannon. Make sure the tapered side of the ring faces upward, toward the widest opening of the cannon. Continue sliding the ring upward until it rests just below the top lip. Tip: Do not trim the excess bag material until assembly is complete. STEP 7 – Lock the Bags in Place Push the center of the bags inward until they reach the installed elastic bands. While holding the bags inward, press the retention ring upward until it snaps securely into place. The bags should now be tightly clamped around the entire opening. STEP 8 – Install the Rear Plate Position the rear plate with the four locating pins over the center of the bags. Push the pins through the bags and into the center retention clamp until fully seated. This securely locks the bags in place. STEP 9 – Install the Threaded Stud Thread the small threaded stud into the center of the rear plate. Tighten until snug. Do not overtighten. STEP 10 – Install the Handle Slide the handle onto the mounting bracket located on the outside of the cannon. Align the holes in the handle with the mounting bracket. STEP 11 – Install the Locking Pin Insert the small straight locking pin through the aligned holes in the handle and mounting bracket. Push the pin in completely until it is fully seated. STEP 12 – Finished Assembly Just trim off the extra bag ends and your Vortex Cannon is now ready to use. Grip the handle, pull it straight back, and release to launch a powerful vortex of air. Tips Three shopping bags produce the best diaphragm. A kitchen trash bag also works well. Replace the bags if they become torn or stretched. Keep the elastic bands evenly tensioned for the strongest vortex. Boost MeMembership
Tags
Diseñador
YankeePrints