
Dummy 13 Card Kit (Easy Assembly Guide)
Peso
31g
Tiempo
3h 33m
Precio
Cotiza este producto por WhatsApp
Contáctanos y te damos el precio según color y acabado
Las dimensiones dependen del diseño. Confirmamos las medidas exactas por WhatsApp.
Descripción
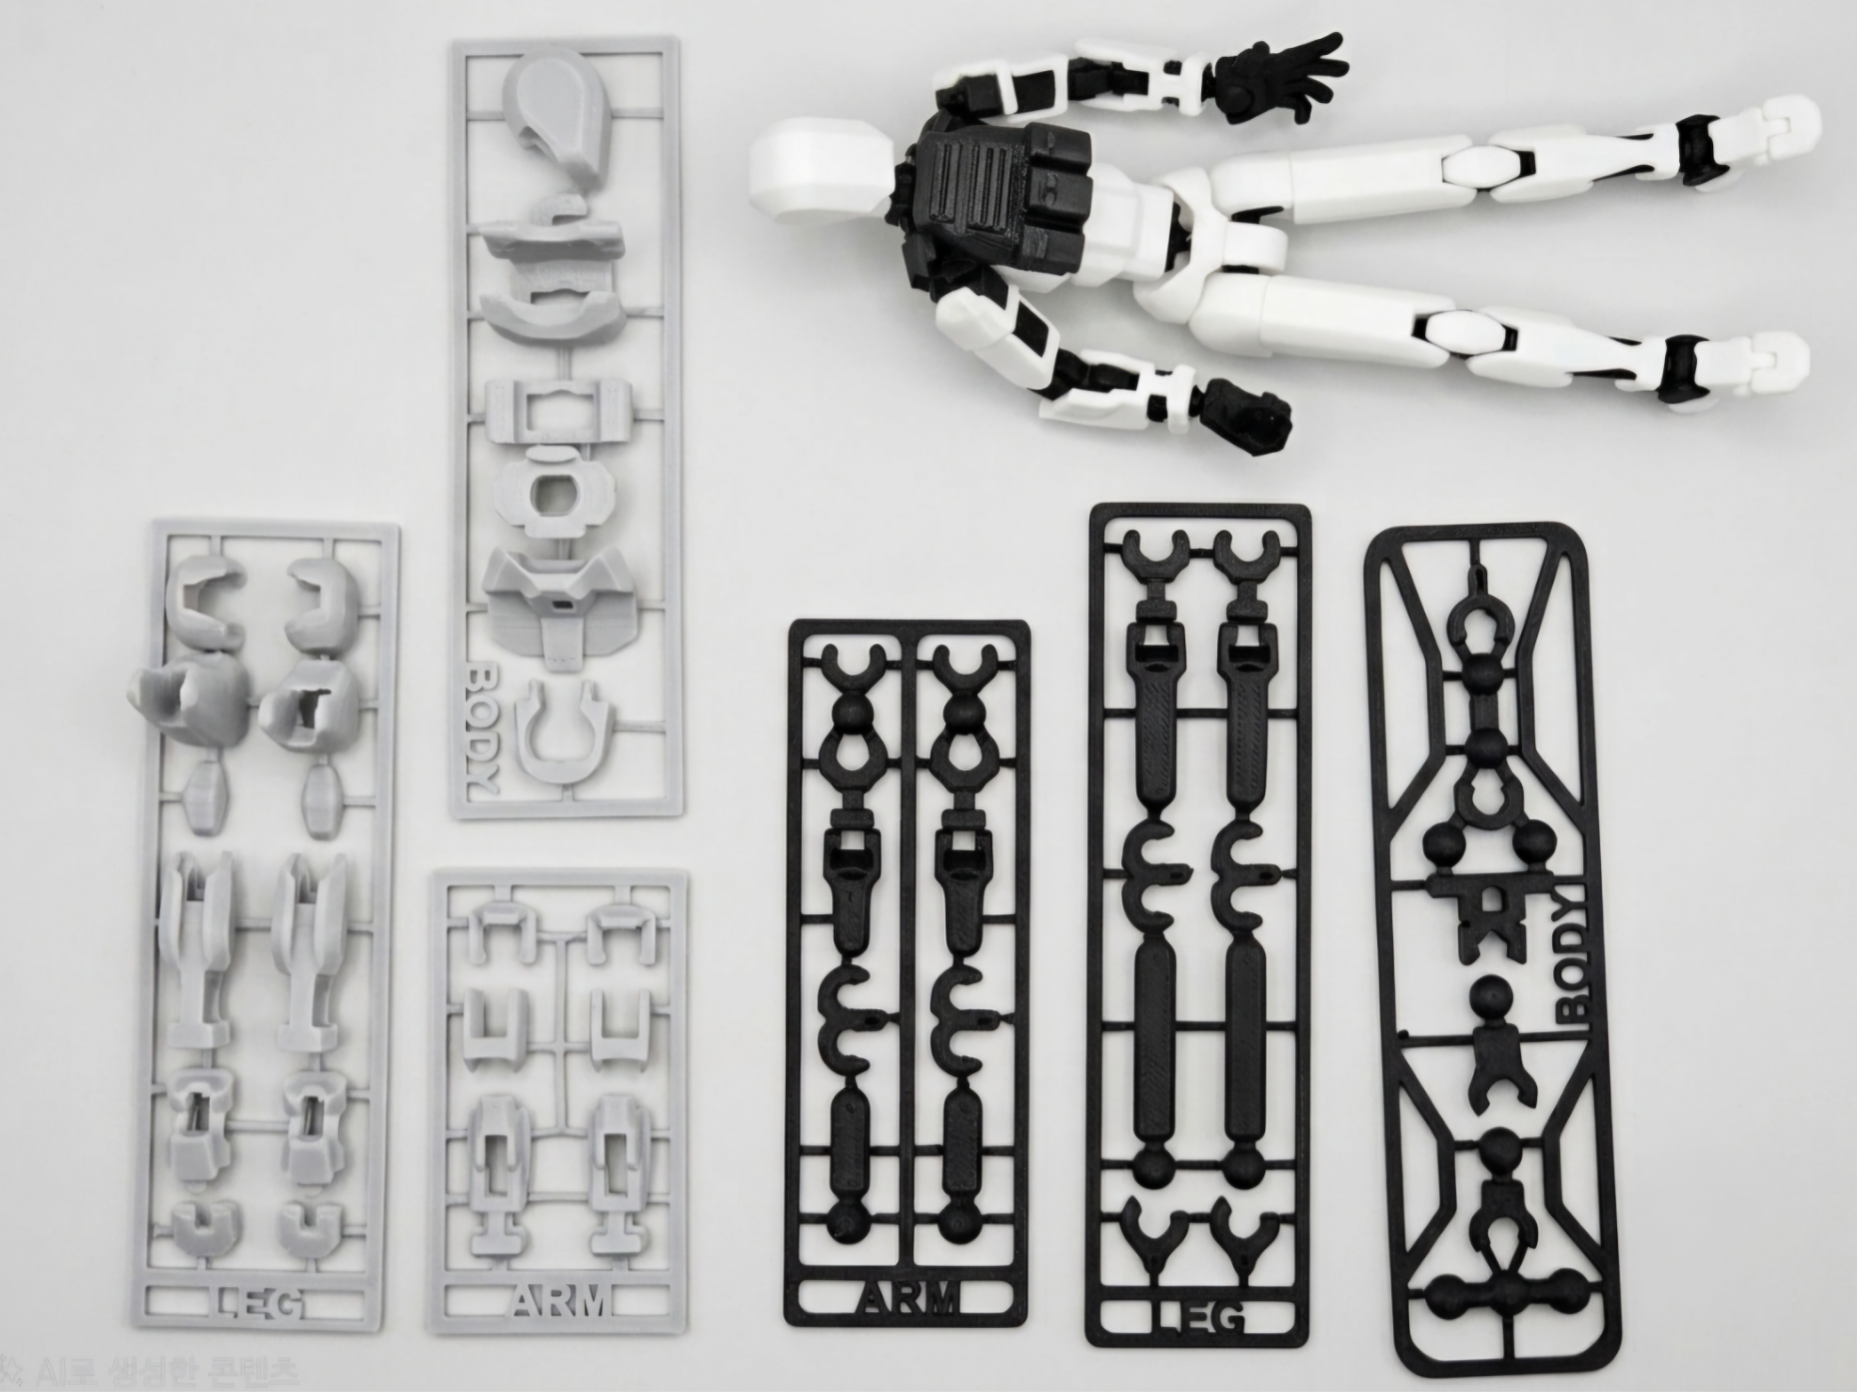
Description When I assembled Dummy 13, I found it very inconvenient and frustrating to search through the many parts that were printed all at once. To solve this problem, I created this model. You no longer need to deal with a large number of mixed parts. Each card kit is organized with the part names and the assembly direction clearly marked in order. Simply follow the sequence and assemble the parts step by step. All accessories shown in the picture (e.g., guns, body armor, etc.) are available on my profile. There are many options, so feel free to choose and download whichever ones you like. What's Changed in This Remix One of the biggest challenges when assembling Dummy 13 is failed prints and the confusion caused by the large number of parts. With so many pieces, it's easy to lose track of the assembly order. To solve this, I separated the runners (frames) by body section. For example, the LEG runner contains only the parts needed to assemble the legs, allowing you to complete the entire leg assembly before moving on to the next section. Each runner is also clearly labeled in English (such as LEG, ARM, BODY) so you can immediately identify which body section the parts belong to. In addition, the layout of the parts on each runner follows the assembly order. Simply start with the part at the top of the runner and work your way down—the parts are arranged in the exact order they should be assembled. ⚠️ Important Do not remove all the parts from the runner before you begin. Instead, detach only the part you need at each step and continue assembling from top to bottom. ⚠️ Printing Recommendations The armor parts can be printed in either PETG or PLA. However, the frame parts should be printed in PETG for the best durability and long-term performance. Print Settings Do not change the layer height from 0.16 mm. Using any layer height other than 0.16 mm is strongly discouraged, as it may cause poor fitment, joint issues, or part failure. Frequently Asked Questions Please follow the assembly guide carefully and take your time. If the runner supports break off easily or looks thinner than expected, this is completely normal. The runner is designed to be easy to remove and its only purpose is to support successful printing. It is not a structural part of the final model. Do not worry about the thickness or strength of the runner — it is intentionally designed this way for easier removal and better print reliability. Please download the assembly guide from the document below. The original copyright and ownership of Dummy 13 belong to the original creator. P.S. I am active on the global MakerWorld platform. Unfortunately, I do not have a Chinese local phone number, so I have difficulty registering on the Chinese version of MakerWorld. Because of this, I am unable to reply to comments there, even though I would like to. However, I always read all of the comments you leave. Please feel free to leave comments anytime, whether they are requests, feedback, or sharing your printed results. Thank you very much to everyone from China for your support and interest. I truly appreciate it.
Tags
Diseñador
ELANTRA