
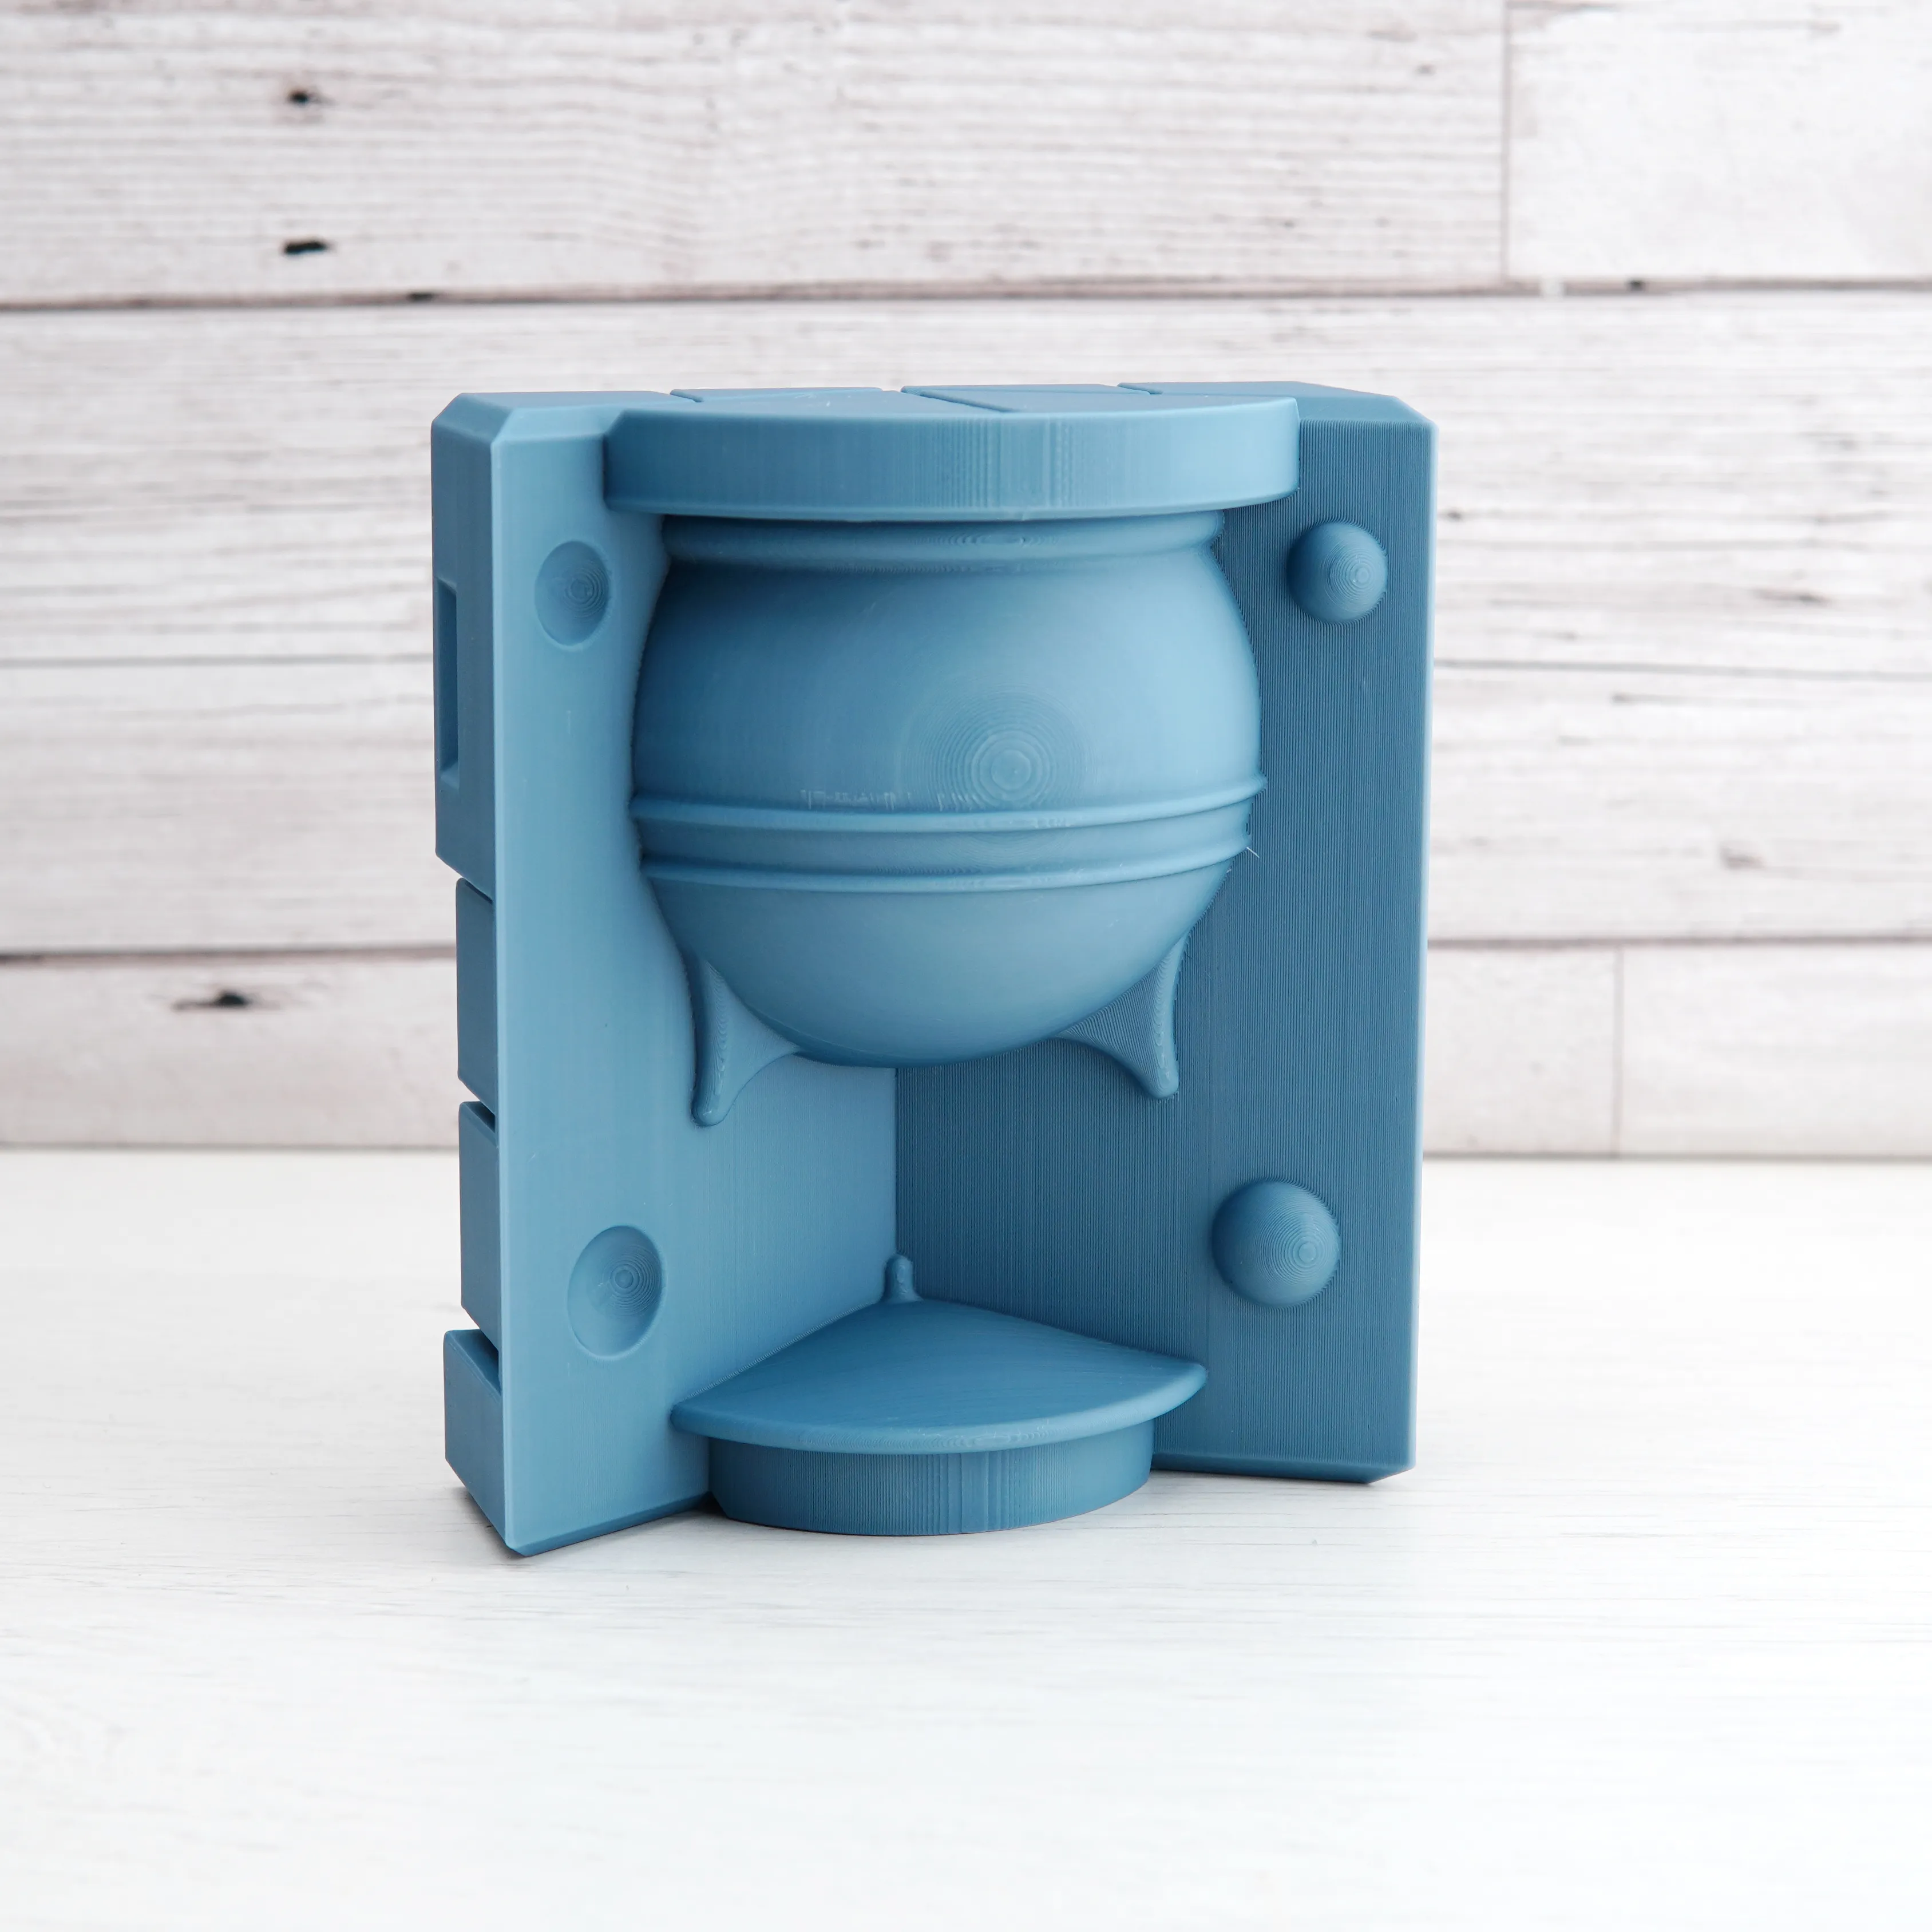
Mini Cauldron - 3 Part Slipcasting Mould (v2)
Peso
710g
Tiempo
25h 54m
Precio
Cotiza este producto por WhatsApp
Contáctanos y te damos el precio según color y acabado
Las dimensiones dependen del diseño. Confirmamos las medidas exactas por WhatsApp.
Descripción
Boost MePlease consider boosting models you find particularly useful, as it supports me to find more time to design and share in the future!Fully printed system to make plaster moulds. This produces a 3-part mould to cast a mini cauldron and lid This print has been scaled to 112% to account for clay shrinkage, which should give a final ornament size of 6cm diameter with most casting slips. If you want it smaller/larger than 6cm, scale every piece of the print. This design has a lid at one end and the cauldron at the other. You should be able to cast both at the same time (ish) by casting one end first, then casting the second while the slip is fully draining out the first. Because of the double ended design, this printed model is particularly difficult to demould from the plaster, and I've added several extra slots for extra flexibility (with extra caps to cover them while casting plaster). The more you sand/smooth your print and the better your release agent, the easier the process will be, but I wouldn't recommend this mould as a first project! With any fully 3D printed mould, you’ll benefit from using a release agent on the base plate surface. I use a generic mouldmaker’s soap, but any product designed for plaster release should be fine. It needs around 375ml of plaster, and you can calculate the weight of water and plaster needed with this tool: Plaster Calculator You can get a much better cast surface, even if your plaster mix is full of air bubbles, by using a paintbrush to dislodge any trapped air from the surface. I would suggest that you pour plaster until the ornament surface is covered but it isn’t completely full, then get a relatively small paintbrush and move it around in the plaster so that you’re brushing all of the details on the base plate surface. This will dislodge air bubbles, and once dislodged they’ll float upwards. Once you’ve finished this, pour in the rest of the plaster. If you manage to avoid adding more air as you do it (just brush gently), you’ll eventually remove all the bubbles from the surface and get a perfect cast. This uses the updated 3 part mould design, which is compatible with other updated 3 part moulds but not the original ornament moulds. This new design has slots added to the back to allow the mould to bend slightly when releasing the plaster, making the process much easier. This version has an additional larger slot in the print with a removable insert to stop plaster from leaking during casting. Remove the insert once you're ready to demould the plaster, then the added flexibility will allow the print to pop right off
Tags
Diseñador
Old Forge Creations