
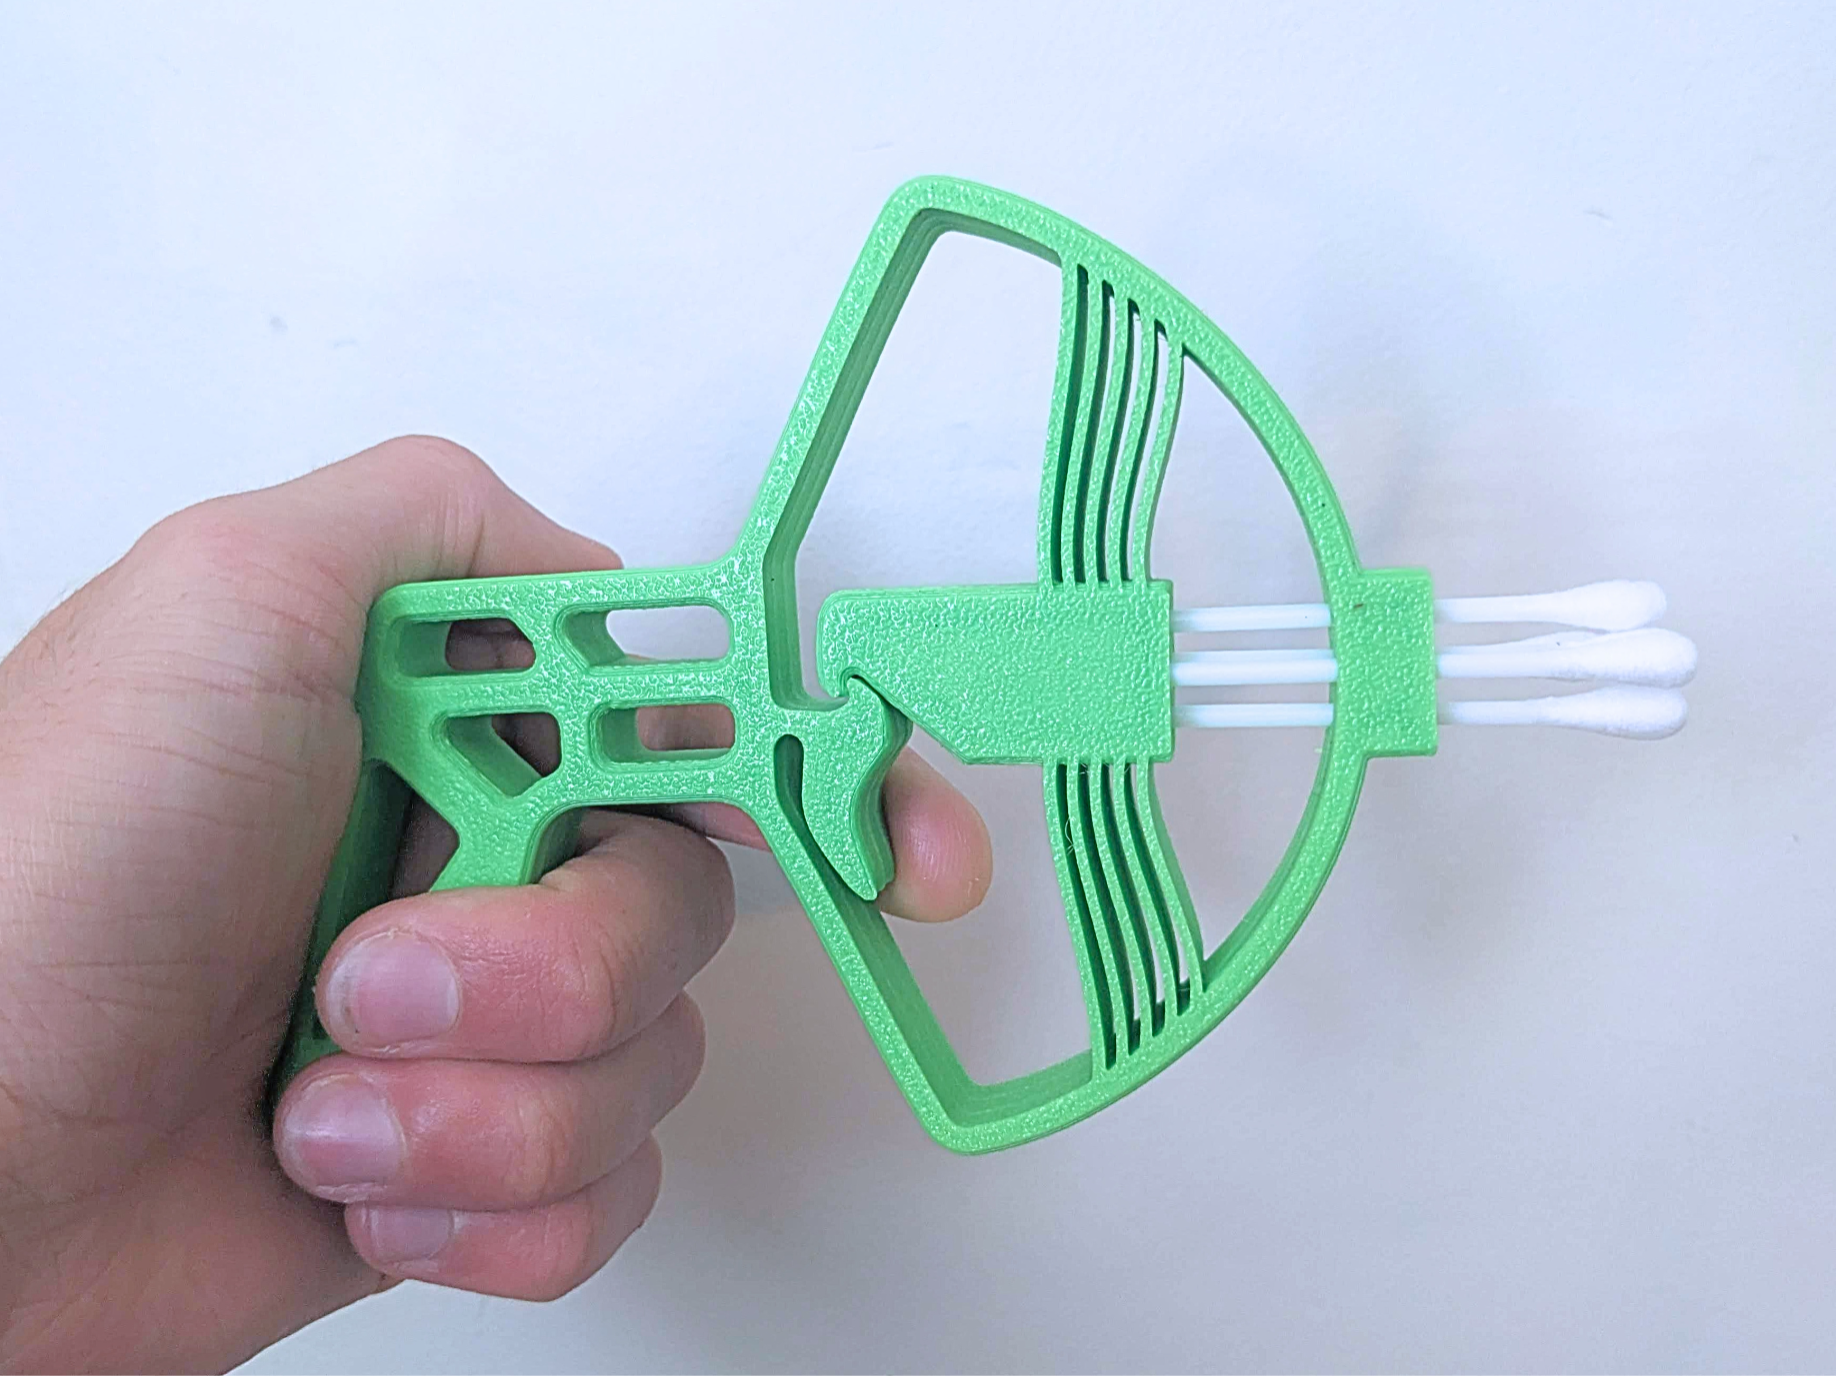
5-Shot Q-tip Shooter (Upgraded Version)
Peso
45g
Tiempo
1h 13m
Precio
Cotiza este producto por WhatsApp
Contáctanos y te damos el precio según color y acabado
Las dimensiones dependen del diseño. Confirmamos las medidas exactas por WhatsApp.
Descripción
🏹 The Five-Shot Q-Tip Shooter: It keeps getting better You know and love the original Q-tip shooter, and have tried the tri-shot as well. But why settle for one shot when you can unleash five shots at once? With the Five-shot Q-tip shooter, you can load in five one-sided Q-tips and launch them simultaneously. It is the ultimate upgrade for office wars, target practice, or fidgeting at your desk. Note: This model improves on past revisions by having an upgraded trigger mechanism that is more resistant to breaking, as well as more power in the compliant mechanism. However, this means that the trigger is harder to pull back and load, so please be mindful of your technique. Why You’ll Love This Print 100% Print-in-Place: No assembly, no screws, and no extra hardware required. Just pop it off the build plate and start shooting! Zero Supports Needed: Designed from the ground up to print cleanly without any annoying support cleanup. Compliant Mechanism: It uses the natural flexibility of 3D-printed plastic to create its spring tension. No rubber bands needed! Fast & Low Filament: Prints in under an hour and 12 minutes and uses only 45 grams of filament—perfect for burning through those leftover ends of spool rolls. Printing Recommendations To get the best spring tension and durability, use these settings: Material: BAMBU PETG HF (This is the only filament that I have tested extensively, so it is the only one I recommend for the profile. I am sure that high-quality basic PLA would work well, but I can't guarantee the best results.) Infill: 15%-20% (Gyroid or Grid recommended). Walls/Perimeters: 4 walls for extra strength in the flexible bow arms and trigger mechanism. Layer Height: 0.2mm works beautifully for a quick and clean print. How to Load & Fire Prep your ammo: Take three standard Q-tips/cotton swabs and snip off one of the cotton ends (leaving a stick with a single cotton bud). Load: Slide the bare stick ends into the five front barrels. Push them in until they gently rest against the pusher mechanism. Draw & Fire: Hold the grip, pull back the flexible bow arms, click it into the trigger lock, aim, and squeeze the trigger to unleash the ultimate barrage! IMPORTANT: Read Before Printing! This model relies heavily on material properties, so I strongly suggest using Bambu PETG HF for this print. It is the only material I have tested extensively for this design, and is the most likely to give good results. While high-quality PLA may work, it is not guaranteed, and many other brands and materials may lack the material properties for this design to work successfully. While it is totally fine to try out different materials, please be mindful about leaving negative reviews if you use one that is not recommended. I appreciate honest feedback, but negative reviews for improper use can negatively affect the growth of the model. How far did yours shoot? Post your distance and a photo of your print below!
Tags
Diseñador
Sairae