
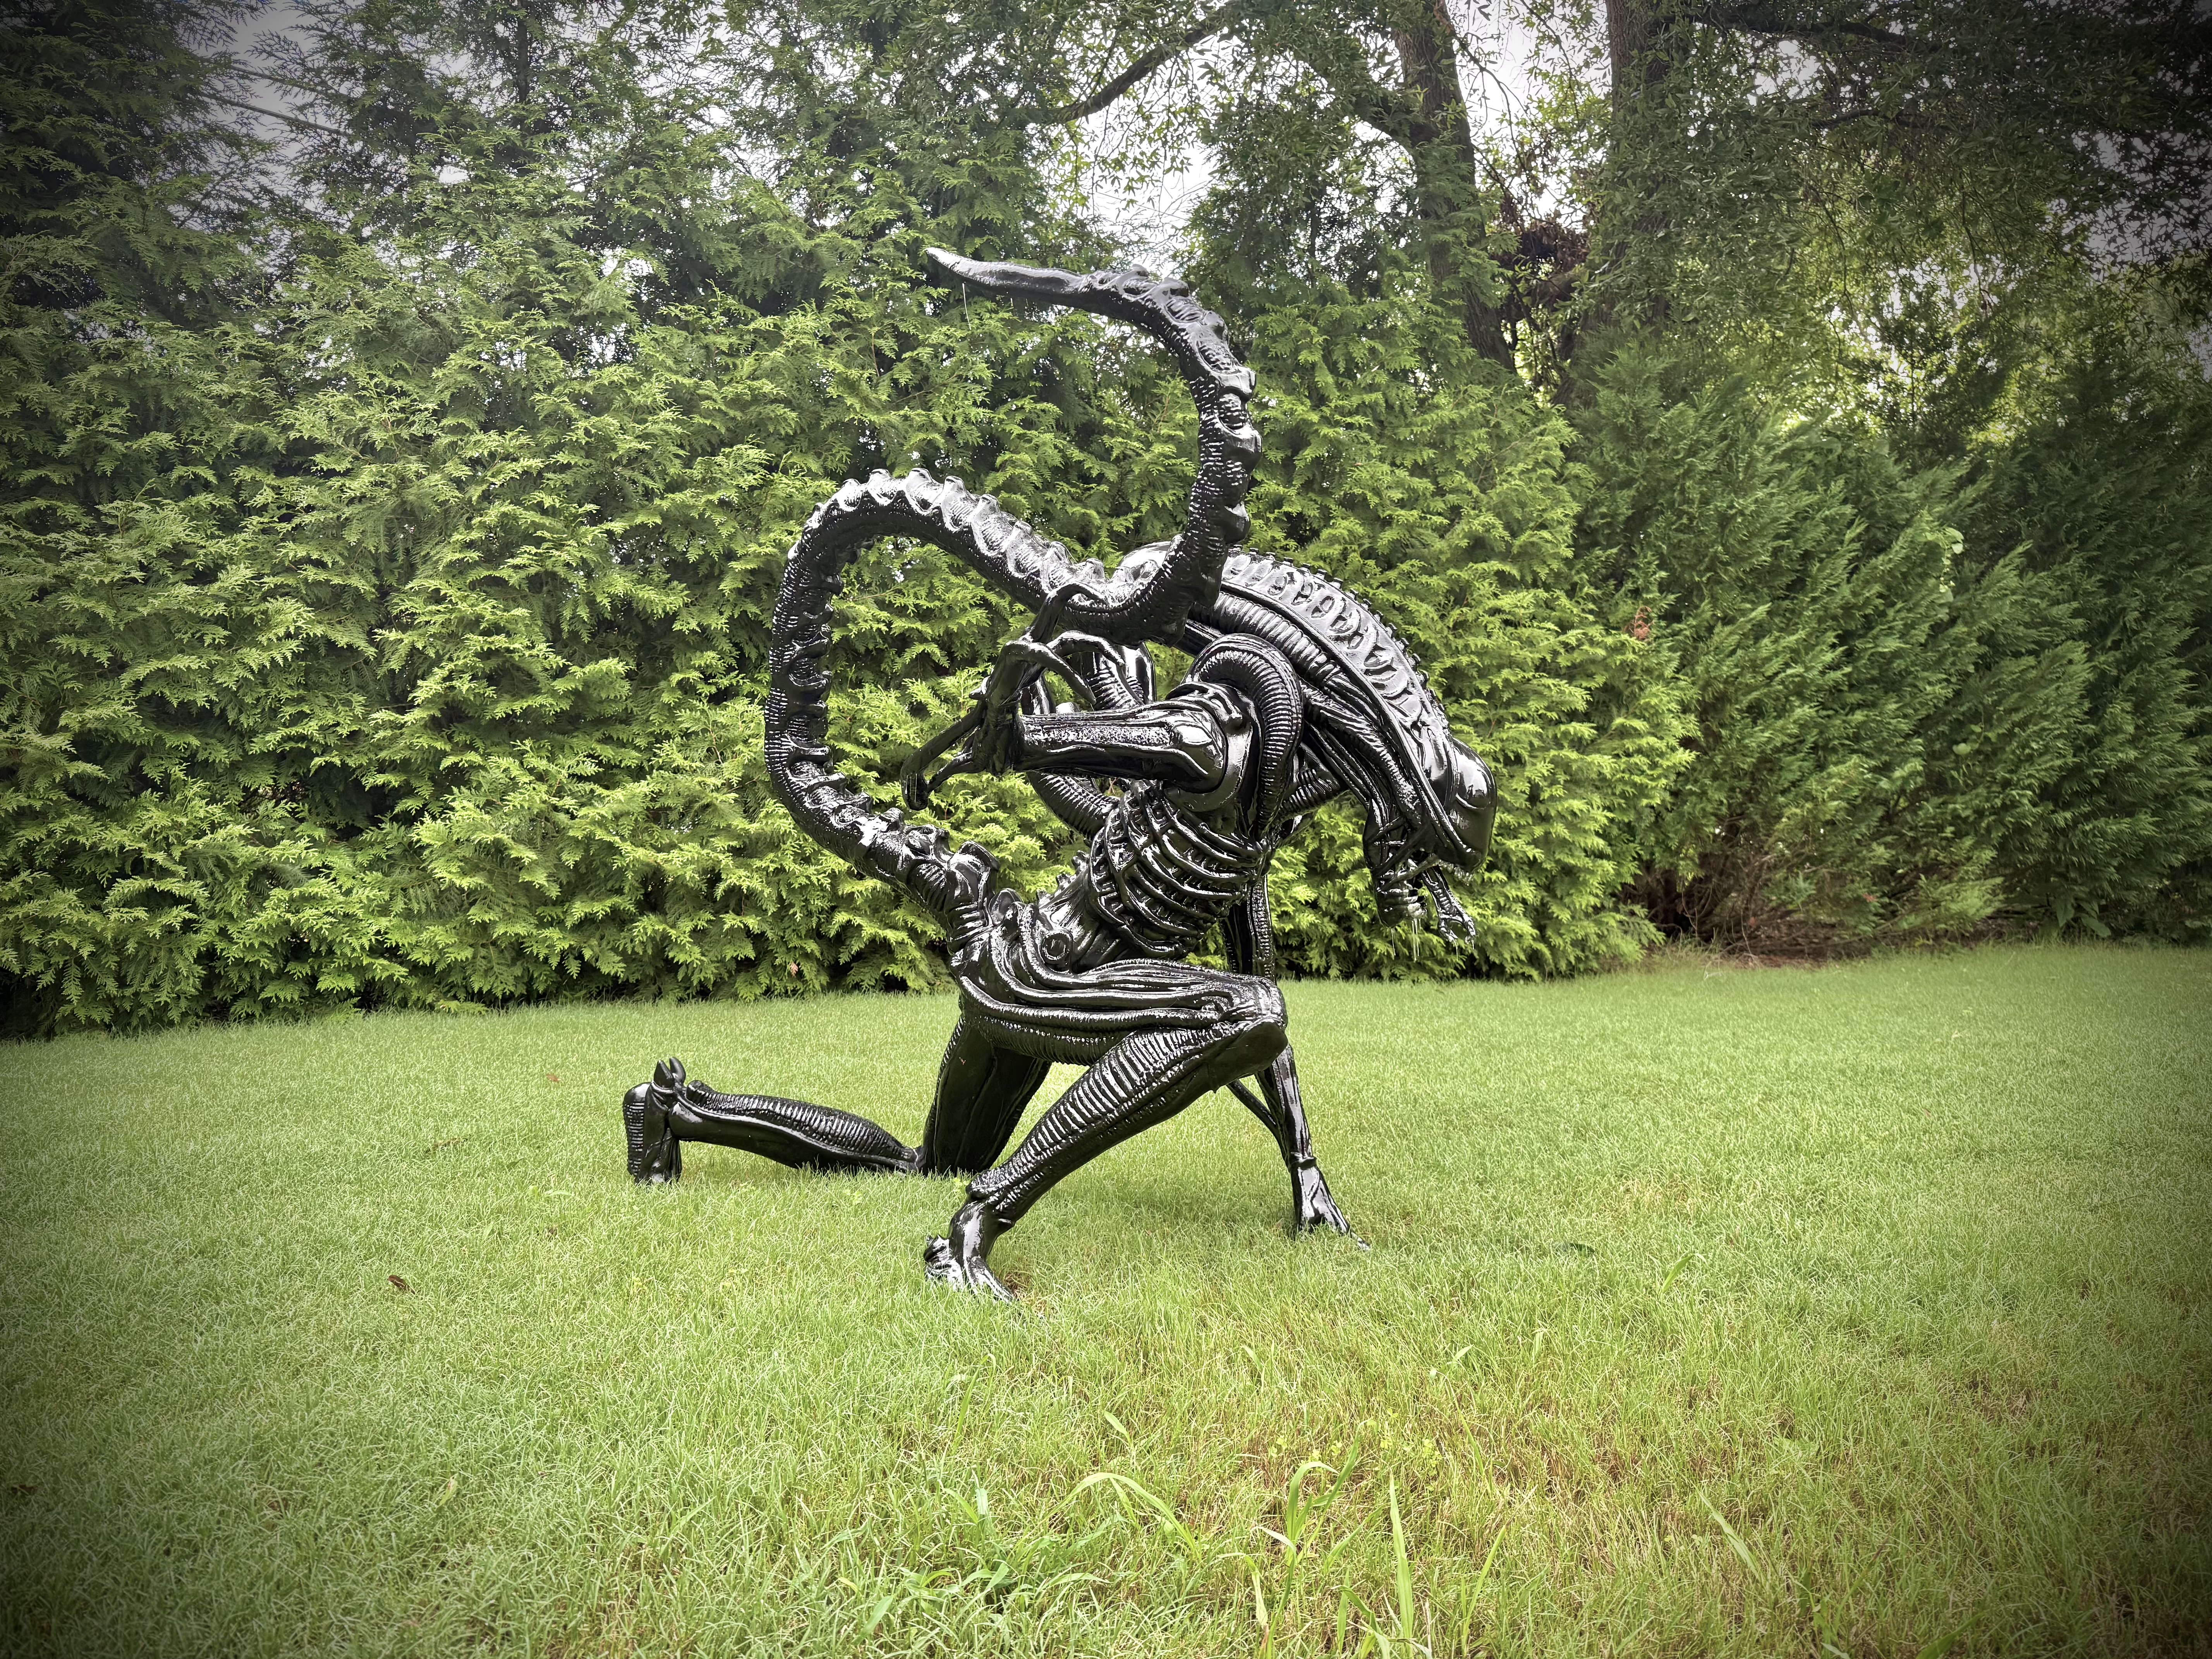
Life Size Xenomorph Alien Model - 5ft Tall!
Peso
870g
Tiempo
13h 21m
Precio
Cotiza este producto por WhatsApp
Contáctanos y te damos el precio según color y acabado
Las dimensiones dependen del diseño. Confirmamos las medidas exactas por WhatsApp.
Descripción
Large Xenomorph! The time if finally here to post a project I have been working on over the last month. After the recent set of my smaller Xenomorph models, I got peer-pressured into making one that was lifesized (ish). This model model stands 5ft tall from floor to tip of tail, measures almost 6ft long diagonally from the back foot to the tip of the head, and is almost 4 foot wide! In order to get it to fit through my doorways I ended up leaving the Head, Right Arm, and half othe tail removable and not fully glued in place. This project is not for everyone and requires quite a bit of dedication and printing resouces to make. At the time of the upload I only sliced the model to fit the H series and A2L printers (to maximize the the size of pieces I could print). Please note that if you are changing your printer from the current H2D that is seleted in the profile you may need to move some pieces around to make sure they fully fit within the build volume. Most are OK, but some have next to no wiggle room for placement. Please also note that the current profile is set to be printed with a .6mm nozzle. This helps speed up print time and the use the .3x layer heights* I printed my model with a very low infill amount (3-4% for most of the print) with the exception of some of the support/critical stress pieces where I increased the infill. This allowed to print quick and not use too much filament. I printed my model in MATTE PLA from Bambu, but due to the low infill amount, and the size/geometry of the model I REALLY wish I did it PETG so that I could display it outside and not worry about the tail melting/bending in the sun (still a risk with PETG I guess, but not as much). The assembly requires and advaced level of skill, this is not for first time large model printers. I did my best to make hexagonal pegs to help align everything, but you will likely need to sand all of the surfaces to ensure a good fit. I used CA glue on the pegs, with a 2-part expoxy to hold the flat surfaces together. To fill the joints I useda 2-part epoxy putty that I found on Amazon. Please note that the Base Tail section and the main body has an interference that I didn't catch until after the model was fully sliced and will need to be manually trimmed/sanded when doing the test fitting. I just used my scraper and knife to snip away bits of the main body until the tail section could fully fit. Please be careful test fitting pieces, due to the low infill amount it can be easy to break*** After the resin cured and the gaps were filled I sanded the joints using 320 grit sand paper before applying a bit of primer, and I used a Gloss Black spray paint to the the entire model. I ended up using a total of 6 spray paint cans* so plan accordingly. The Drool was accomplished using a 2-part epoxy resin (for fiberglass in my particular case) and I used some 2" brushes to coat the entire model and make it appear more wet than the gloss paint achieved by itself. To get the drool effect, I waited until the resin was just about dried, and kept applying over the mouth area until it didn't fully run off. A good/easier way to do this may be with some UV activated epoxy that cures in 5-10 seconds, but I have not tried this route. The teeth were painted in steps between the epoxy using an air brush.
Tags
Diseñador
ShapeShift 3D Creations