
Wavy Tray - Wibble Rings
Peso
483g
Tiempo
16h 7m
Precio
Cotiza este producto por WhatsApp
Contáctanos y te damos el precio según color y acabado
Las dimensiones dependen del diseño. Confirmamos las medidas exactas por WhatsApp.
Descripción
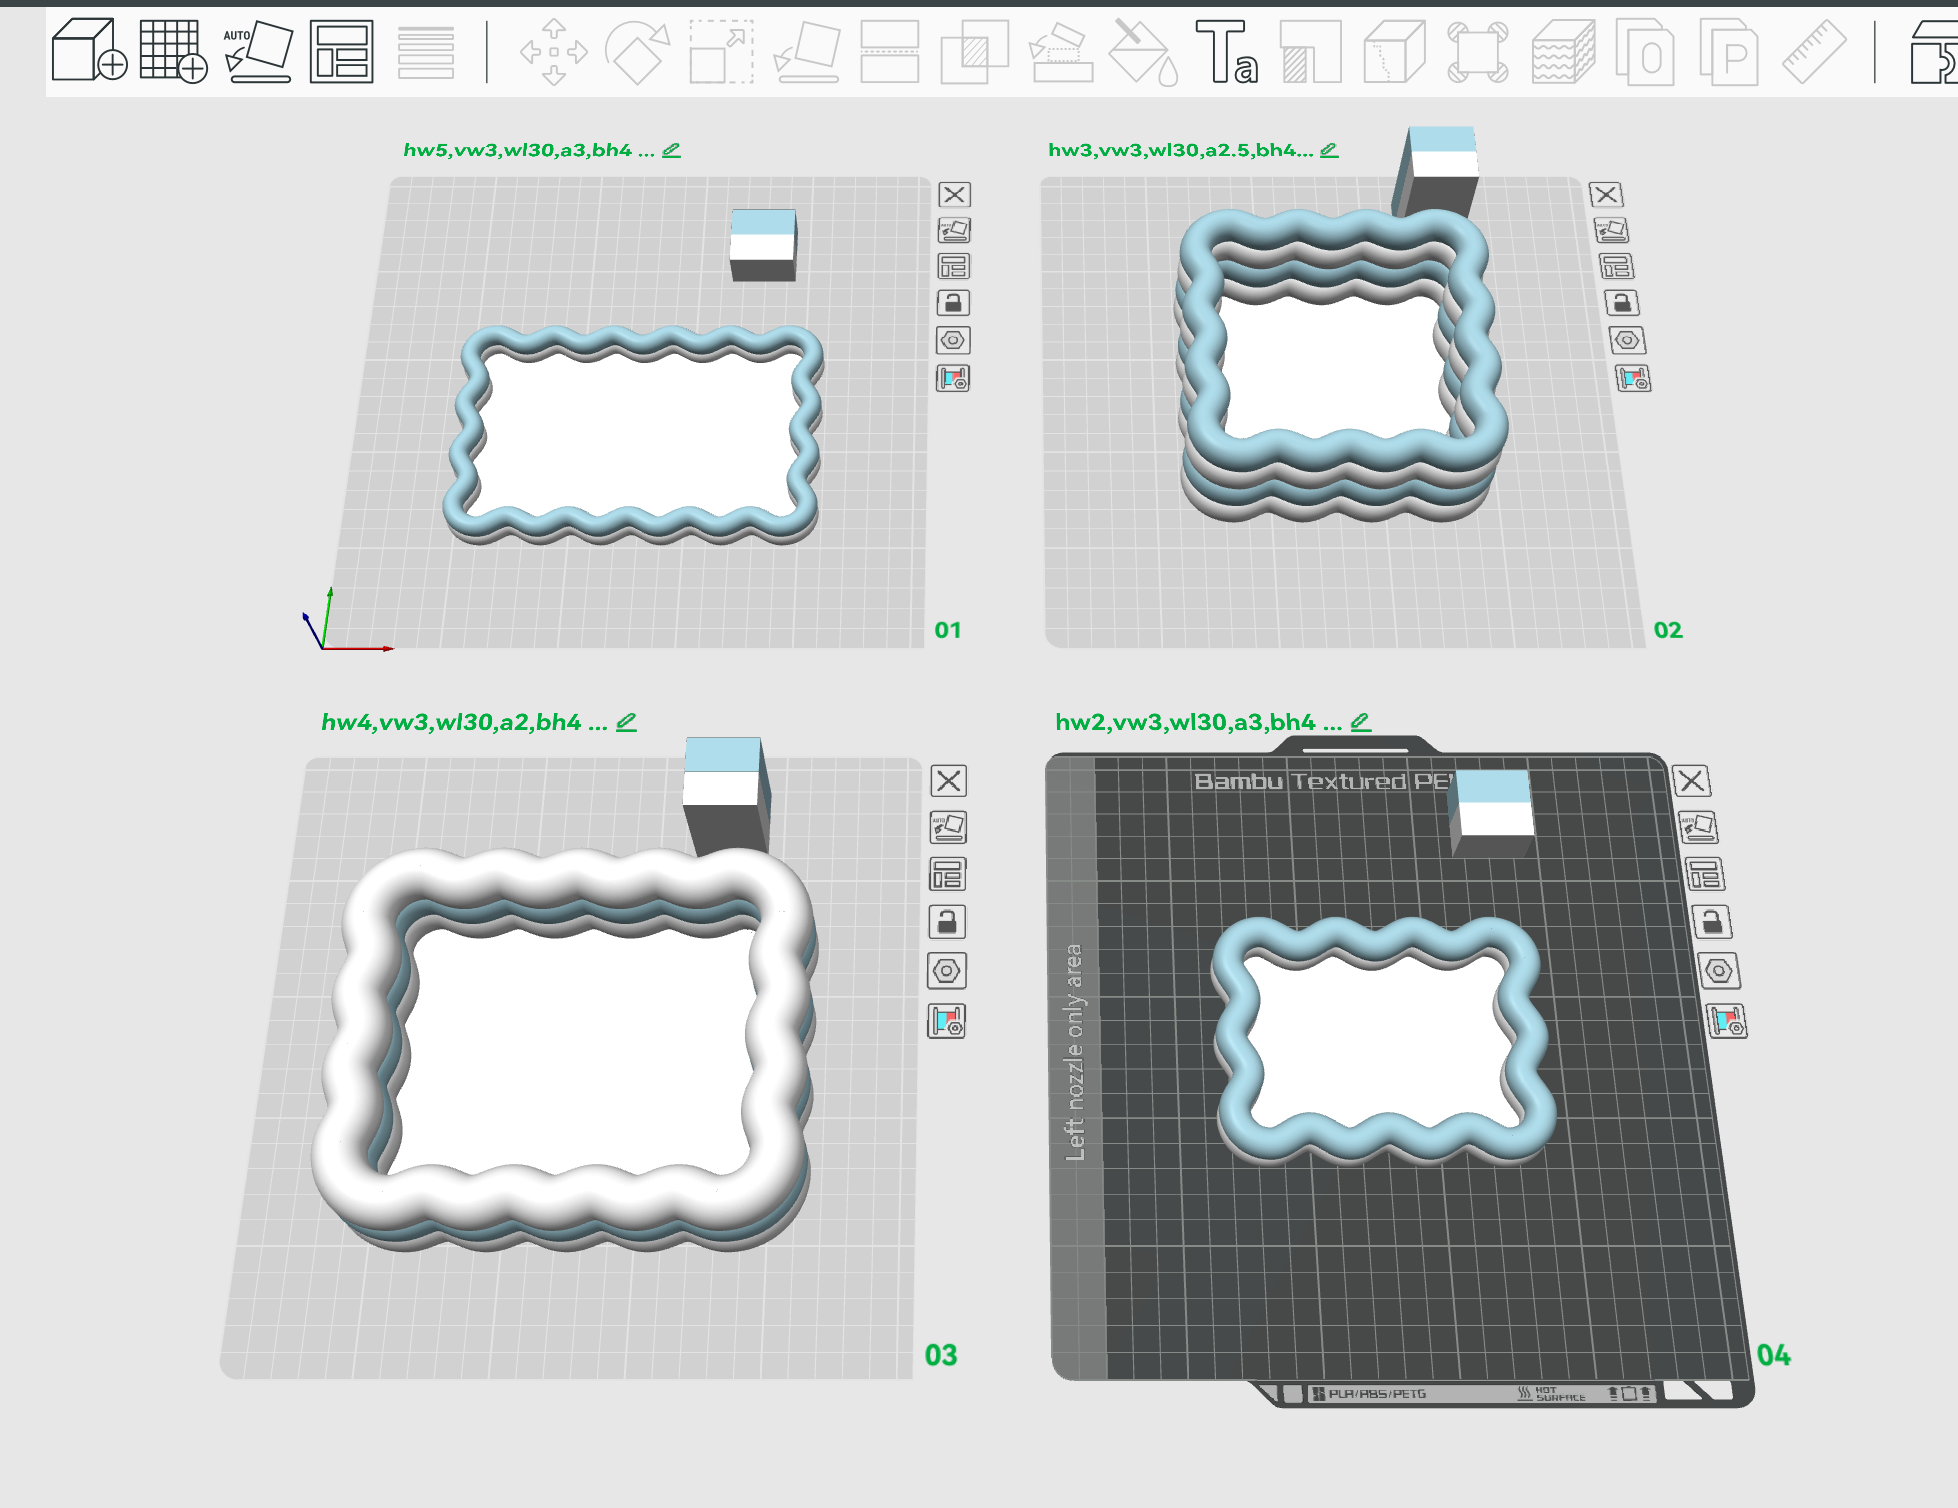
✨ Puffy & Playful: Parametric Wibble Ring Tray Bring a fun, retro-modern pop to your space with the Wibble Ring Tray! Taking inspiration from the original organic wavy tray, this version replaces flat vertical walls with stacked, puffy, tube-like "wibble rings." Its cloud-like, inflated silhouette feels both organic and incredibly satisfying. Whether you want a single-layer sleek coaster, a mid-height jewelry dish, or a deep, multi-tiered organizer box, this parametric design adapts to fit any contemporary decor. 🛠️ Customizer Guide (How to tweak it in MakerLab) This isn't just a static STL. Click the Customize button and use the sidebar options to engineer your perfect tray: 🌊 Base & Waves horizontal waves / vertical waves: Adjust the exact number of wave ripples along the X and Y axes to make your tray perfectly square, rectangular, or wildly undulating. wave length: Control the distance between wave peaks to stretch or tightly compress the ripples. amplitude: Fine-tune the height/depth of the curves for a subtle ripple or a bold, dramatic curve. base height: Set the thickness of the flat bottom plate. ⭕ Wibble Rings base ring radius: Control the plumpness and roundness of the outer rings to get that perfectly inflated, bubbly look. ring layers: Choose how many wibble rings to stack vertically. Keep it low for a shallow dish, or stack them high for deep storage. (Tip: 2 layers creates the original base + wall pair configuration!) wall rings gap: Adjust the vertical overlap between consecutive rings. Leaving it at the default -1 gives a perfect 1mm structural overlap for clean, solid printing. 🎨 Your Style, Your Colors (AMS Friendly) You can mix and match your color scheme inside MakerLab using the Colors preview dropdowns (wall preview color, base preview color, and base ring preview color). For the ultimate multi-color printing experience, customize it directly in Bambu Studio: Advanced Customization: After opening your customized model in Bambu Studio, right-click it and select "Split to Parts" from the top options bar. Paint with Ease: Press shortcut N to open the Paint Bucket tool, set it to "Fill" mode, and click the individual ring layers or the bottom plate to instantly assign different filaments from your AMS. Be Creative: Create eye-catching horizontal stripes, beautiful gradients, or high-contrast retro colorways! 🚀 Pro-Tip: Preview & Export Quality While moving sliders, keep the fast preview toggle turned ON for near-instant adjustments. Before downloading or generating your final 3D print file, turn fast preview OFF and make sure your render resolution is set high (e.g., 300) to ensure buttery smooth, organic curves on your print bed!
Tags
Diseñador
Jose Mazcuñán